 Save
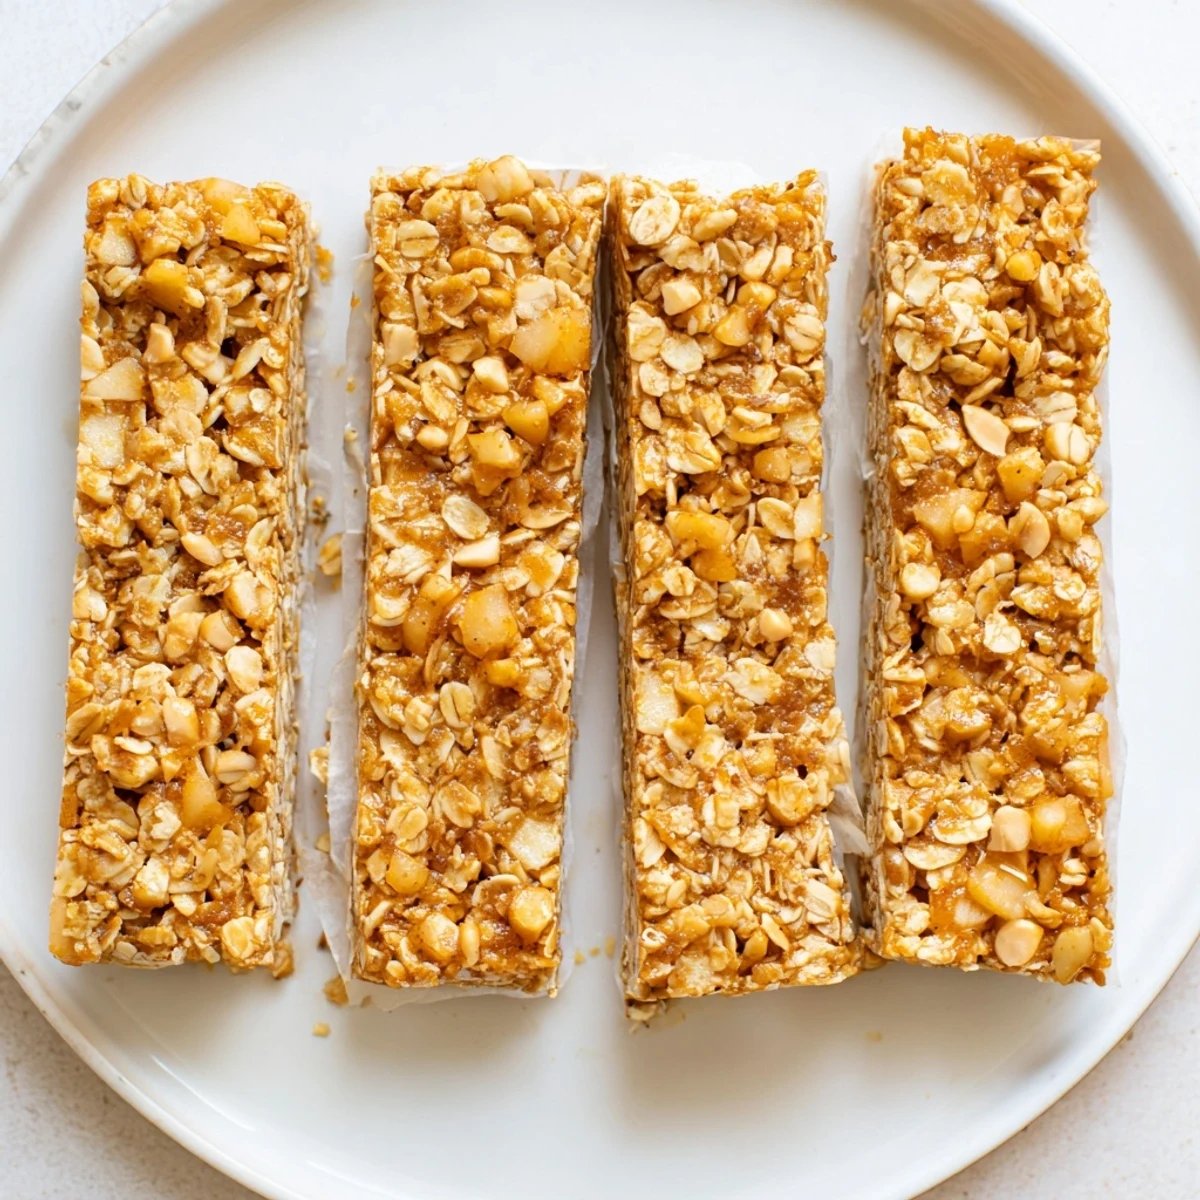
Save These soft and chewy granola bars combine the natural sweetness of dried apples with rich peanut butter and wholesome oats. Perfect for meal prep, lunchboxes, or quick snacking, they come together in just 15 minutes of active time before firming up in the refrigerator.
The no-bake method means no oven required—simply warm the wet ingredients, combine with oats and crispy rice cereal, press into a pan, and chill. The result is a satisfyingly dense bar that holds its shape while remaining pleasantly chewy.
Customize with your favorite mix-ins like chocolate chips, seeds, or extra dried fruit. For nut-free households, swap peanut butter for sunflower seed butter and omit the peanuts. Store chilled for up to a week and grab whenever hunger strikes.
Last autumn, my kitchen became a granola bar laboratory after I got tired of store-bought bars that either tasted like cardboard or cost as much as my morning coffee. These apple peanut butter bars started as a happy accident when I threw together whatever was in my pantry during a rainy Sunday. Now they're the first thing to disappear whenever friends come over for coffee.
I brought a batch to my sisters book club meeting last month, and three people asked for the recipe before they even finished their first bars. Something about the combination of sweet dried apple and salty peanuts just works in a way that feels homemade but not trying too hard.
Ingredients
- 2 cups old-fashioned rolled oats: Steel-cut wont work here, and quick-cooking oats turn to mush
- 1 cup crispy rice cereal: This adds that irresistible light crunch that contrasts with the chewy oats
- 1/2 cup dried apple finely chopped: The smaller you chop, the more evenly distributed the apple flavor becomes
- 1/3 cup unsweetened shredded coconut: Optional but adds a lovely toasted sweetness
- 1/4 cup chopped peanuts: Salted ones balance the honey beautifully
- 1/2 teaspoon ground cinnamon: Apple and cinnamon are non-negotiable friends
- 1/4 teaspoon salt: Enhances all the other flavors, especially the peanut butter
- 1/2 cup natural creamy peanut butter: The kind you have to stir, not the hydrogenated stuff
- 1/3 cup honey: Maple syrup works too but honey has a thicker consistency that helps bind everything
- 2 tablespoons coconut oil melted: This is what keeps the bars from being too hard when chilled
- 1 teaspoon pure vanilla extract: Always use pure, the imitation stuff tastes flat
Instructions
- Prep your pan first:
- Line an 8x8-inch pan with parchment paper, letting some hang over the edges like little handles
- Mix the dry ingredients:
- Combine oats, rice cereal, dried apple, coconut, peanuts, cinnamon, and salt in a large bowl
- Warm the wet mixture:
- Gently heat the peanut butter, honey, and coconut oil until smooth and pourable, then stir in the vanilla
- Bring it all together:
- Pour the warm mixture over the dry ingredients and stir until every piece is coated
- Press firmly:
- Transfer to your prepared pan and press down really hard with a spatula or clean hands
- Chill completely:
- Refrigerate for at least 1 hour until firm enough to cut cleanly
- Cut and store:
- Lift the whole slab out using the parchment handles and cut into 12 bars
 Save
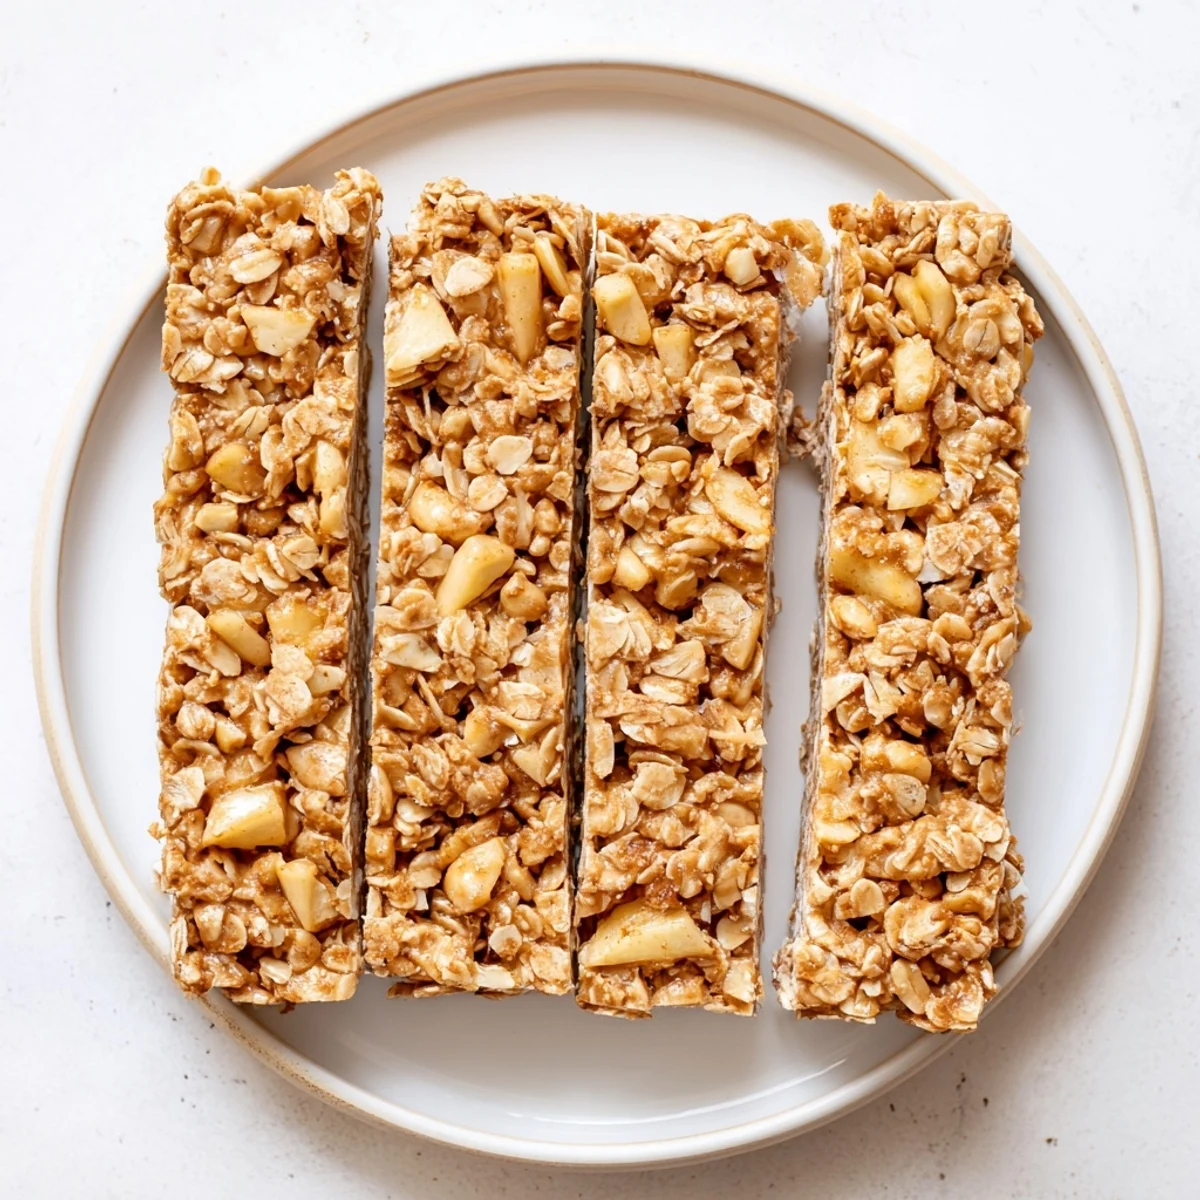
Save My daughter started taking these to school instead of those packaged ones, and her teacher actually asked me for the recipe. There's something satisfying about packing a snack you made yourself instead of unwrapping something from a factory.
Making Them Your Own
These bars are incredibly forgiving. I've swapped the peanuts for sunflower seeds for school-safe versions, and used dried cherries instead of apple when that's what I had on hand. The key is keeping the dry-to-wet ratio roughly the same.
Storage Secrets
They stay perfect in the refrigerator for a week, though they rarely last that long in my house. I've also frozen them individually wrapped for emergency snacks, and they thaw beautifully on the counter in about 20 minutes.
Serving Ideas
Sometimes I crumble one over yogurt for breakfast instead of granola. They're also surprisingly good dipped in dark chocolate for an afternoon treat. My husband likes his slightly warmed in the microwave for 10 seconds.
- Try almond butter instead of peanut butter for a different flavor profile
- Add mini chocolate chips after the mixture has cooled slightly so they dont melt
- Wrap individually in parchment for grab-and-go breakfasts
 Save
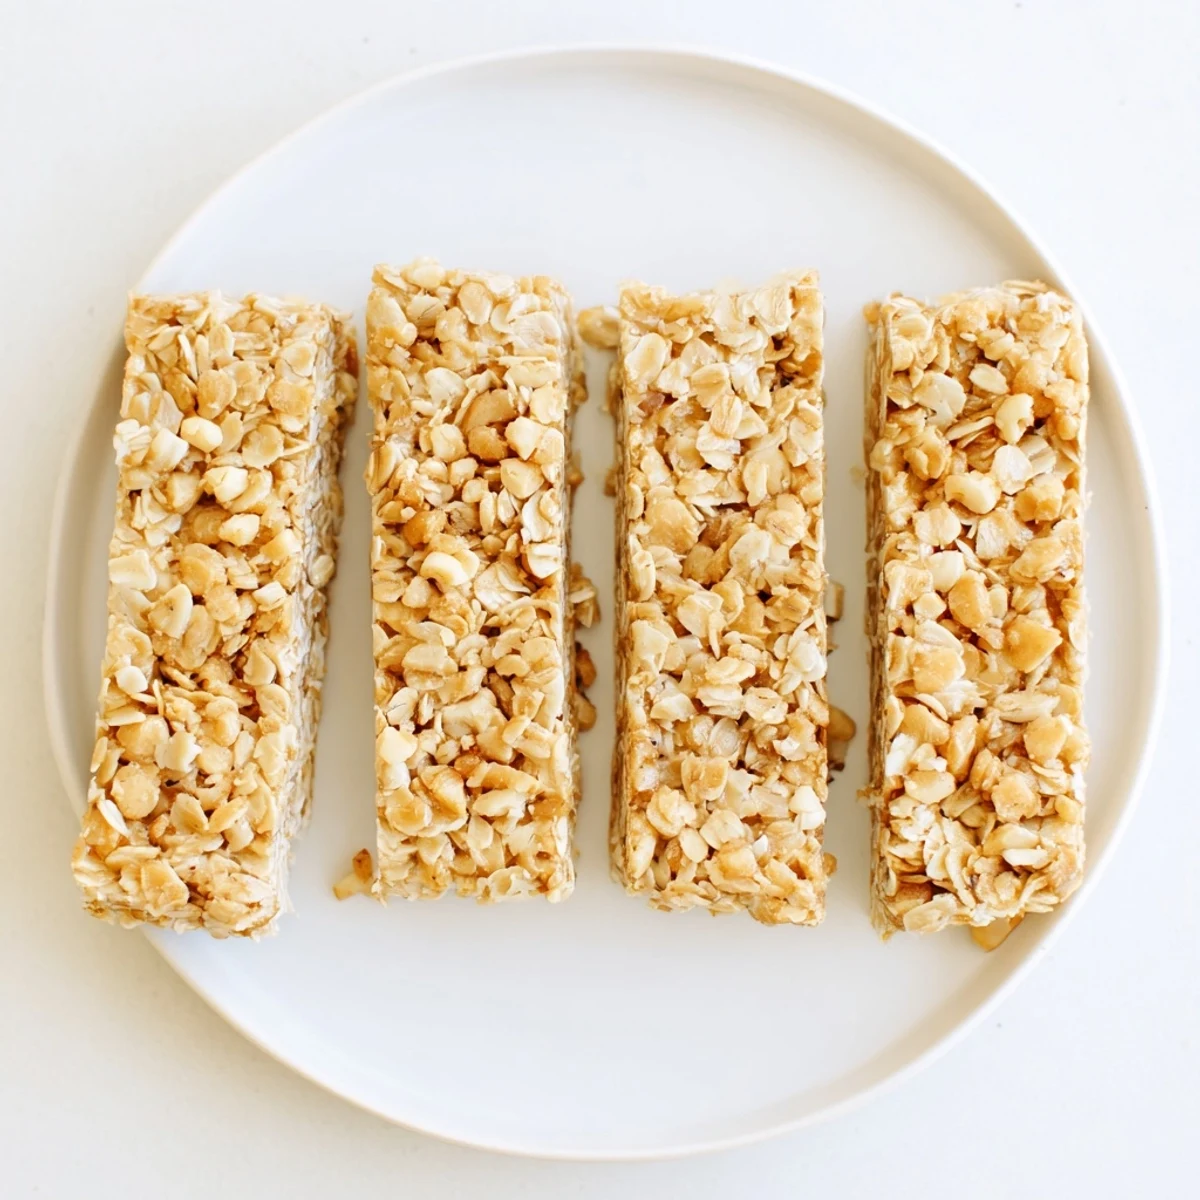
Save There's something deeply satisfying about opening the refrigerator and seeing a stack of homemade snacks waiting for you. These bars have become my go-to for everything from road trips to midnight cravings.
Recipe Q&A
- → Do I need to bake these granola bars?
-
No baking is required. Simply mix the ingredients, press into a pan, and refrigerate for at least one hour until firm. The chilling time helps the bars hold their shape.
- → How should I store these bars?
-
Store in an airtight container in the refrigerator for up to one week. They hold together best when kept chilled and can be enjoyed straight from the fridge.
- → Can I make these nut-free?
-
Yes, substitute sunflower seed butter for the peanut butter and omit the chopped peanuts. The rest of the ingredients work perfectly for a nut-free version.
- → Can I use maple syrup instead of honey?
-
Absolutely. Maple syrup works as a 1:1 replacement and makes these bars vegan-friendly if you also ensure your oats are certified gluten-free and your sugar is vegan.
- → What other mix-ins can I add?
-
Try chocolate chips, pumpkin seeds, sunflower seeds, chopped dried apricots, raisins, or dried cranberries. Keep total add-ins to about ½ cup to maintain the proper texture.
- → Why do my bars fall apart when cutting?
-
Be sure to press the mixture firmly into the pan using the back of a spatula or your hands. Proper chilling is also essential—cut after at least one hour in the refrigerator.
