 Save
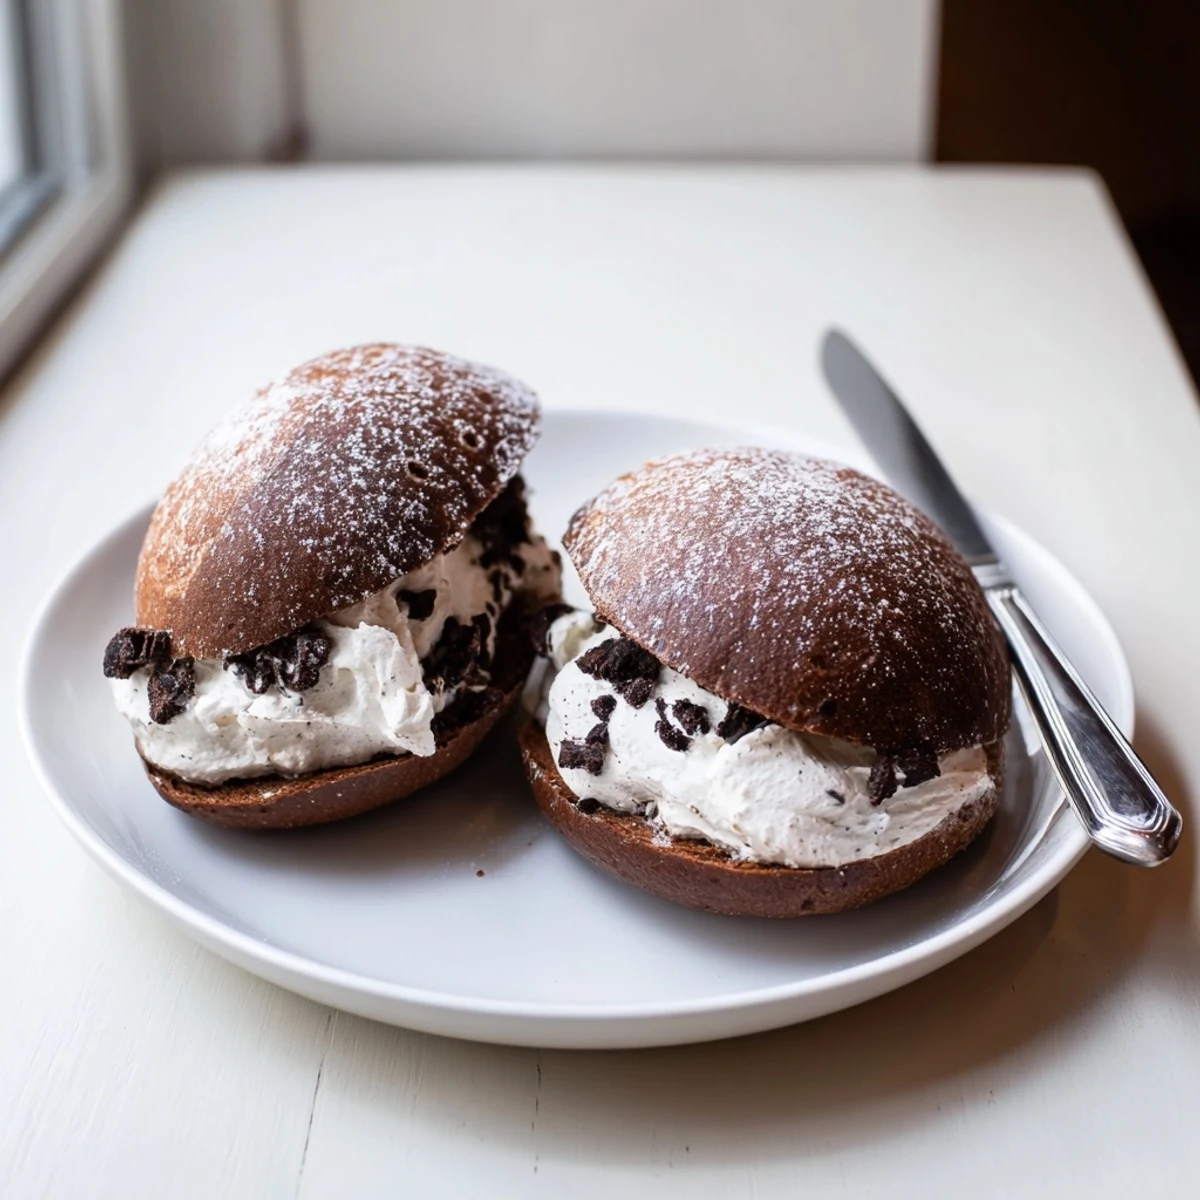
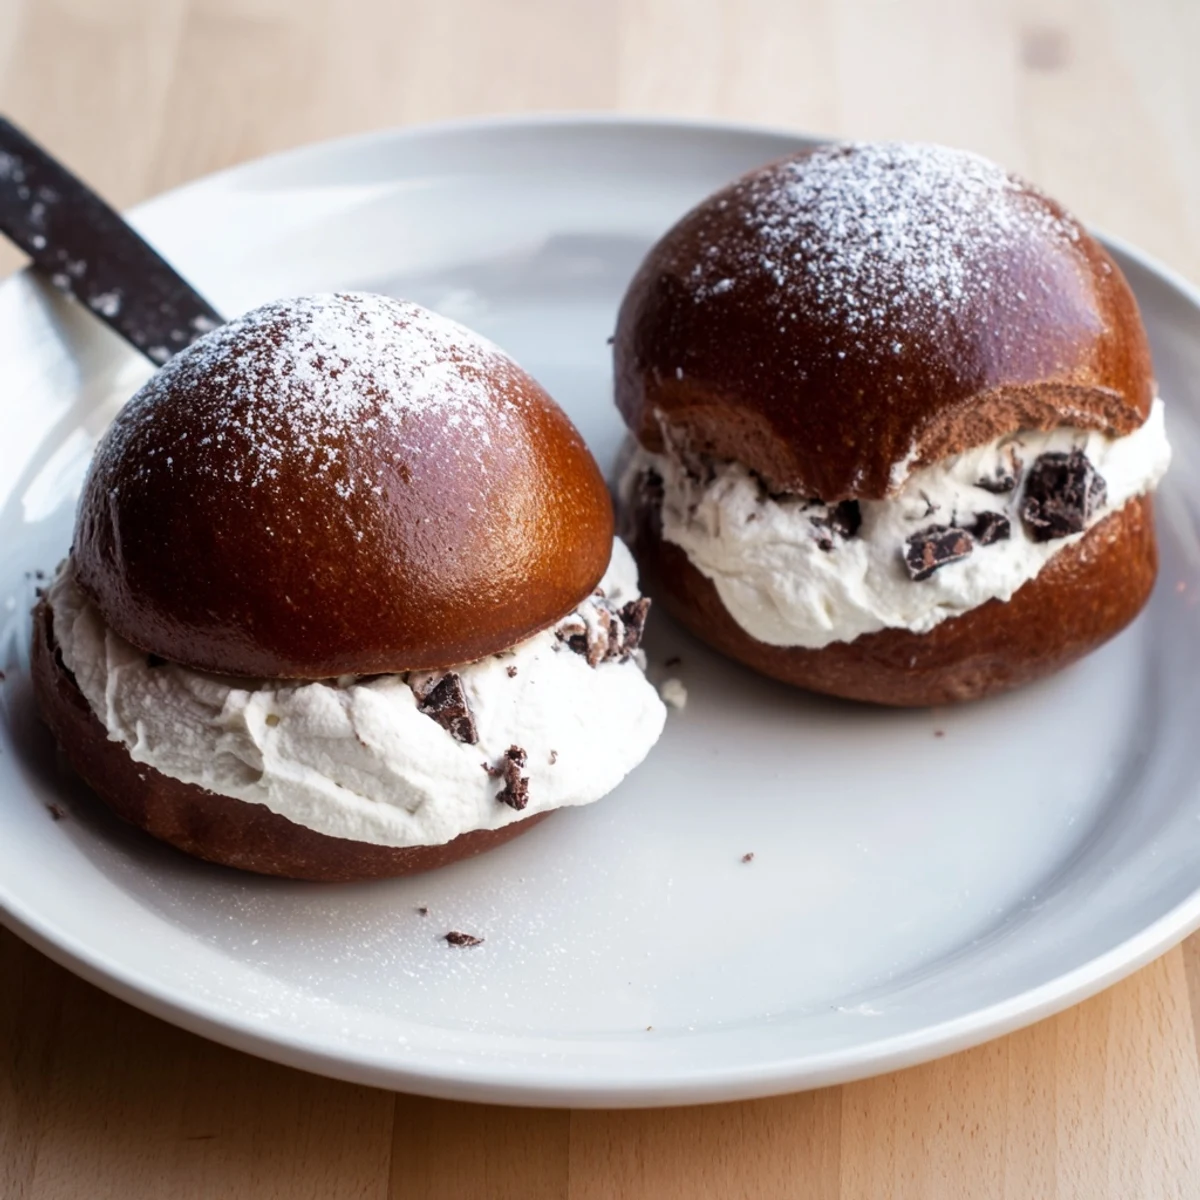
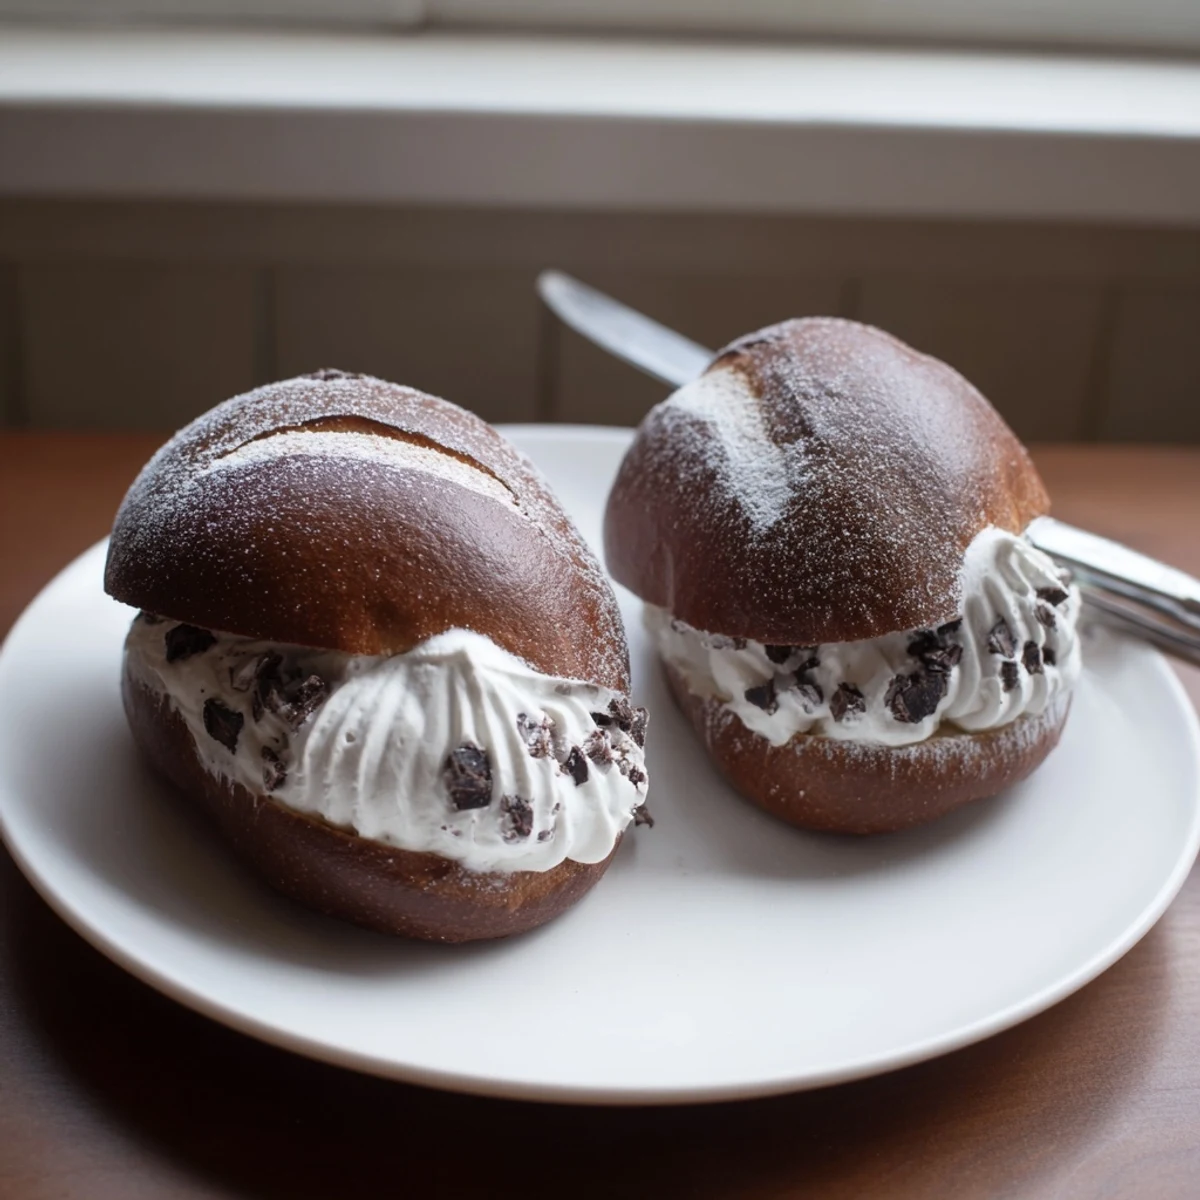
Save Maritozzi are beloved Roman sweet buns traditionally enjoyed at breakfast with espresso. These chocolate versions are enriched with cocoa powder and studded with dark chocolate chunks, then generously filled with a silky chocolate whipped cream.
The dough requires two rises for that signature pillowy texture, but hands-on time is minimal. A simple egg wash gives the buns a beautiful golden finish before baking.
Serve them fresh with a cappuccino for an authentic Italian morning treat.
The scent of cocoa and yeast hit me before I even opened the oven door, and I knew right then that these chocolate maritozzi had ruined every plain breakfast pastry for me forever. I had scribbled down a rough version of this recipe on a napkin after a trip to Rome, where a tiny bakery near the Pantheon sold out of these every morning by nine. Back home in my cramped kitchen at six in the morning, flour dusted across the counter and espresso steaming beside me, I finally got them right on the third attempt. That golden brushed top cracking open to reveal clouds of chocolate cream felt like a small personal victory.
My neighbor Luca stopped by the afternoon I made my second batch, ostensibly to return a borrowed corkscrew, but really because the smell of baking chocolate had drifted down the hall. He ate three in one sitting and then asked, mouth still full, if I could teach his mother the recipe. I told him the secret was patience with the rise, but honestly the secret was just not eating all the chopped chocolate before it went into the dough.
Ingredients
- All-purpose flour (350 g): You want standard flour here, not bread flour, because tenderness matters more than structure for these buns.
- Unsweetened cocoa powder (40 g): This colors and flavors the dough without adding sweetness, so use a decent quality one you would drink in hot chocolate.
- Whole milk, lukewarm (120 ml): It should feel like warm bath water, not hot, or you will kill the yeast before the party even starts.
- Granulated sugar (60 g): The dough needs sweetness but not as much as you think, because the filling and the chocolate chunks carry the rest.
- Active dry yeast (7 g): One packet is exactly right, and always check the expiration date because dead yeast is the quickest way to heartbreak.
- Large egg (1): Room temperature works best for even mixing throughout the dough.
- Unsalted butter, softened (40 g): Leave it out for an hour before starting so it blends without tearing the dough apart.
- Vanilla extract (1/2 tsp for dough, 1 tsp for filling): Split between the dough and the cream, it ties everything together quietly in the background.
- Salt (1/2 tsp): Do not skip this, because salt makes chocolate taste more like itself.
- Dark chocolate, chopped (60 g for dough): Rough chunks create little pockets of melted chocolate inside the bun that surprise you with every bite.
- Heavy whipping cream (300 ml): Cold cream whips faster and holds its shape better, so keep it in the fridge until the last minute.
- Dark chocolate, melted and cooled (70 g for filling): Let it come to room temperature after melting so it does not deflate your beautiful whipped cream.
- Powdered sugar (30 g for filling): Powdered sugar dissolves instantly into the cream where granulated would leave gritty specks.
- Egg yolk (1) and milk (2 tbsp) for brushing: This wash gives the buns that glossy, bakery window shine that makes people press their faces against the glass.
Instructions
- Wake up the yeast:
- Stir the yeast and one tablespoon of sugar into the lukewarm milk and set it aside for about ten minutes until it blooms into a foamy, bubbly layer on top. If nothing happens after fifteen minutes, your yeast is dead and you need to start over with a fresh packet.
- Build the dry foundation:
- Whisk together the flour, cocoa powder, remaining sugar, and salt in a large bowl until the color is uniform and there are no cocoa clumps hiding in corners. Take a moment to smell it, because that dark chocolate flour mixture is already promising good things.
- Bring everything together:
- Make a well in the center of your dry ingredients and drop in the egg, vanilla, softened butter, and the frothy yeast mixture. Stir with a wooden spoon until a shaggy, messy dough starts to form and you wonder if it will ever come together.
- Knead with conviction:
- Turn the dough onto a lightly floured surface and knead by hand or with a mixer for eight to ten minutes until it becomes smooth, elastic, and slightly tacky but not sticking to your fingers. Scatter in the chopped chocolate during the last two minutes of kneading so the chunks stay whole rather than melting into the dough.
- Let it rise in peace:
- Transfer the dough to a clean bowl, cover it with a damp towel or plastic wrap, and leave it in a warm, draft free spot for one to two hours until it has puffed up to double its size. This is a good time to clean the flour off your counter and pour yourself that espresso.
- Shape the buns:
- Gently punch down the dough and divide it into eight equal pieces, then roll each one into a plump oval and arrange them on a parchment lined baking tray with space between them. Think of small football shapes, plump in the middle and slightly tapered at the ends.
- The patient second rise:
- Cover the shaped buns loosely and let them puff up again for about forty minutes while you preheat your oven to 180 degrees Celsius. They should look visibly swollen and soft, like little chocolate pillows catching their breath.
- Brush and bake:
- Whisk the egg yolk with two tablespoons of milk and brush it gently over each bun, then bake for fifteen to eighteen minutes until the tops are set and just slightly firm when you press them. Let them cool completely on a wire rack because warm buns will melt your filling into a puddle.
- Make the chocolate cream:
- Whip the cold heavy cream with powdered sugar and vanilla until it reaches firm peaks that hold their shape when you lift the beaters, then gently fold in the melted and cooled dark chocolate with a spatula. Stop folding as soon as it is mixed, because overworking it will turn silky cream into something grainy.
- Fill and finish:
- Slice each cooled bun lengthwise with a serrated knife, leaving a hinge at the back so it opens like a little book, then pipe or spoon the chocolate cream generously inside. Dust with powdered sugar if you want that extra touch of sweetness and serve them right away while the cream is still cold and proud.
 Save
Save The morning I brought a tray of these to a friends brunch, the conversation stopped entirely for about three minutes, which if you know our group is something close to a miracle. Someone asked me if they were difficult to make, and I realized the honest answer was that they just take time, not skill. That is the kind of recipe worth keeping close.
What to Serve Alongside
In Rome these are breakfast, plain and simple, meant to be eaten standing at a bar with an espresso so thick it barely moves. At home I have served them after dinner with small glasses of amaro and they disappear just as fast, which tells me the Italians got it right by not restricting them to morning hours.
Handling Leftovers and Storage
Filled maritozzi are best eaten the day they are assembled because the cream softens the bun overnight into something more like cake, which honestly is not terrible. If you want to plan ahead, bake the buns and make the cream separately, then fill them right before serving so everything holds its texture.
Adapting This Recipe Your Way
The dough is forgiving enough to handle substitutions, and I have swapped the dark chocolate chunks for white chocolate and dried cherries when I wanted something less intense. The filling can be flavored with orange zest, espresso powder, or even a tablespoon of hazelnut spread for a different direction entirely.
- Milk chocolate in the filling makes them sweeter and more kid friendly without changing the technique at all.
- A few chocolate chips tucked inside each bun before filling adds a second layer of texture that catches people off guard in the best way.
- Always check your chocolate packaging for allergen information if you are serving these to anyone with nut or soy sensitivities.
 Save
Save There is something deeply satisfying about pulling a tray of these from the oven, their tops glossy and cracked just slightly, smelling like the inside of an Italian pastry shop. Make them once and they will become the recipe people ask you for, the one that disappears first at every gathering.
Recipe Q&A
- → Can I make the dough ahead of time?
-
Yes, you can prepare the dough through the first rise, then refrigerate it overnight. Let it come to room temperature before shaping and proceeding with the second rise.
- → What type of chocolate works best for the filling?
-
Dark chocolate with 60-70% cocoa content provides the best balance of richness and sweetness. You can substitute milk chocolate if you prefer a milder, sweeter filling.
- → How should I store leftover maritozzi?
-
Store them in an airtight container in the refrigerator for up to two days. The cream filling requires refrigeration. Bring to room temperature briefly before serving for the best texture.
- → Can I freeze the baked buns before filling?
-
Absolutely. Bake the buns, cool completely, and freeze in a sealed bag for up to one month. Thaw at room temperature, then fill with freshly made chocolate cream before serving.
- → Why did my dough not rise properly?
-
Yeast requires lukewarm milk around 38-43°C (100-110°F). If the milk is too hot it kills the yeast, and if too cold the activation is sluggish. Check that your yeast is not expired and let the dough rise in a warm, draft-free spot.
- → Can I use a stand mixer instead of kneading by hand?
-
Yes, a stand mixer with a dough hook works perfectly. Knead on medium-low speed for about 6-8 minutes until the dough is smooth and elastic, then add the chopped chocolate in the final minute.
