 Save
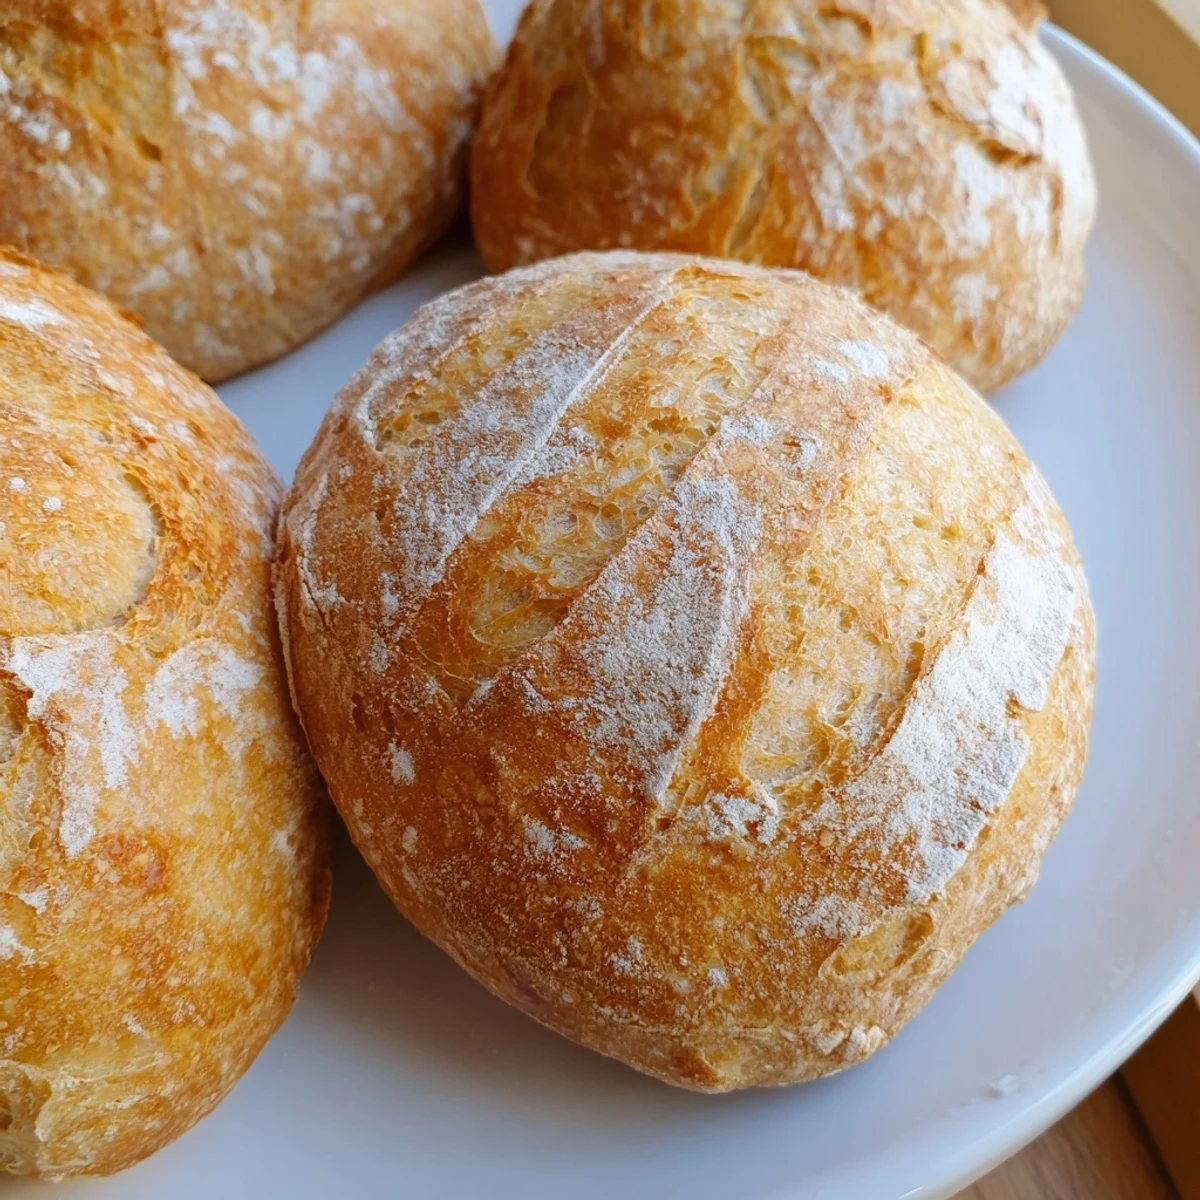
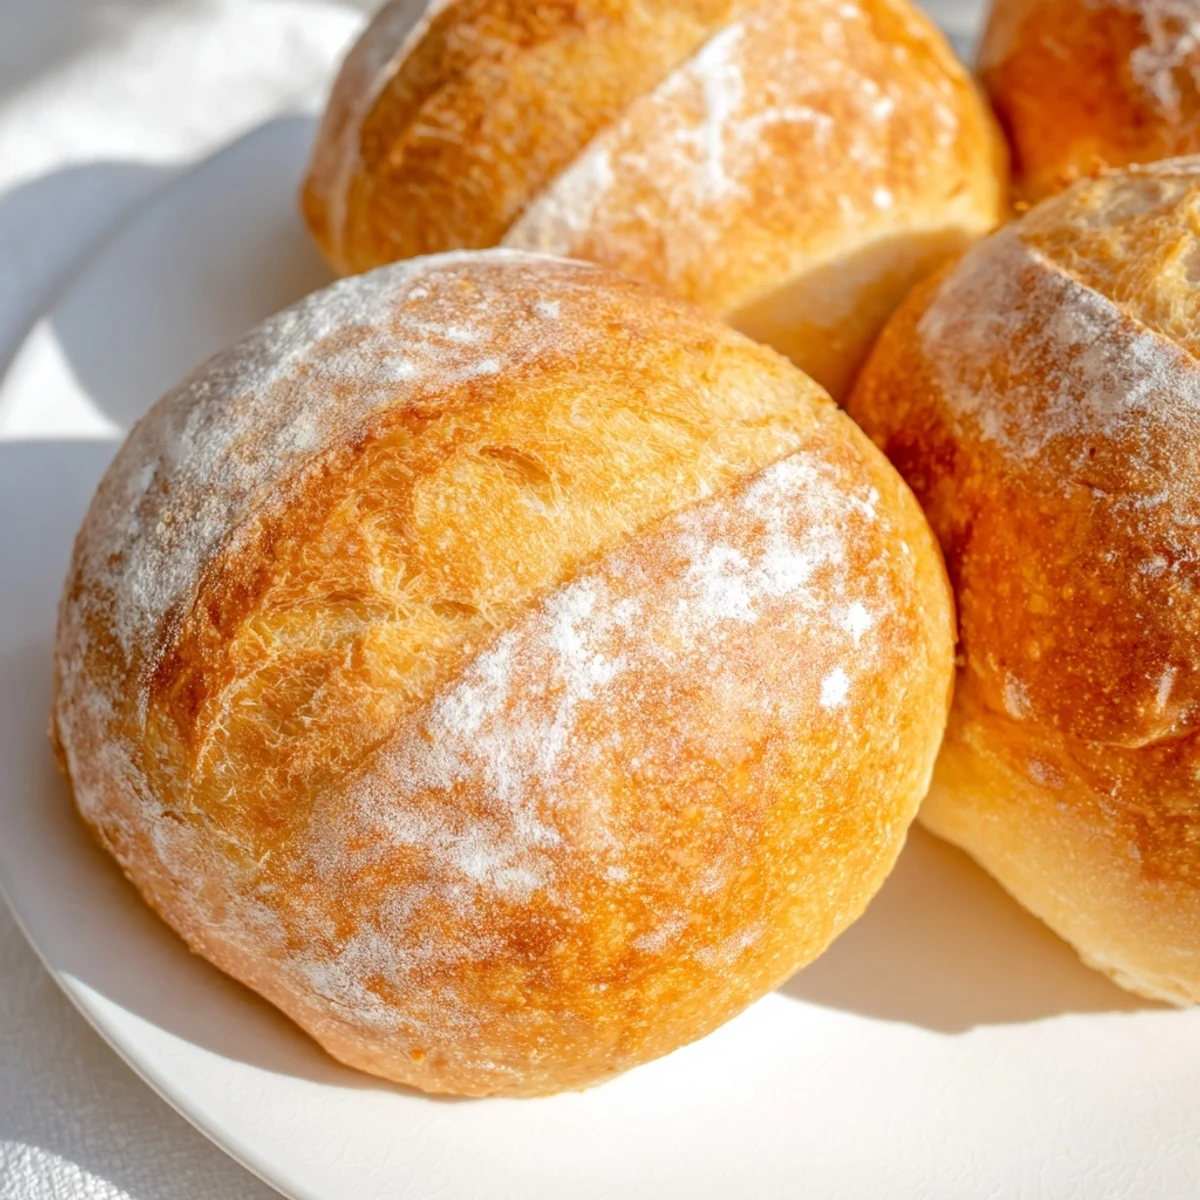
Save These artisan French bread rolls deliver restaurant-quality results with just five staple ingredients. The steam-baking technique creates that signature crackly crust while keeping the interior light and airy. After a simple two-hour rise, you'll have eight golden rolls perfect for warm butter, soups, or sandwich building.
The process involves mixing, kneading, and two proofing periods before high-heat baking. A water tray in the oven generates essential steam for proper crust formation. Slash the tops before baking for that authentic bakery appearance and extra crunch.
The steam was already fogging up my kitchen window when I pulled these rolls from the oven, that perfect hollow sound when I tapped the bottom telling me everything had gone right. My apartment has never smelled better than those twenty five minutes of baking.
Last winter my neighbor knocked on my door while these were cooling, drawn by the incredible smell. We ended up sharing the whole batch with butter and cheese, standing in the kitchen and talking for hours while the snow fell outside.
Ingredients
- Bread flour: This higher protein flour is what gives these rolls their satisfying chew and structure, trust me on this one
- Lukewarm water: The temperature should feel like a warm bath, too hot and you will kill the yeast, too cold and it will not wake up properly
- Active dry yeast: I always proof my yeast first, watching it foam gives me confidence that the dough will actually rise
- Salt: Do not be tempted to skip this, it is what balances the flavors and keeps the yeast from going crazy
- Sugar: Just a teaspoon helps feed the yeast and gives the crust that beautiful golden color
- Extra flour for dusting: This is purely for that professional bakery look and helps the slashes open up beautifully
Instructions
- Wake up the yeast:
- Combine the lukewarm water with sugar and yeast in your largest bowl, then walk away for ten minutes and come back to find it foamy and alive
- Build the dough:
- Add the flour and salt, then get your hands in there and knead until the dough feels smooth and elastic, this usually takes about eight to ten minutes
- First rise:
- Place your dough in a greased bowl, cover it with a damp cloth, and find the warmest spot in your kitchen for an hour
- Shape the rolls:
- Punch down that puffy dough, divide it into eight equal pieces, and gently shape each one into a neat ball or oval
- Second rise:
- Arrange the rolls on a parchment lined sheet, cover them with a towel, and let them puff up again for thirty to forty minutes
- Create the steam:
- Preheat your oven to 230°C (450°F) with a tray of water on the bottom rack, this steam is the secret to that crackly crust
- Score and bake:
- Dust the tops with flour, slash each roll with a sharp knife, and bake for twenty to twenty five minutes until they are deeply golden
 Save
Save My grandmother would have loved these, and I find myself thinking of her every time I smell that distinctive baked bread aroma. Food has this way of connecting us to memories we did not even know we were holding onto.
Getting That Professional Bakery Look
The slashing on top is not just for looks, it helps the dough expand properly in the oven. I use a serrated bread knife and make one confident cut down the center of each roll.
Making These Your Own
Sometimes I brush the tops with a little water and sprinkle sesame or poppy seeds before baking. The seeds get toasty and add such a wonderful nutty flavor that pairs perfectly with soups.
Storage and Serving Ideas
These rolls are best eaten the same day but can be frozen for up to a month. Just wrap them well and thaw at room temperature before refreshing in a warm oven.
- Warm leftover rolls in a 180°C (350°F) oven for five minutes to bring back that fresh baked texture
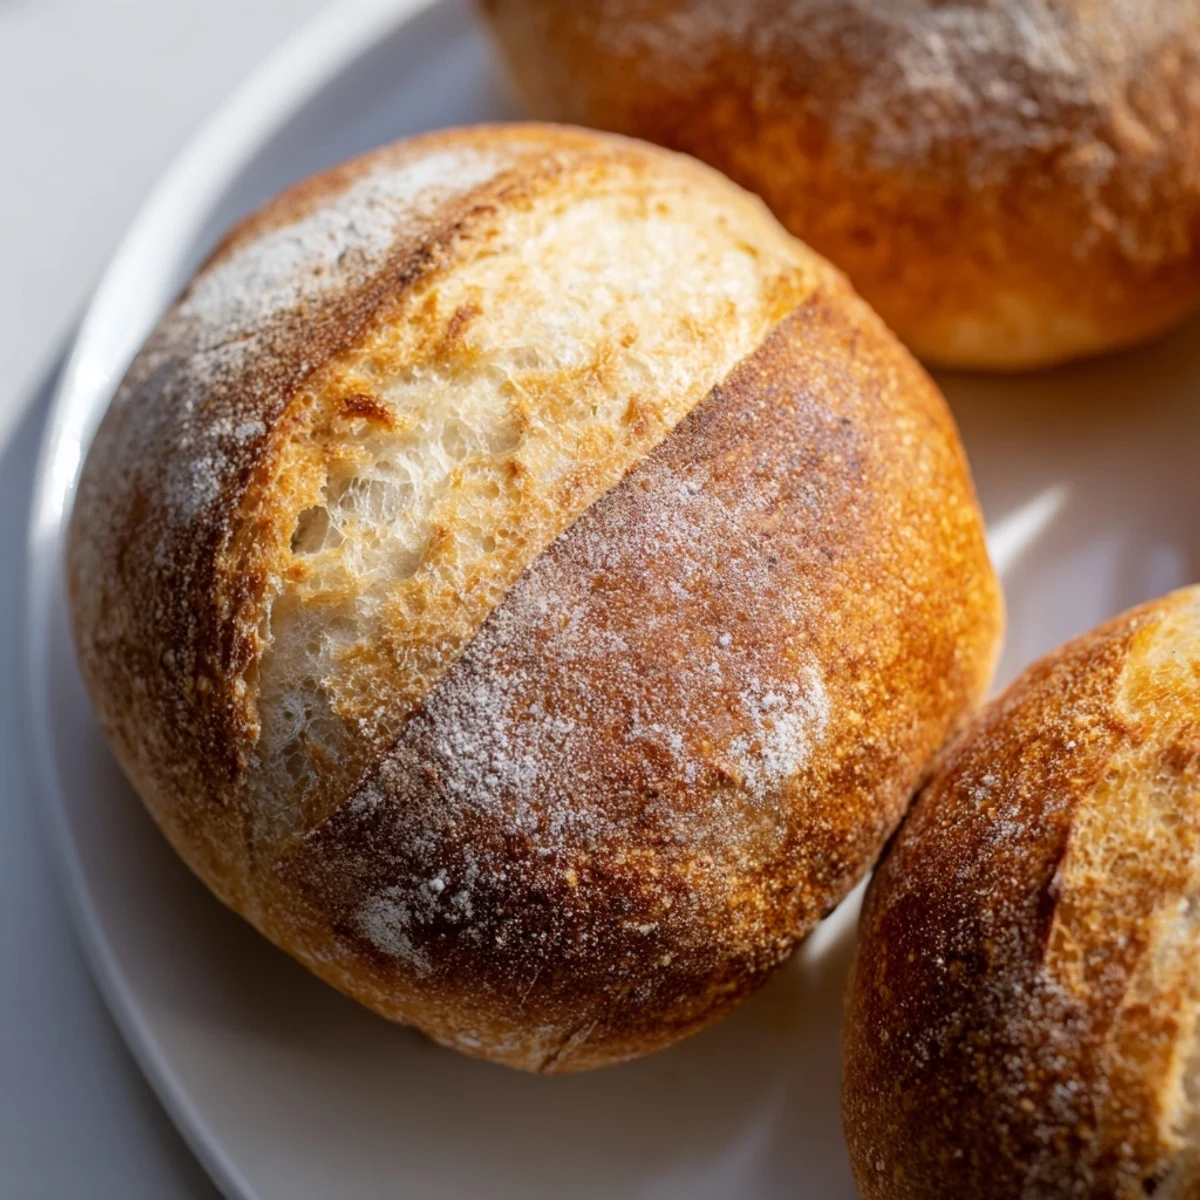
- Slice them horizontally for the most incredible sandwich bread you have ever tasted
- These freeze beautifully, just double wrap in plastic and foil to prevent freezer burn
 Save
Save There is something deeply satisfying about making your own bread, and these rolls are the perfect place to start.
Recipe Q&A
- → What makes French rolls crusty?
-
The combination of high heat (230°C/450°F) and steam creates the signature crusty exterior. Placing a water tray on the bottom rack generates moisture that initially keeps the dough flexible, allowing maximum oven spring before the crust hardens into a crispy shell.
- → Can I make these rolls ahead of time?
-
Yes, you can prepare the dough through the first rise, then refrigerate overnight. Bring to room temperature before shaping and the final 30-40 minute rise. Baked rolls freeze well for up to 3 months - reheat in a 350°F oven for 5-10 minutes to restore crispiness.
- → Why do you slash the tops before baking?
-
Slashing creates controlled weak points in the dough surface, allowing gases to escape during baking while encouraging the roll to expand upward. This technique, called docking, gives you that professional bakery appearance and ensures even baking throughout.
- → What's the purpose of sugar in the dough?
-
Sugar feeds the yeast, helping it activate more quickly during the initial bloom. It also promotes browning during baking, contributing to that appealing golden color. You can omit it, though the rolls may be paler and take slightly longer to rise.
- → How do I know when the rolls are fully baked?
-
Fully baked rolls should be deep golden brown with a firm, hollow-sounding crust when tapped on the bottom. The internal temperature should reach 200°F. If they're browning too quickly, reduce temperature by 25°F and extend baking time 5-10 minutes.
- → Can I use all-purpose flour instead of bread flour?
-
You can substitute all-purpose flour, though the texture will be slightly less chewy. Bread flour's higher protein content (12-14%) creates stronger gluten strands for that authentic French bakery texture. For best results, use bread flour or a high-protein all-purpose brand.
