 Save
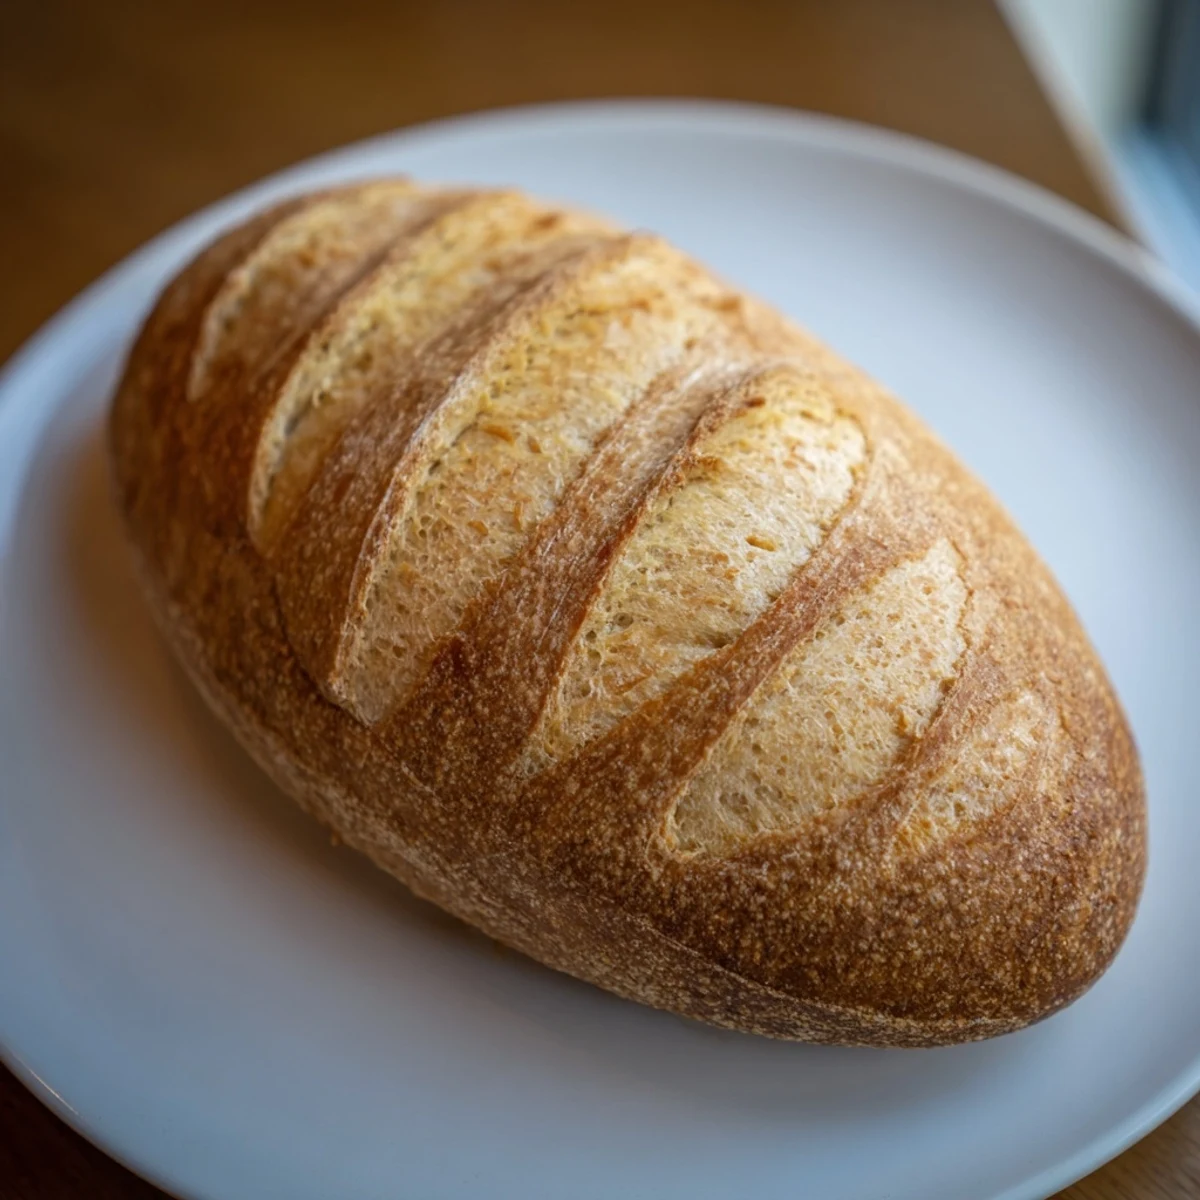
Save This artisan Italian loaf delivers a signature golden crust and tender, chewy interior that bread enthusiasts love. The dough requires just five pantry staples—bread flour, yeast, salt, sugar, and olive oil—transforming into bakery-quality bread through patient rising and proper steam baking technique.
The steam created during baking produces that coveted crackly crust, while kneading develops the perfect texture for dipping in quality olive oil or layering with sandwich fixings. Slash the top before baking for that classic artisan appearance.
Let the dough rise properly for optimal flavor development, and cool completely before slicing to preserve the moist interior. This versatile loaf freezes beautifully—slice first, then wrap tightly for convenient weekday toasting.
The smell of baking bread has this way of stopping time in my kitchen. I started making this Italian loaf on rainy Sundays when the world felt like it needed something warm and steady. My first attempt came out dense and heavy, but that third try when I finally understood the steam technique changed everything.
Last winter my neighbor smelled this baking through our shared wall and knocked on my door with a bottle of olive oil. We stood in my kitchen tearing off warm pieces, dipping them, and talking about how bread makes strangers into friends. Now I double the recipe whenever I know shes home.
Ingredients
- Bread flour: Higher protein content than all purpose flour gives this loaf its signature chew and structure
- Salt: Dont skip this or reduce it, salt is what balances flavor and strengthens the gluten network
- Sugar: Just enough to feed the yeast without making the bread taste sweet
- Active dry yeast: Make sure your water is warm to the touch but not hot, or you will kill the yeast
- Warm water: The temperature should feel like a comfortable baby bath, around body temperature
- Olive oil: Adds subtle flavor and keeps the crumb tender instead of dry
- Cornmeal: This prevents the bottom from sticking and adds a nice texture crunch
Instructions
- Wake up the yeast:
- Dissolve the yeast and sugar in warm water and wait until it forms a foamy layer on top, about 5 to 10 minutes. This tells you the yeast is alive and ready to work.
- Mix the dough:
- Combine flour and salt in a large bowl, create a well in the center, pour in the activated yeast mixture and olive oil, then stir until it forms a shaggy mess that holds together.
- Knead until smooth:
- Turn the dough onto a floured surface and knead for 8 to 10 minutes, pushing it away with the heel of your hand and folding it back until it feels smooth and elastic like your earlobe.
- First rise:
- Place the dough in an oiled bowl, cover with a damp towel, and let it double in size in a warm spot for about 1 to 1.5 hours. This is where the magic happens.
- Shape and second rise:
- Punch down the dough gently, form it into a tight oval or round, place it on a parchment lined baking sheet dusted with cornmeal, and let it rise for 45 more minutes until puffy.
- Preheat with purpose:
- Heat your oven to 220°C or 425°F and place an empty metal pan on the bottom rack to preheat along with the oven.
- Score and steam:
- Use a sharp knife to slash the top of the loaf, pour 1 cup of hot water into the preheated metal pan to create steam, and quickly close the door.
- Bake to golden perfection:
- Bake for 30 to 35 minutes until the crust is deep golden brown and the loaf sounds hollow when you tap it on the bottom.
- Cool completely:
- Let the bread rest on a wire rack until fully cool before slicing, or the steam inside will make the crumb gummy and dense.
 Save
Save My daughter now asks for this bread instead of birthday cake. Watching her slather it with butter while its still warm makes those three hours of rising time feel like the best investment I could make.
Mastering the Steam Method
The steam trick is what separates homemade bread from bakery quality loaves. When you pour hot water into that preheated pan, the sudden burst of moisture keeps the crust flexible longer, letting the bread achieve maximum rise in the oven. This is called oven spring and its the secret to that professional looking loaf with dramatic height and an airy crumb.
Flavor Variations That Work
Sometimes I mix dried rosemary or thyme directly into the dough, but my favorite version involves adding roasted garlic cloves during the kneading phase. The garlic mellows as it bakes and creates these pockets of sweet savory flavor throughout the loaf. Just be sure to let the roasted garlic cool slightly so it does not kill your yeast.
Storage and Freezing Guide
This bread actually freezes better than most store bought loaves because it has no preservatives to mess with the texture. Slice it completely cool, wrap the slices tightly in plastic, then place them in a freezer bag. You can toast slices directly from frozen in about 2 minutes.
- Never store bread in the refrigerator as it stales much faster at cold temperatures
- A paper bag keeps the crust crispy while a plastic one keeps it soft, choose based on your preference
- Revive a day old loaf by sprinkling it with water and reheating at 180°C for 10 minutes
 Save
Save Theres nothing quite like the sound of a crackling crust as bread cools on the counter. Make this on a weekend when you can pay attention to each stage and fill your house with the best smell on earth.
Recipe Q&A
- → What makes Italian bread crusty?
-
The steam created by pouring hot water into the preheated baking pan generates moisture in the oven, allowing the crust to develop properly before hardening into that signature golden, crackly exterior.
- → Can I use all-purpose flour instead of bread flour?
-
Bread flour works best due to its higher protein content, which creates stronger gluten structure. You can substitute all-purpose flour, though the texture will be slightly less chewy and the loaf may not rise as tall.
- → Why is my dough not doubling in size?
-
Ensure your water is warm but not hot—around 40°C activates yeast without killing it. Find a genuinely warm, draft-free spot for rising, and give it up to 1.5 hours. Cool kitchens slow fermentation significantly.
- → Do I really need to slash the top before baking?
-
Scoring with a sharp knife creates deliberate weak points that allow the dough to expand evenly during oven spring. Without slashing, the bread may burst unpredictably or develop dense spots where gas gets trapped.
- → How should I store this bread?
-
Keep at room temperature wrapped in a cloth or paper bag for 2-3 days. Avoid plastic bags, which trap moisture and soften the crust. For longer storage, slice and freeze in airtight bags, then toast individual slices as needed.
- → Can I add herbs or cheese to this dough?
-
Absolutely. Incorporate 1 teaspoon of dried rosemary, thyme, or oregano during mixing. For cheese variations, fold in shredded Parmesan or asiago after the first rise, though this may affect the crust texture slightly.
