 Save
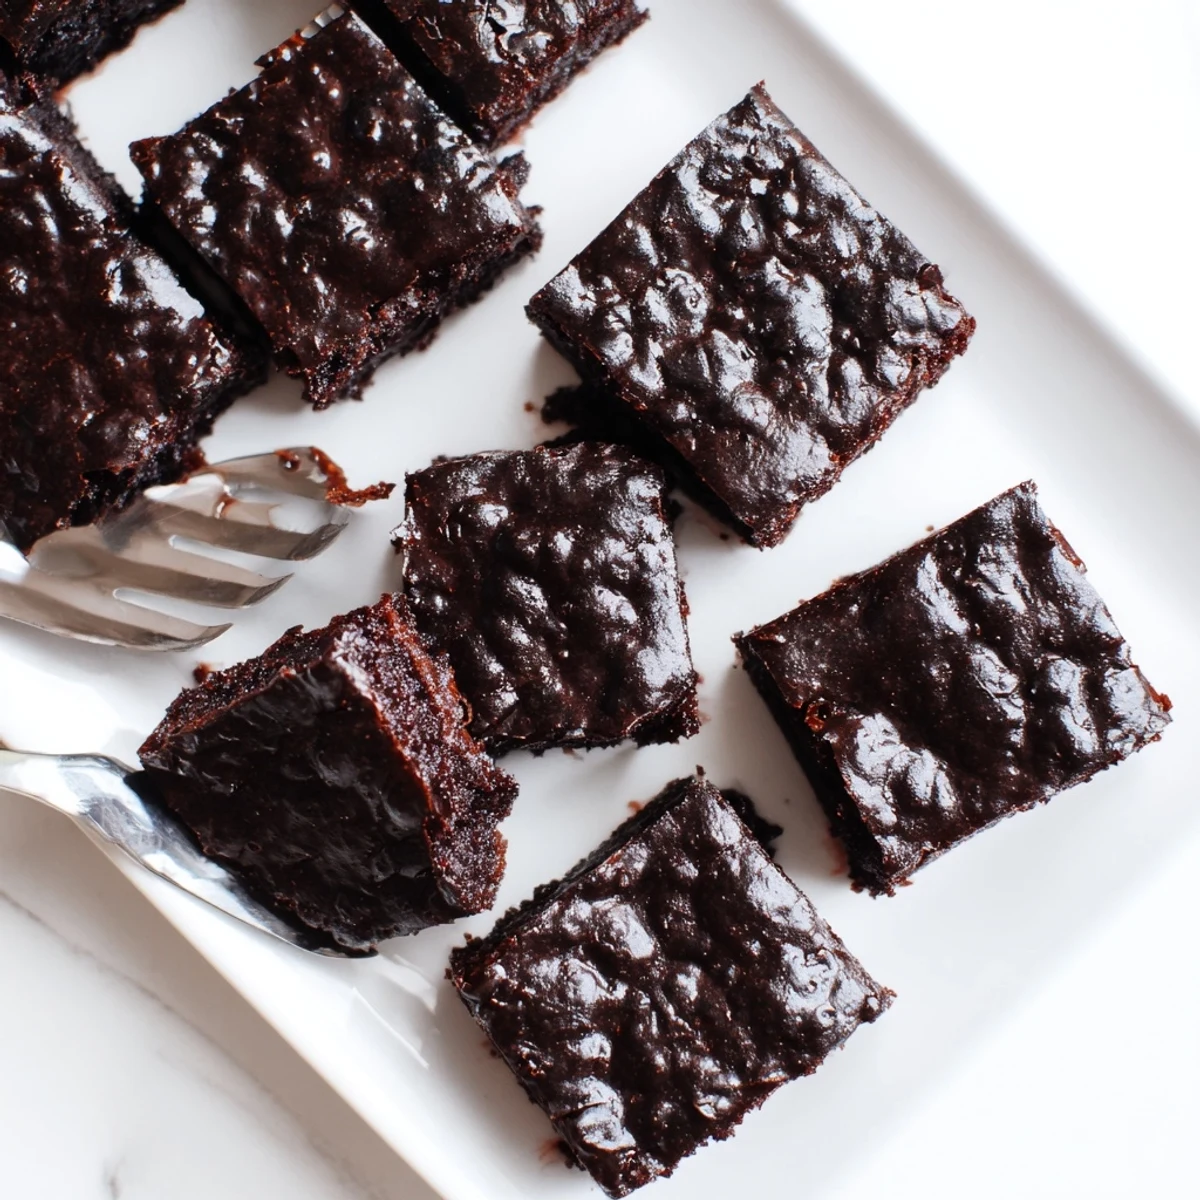
Save These ultra-fudgy brownies combine the best of American and Japanese desserts, featuring sweet rice flour for a distinctively chewy mochi texture. The brown butter adds a rich, nutty depth that perfectly complements the bittersweet chocolate. With a 65-minute total time and medium difficulty, these gluten-free treats deliver a sophisticated fusion experience. The result is a dense, fudgy interior with a slightly crisp top and irresistible chew throughout.
Last summer, my friend Hiroshi brought over a tray of his grandmother's mochi during a backyard barbecue. The contrast between that chewy, springy texture and the smoky grilled flavors swirling around us was something I couldn't stop thinking about for weeks. I started wondering what would happen if I took that signature mochi bounce and merged it with my absolute weakness: rich, dark chocolate brownies. After six attempts and some slightly confused but willing taste testers, this brown butter version emerged victorious.
I made these for my sister's birthday dinner last month, not telling anyone they were gluten-free until after the plates were empty. Her husband, who claims to hate 'diet food,' actually went back for thirds and then cornered me in the kitchen demanding the recipe. The best moment was watching my nieces discover the chewy texture, their eyes going wide before they immediately started fighting over the corner pieces.
Ingredients
- Sweet rice flour: This creates that signature mochi bounce, so dont try swapping it for regular rice flour or almond flour
- Bittersweet chocolate: Higher cacao percentage (6070%) balances the sugar and gives these a sophisticated edge
- Brown butter: Takes ten extra minutes but the nutty, caramel notes are absolutely worth the effort
- Both sugars: The combination keeps edges crisp while centers stay impossibly fudgy
- Heavy cream: Essential for that rich, tender crumb that separates great brownies from dry ones
Instructions
- Brown your butter like you mean it:
- Melt butter in a small saucepan over medium heat, swirling occasionally until it foams, hisses, and turns golden brown with that incredible nutty aroma. Pour immediately into a large bowl to stop the cooking.
- Melt and mingle:
- Add chopped chocolate to the hot brown butter and stir until completely smooth. Whisk in both sugars until the mixture feels glossy and combined.
- Bring in the eggs:
- Add eggs one at a time, whisking thoroughly after each. Stir in vanilla and watch the batter thicken slightly.
- Combine dry ingredients:
- In a separate bowl, whisk sweet rice flour, cocoa powder, baking powder, and salt until evenly distributed.
- The gentle fold:
- Add half the dry ingredients, stirring until just combined. Pour in milk and heavy cream, mix until smooth, then add remaining dry ingredients and fold gently until no streaks remain.
- Bake to perfection:
- Pour into your prepared 8x8 pan, smooth the top, and bake at 350°F for 4045 minutes. The top should be set but a toothpick in the center should still have moist crumbs attached.
 Save
Save My neighbor texted me at 11 PM after I dropped off a test batch, simply saying 'I need to talk to you about these brownies.' She showed up at my door the next morning with a notebook, demanding I teach her the brown butter technique. Now we have a standing monthly baking date where we experiment with different chocolate combinations and exchange gossip over warm pans straight from the oven.
Getting That Perfect Brown Butter
The difference between melted butter and properly browned butter is night and day in this recipe. Watch closely as it foams and hisses, that's when the magic happens. The color should shift from pale yellow to a deep amber, and your kitchen will smell like toasted nuts. If it smells burnt, start over, but if you catch it right, that flavor transforms these from good to unforgettable.
Pan Choice Matters
Light-colored metal pans brown the edges and bottom more evenly, while glass or dark metal can lead to overdone edges before the center sets through. I learned this the hard way with burnt edges and raw middles. If you only have dark pans, reduce the oven temperature by 25 degrees and check them a few minutes early. The parchment overhang is your friend for lifting these out cleanly.
Storage and Serving
These brownies actually improve after a day, as the flavors meld and the texture settles into something even more chewy and fudgy. Store them at room temperature in an airtight container for up to three days, though in my house they rarely last past day two. For longer storage, wrap individual pieces and freeze, then thaw at room temperature when that chocolate craving hits.
- Room temperature is best for serving, straight from the fridge they lose some of their fudgy magic
- A quick 10-second zap in the microwave makes them taste freshly baked
- Sprinkle flaky sea salt on top right after baking for that sweet-salty finish that makes people pause
 Save
Save Every time I make these now, I think about Hiroshi's grandmother and how food traditions can merge and transform into something new. The best recipes are the ones that bring people together, creating moments that linger in your memory long after the last crumb disappears.
Recipe Q&A
- → What makes these brownies chewy?
-
The chewy texture comes from sweet rice flour (mochiko), which creates the signature mochi-like consistency that's different from traditional wheat flour brownies.
- → Can I use regular butter instead of brown butter?
-
While regular butter works, brown butter adds essential nutty, caramelized flavors that elevate the overall taste profile and complement the chocolate.
- → Why is there a toothpick test mentioned?
-
The toothpick test ensures doneness—insert into the center and look for moist crumbs rather than wet batter or completely clean skewer for perfect fudgy texture.
- → How should I store these brownies?
-
Store in an airtight container at room temperature for up to 3 days, or refrigerate for up to a week. They can also be frozen for up to 3 months.
- → What's the best way to cut clean slices?
-
For clean cuts, chill completely before slicing. Use a sharp knife wiped clean between cuts, or try a plastic knife which reduces sticking.
