 Save
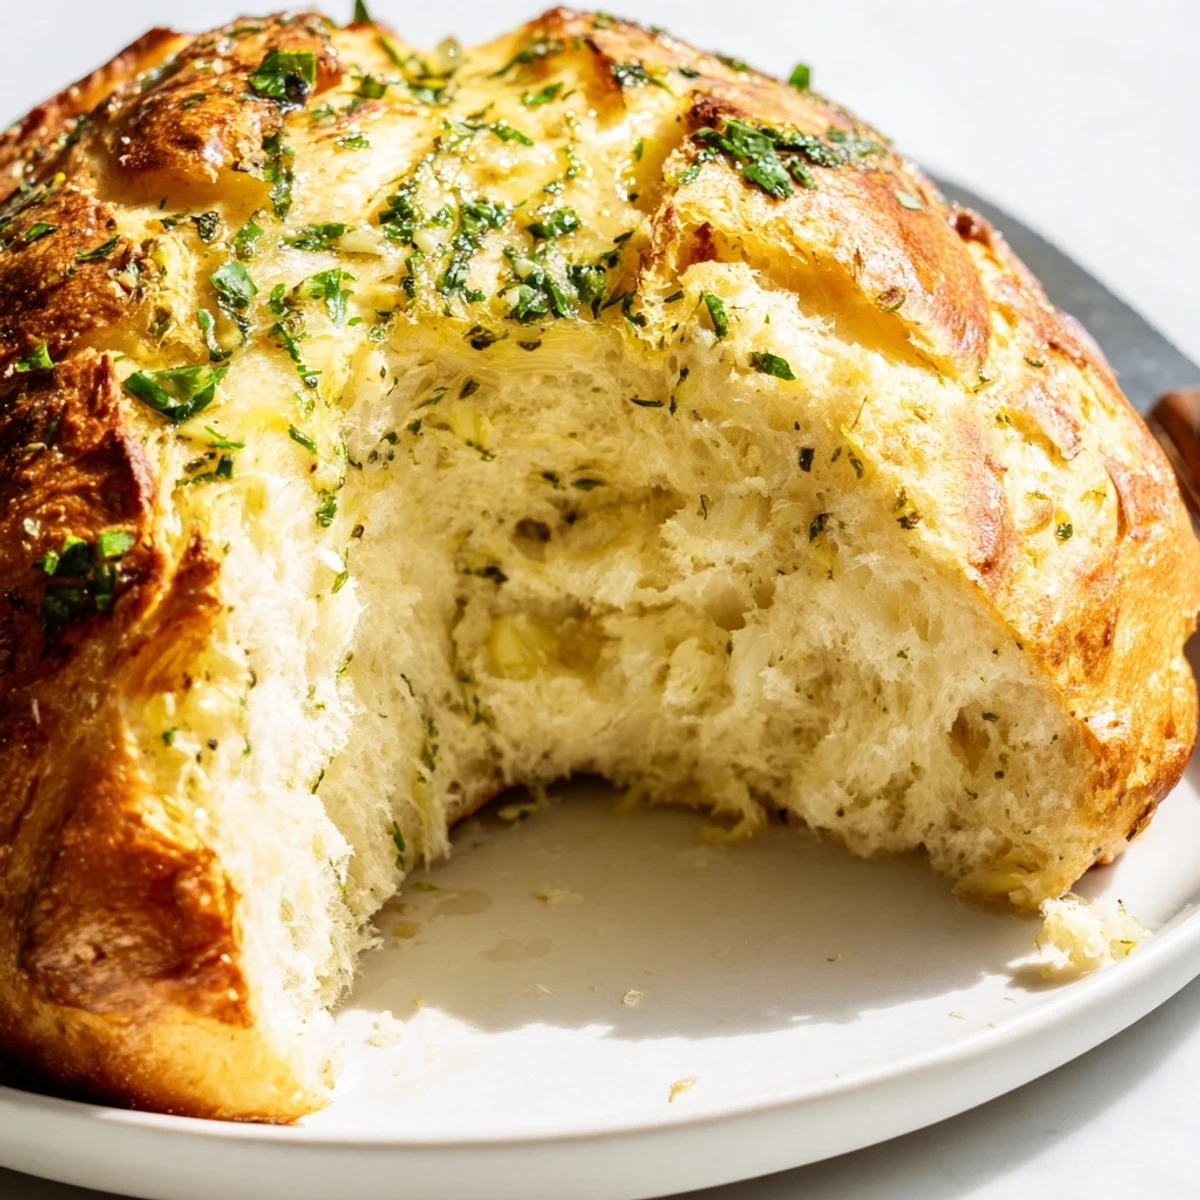
Save This artisan-style bread combines aromatic garlic with fresh rosemary, thyme, and parsley for a fragrant, savory loaf. Baking in a preheated Dutch oven creates steam, resulting in a professional-quality crust that's crackly and golden, while the interior remains tender and airy. The hands-on preparation takes just 20 minutes, followed by a simple rise and bake time that delivers bakery-style results at home.
The first time I made garlic bread in a Dutch oven, my entire apartment building smelled like an Italian bakery. My neighbor actually knocked on my door to ask what restaurant I'd ordered from, and watching her face when I pulled this rustic, golden loaf out of my oven was absolutely priceless. Now it's the only bread recipe that gets requested at every family dinner and potluck I attend.
Last winter, during a particularly brutal snowstorm, I made three loaves back to back just to keep the house warm and smelling incredible. My kids sat by the oven window watching the bread rise through the glass, and we ended up eating an entire loaf straight from the Dutch oven with nothing but a tub of butter.
Ingredients
- Bread flour: Higher protein content than all-purpose flour gives this bread the structure it needs to hold those beautiful air pockets
- Active dry yeast: Make sure your water is warm but not hot, or you'll kill the yeast before it even gets started
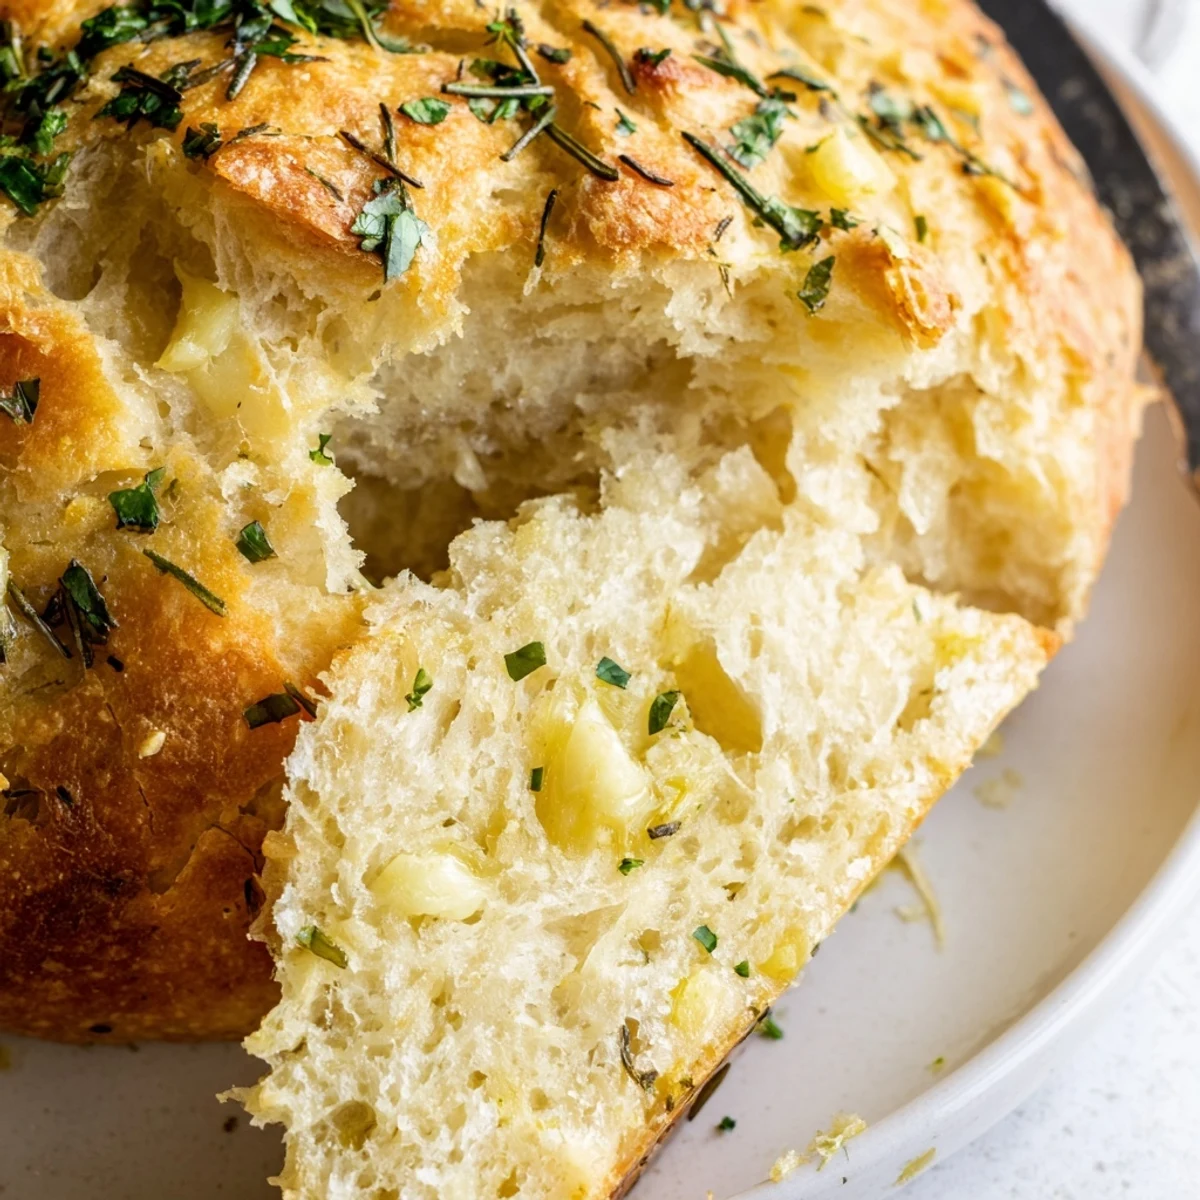
- Fresh garlic cloves: Minced right into the dough, they mellow beautifully during baking and create pockets of garlicky goodness throughout
- Fresh rosemary: Woody and aromatic, this herb holds up perfectly to the high heat of Dutch oven baking
- Fresh thyme: Earthy and slightly floral, it balances the pungent garlic with subtle complexity
- Fresh parsley: Bright and fresh, it cuts through the richness and adds beautiful color to the finished loaf
- Olive oil: Keeps the dough tender and adds that unmistakable Mediterranean richness
Instructions
- Make the dough base:
- Combine flour, salt, and sugar in your largest bowl, then stir in the yeast until everything is evenly distributed
- Bring it together:
- Pour in the warm water and olive oil, mixing with a wooden spoon until you have a shaggy, sticky dough
- Add the flavor:
- Fold in the minced garlic and all those chopped fresh herbs until they're speckled throughout the dough
- Let it rise:
- Cover the bowl and walk away for about 2 hours, until the dough has doubled and looks beautifully puffy
- Shape your loaf:
- Turn the dough onto a floured surface and gently tuck the edges underneath to form a round, then place it on parchment paper
- Heat your Dutch oven:
- Put your Dutch oven and its lid in a cold oven, then crank it to 450°F and let it get screaming hot for at least 30 minutes
- Bake with the lid on:
- Carefully lower your dough into the hot Dutch oven using the parchment, score the top, and cover to bake for 30 minutes
- Finish with steam:
- Remove the lid and let the bread bake for another 15 to 20 minutes until that crust is deep golden brown
- Brush and serve:
- Brush the hot bread with melted butter and extra herbs, then try to resist eating it immediately
 Save
Save My grandmother started crying the first time she tasted this bread, saying it reminded her of the bakery she visited every Sunday morning as a little girl in Italy. Now I make it every Sunday too, and that smell filling the house feels like I'm keeping her memory alive in the most delicious way possible.
Getting The Rise Right
I've learned that patience is absolutely everything with bread dough. Find the warmest corner of your kitchen and let the dough do its thing without moving it or checking on it constantly. The yeast needs time to work its magic, and rushing this step is the difference between a dense brick and the fluffy, airy loaf you're dreaming about.
Mastering The Dutch Oven
The Dutch oven essentially acts as a mini steam oven, trapping moisture around the dough as it bakes. This steam keeps the crust soft in the beginning, allowing the bread to expand fully before that crust hardens into something magical. Once you remove the lid, the crust develops that professional bakery finish that will make everyone think you've been secretly taking bread making classes.
Make It Your Own
This recipe is incredibly forgiving once you understand the basic technique, which means it's perfect for experimentation and adaptation to your taste preferences.
- Try swapping some of the bread flour for whole wheat for a nuttier flavor and heartier texture
- Add grated Parmesan or aged cheddar directly into the dough for an irresistible savory twist
- Use dried herbs if that's what you have, just reduce the amount to about 1 teaspoon each
 Save
Save There's something deeply satisfying about pulling a homemade loaf from your own oven, especially one that smells this incredible and tastes even better.
Recipe Q&A
- → Can I use dried herbs instead of fresh?
-
Yes, substitute 1 teaspoon of each dried herb in place of the fresh varieties. Dried herbs are more concentrated, so you'll need less. Add them directly to the dough with the other ingredients.
- → Why bake bread in a Dutch oven?
-
A Dutch oven traps steam during baking, which creates a crisp, crackly crust and helps the bread rise properly. The enclosed environment mimics professional steam-injected ovens, resulting in that artisan bakery quality.
- → How do I know when the bread is done baking?
-
The bread is finished when the crust is deep golden brown and sounds hollow when tapped on the bottom. An instant thermometer inserted into the center should read 200°F (93°C) for perfectly baked bread.
- → Can I freeze this bread?
-
Absolutely. Once completely cooled, wrap the loaf tightly in plastic wrap and foil, then freeze for up to 3 months. Thaw at room temperature and refresh in a 350°F oven for 10 minutes to restore the crust.
- → What if I don't have a Dutch oven?
-
You can use a heavy oven-safe pot with a tight-fitting lid, such as a cast iron pot or even a stainless steel stockpot. The key is creating a sealed environment to trap steam during the initial baking phase.
- → Should I let the bread cool completely before slicing?
-
Yes, allow the bread to cool for at least 30-45 minutes before slicing. Cutting too soon releases steam and can make the interior gummy. The cooling period allows the crumb structure to set properly.
