 Save
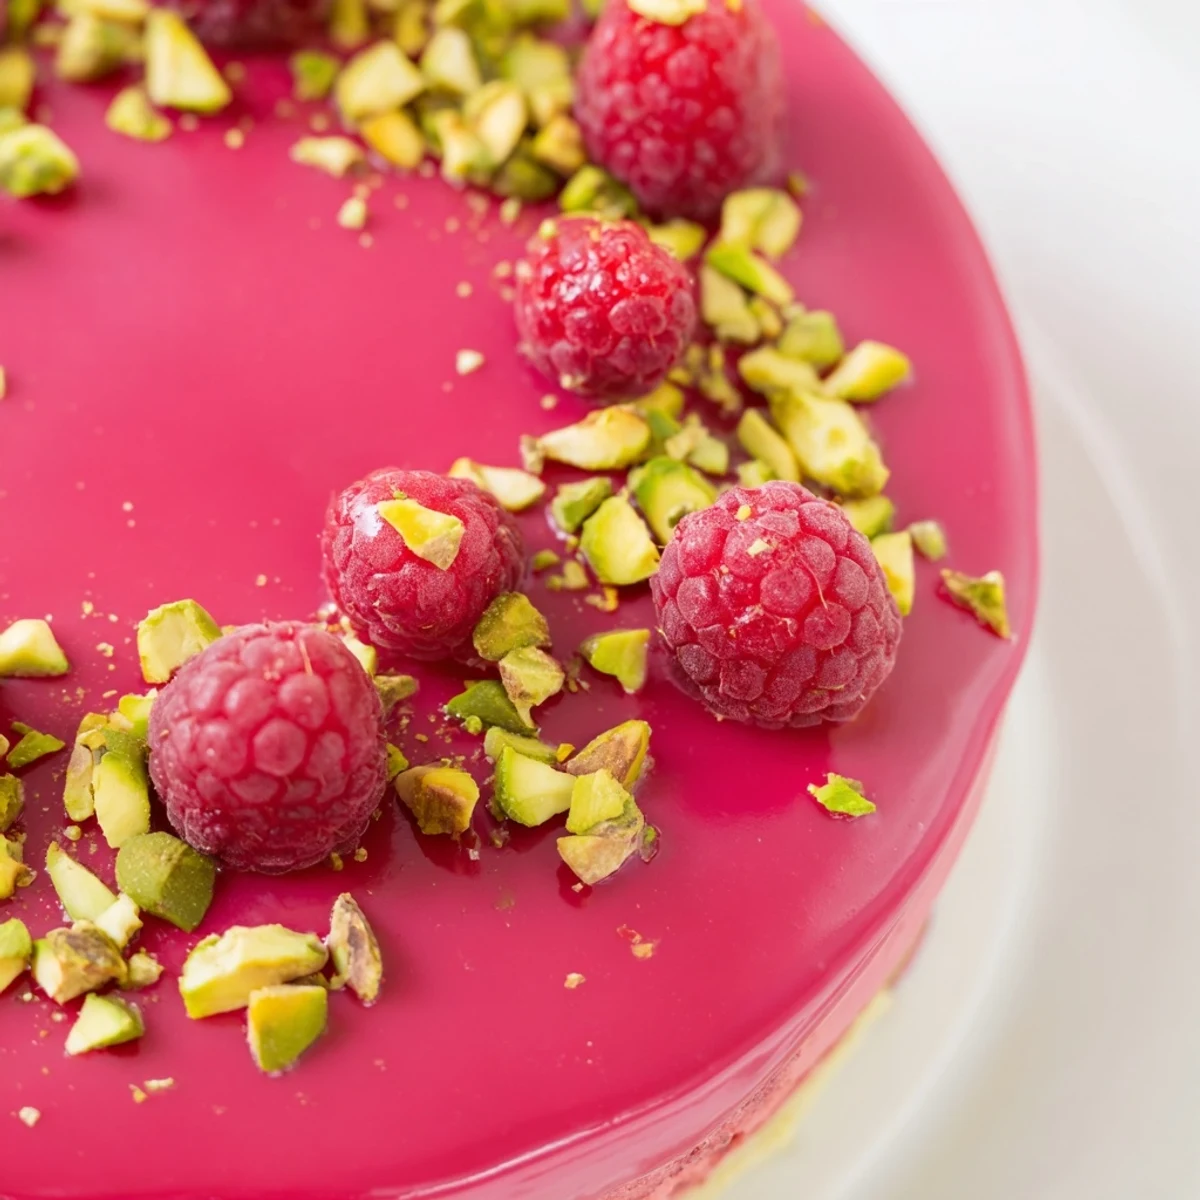
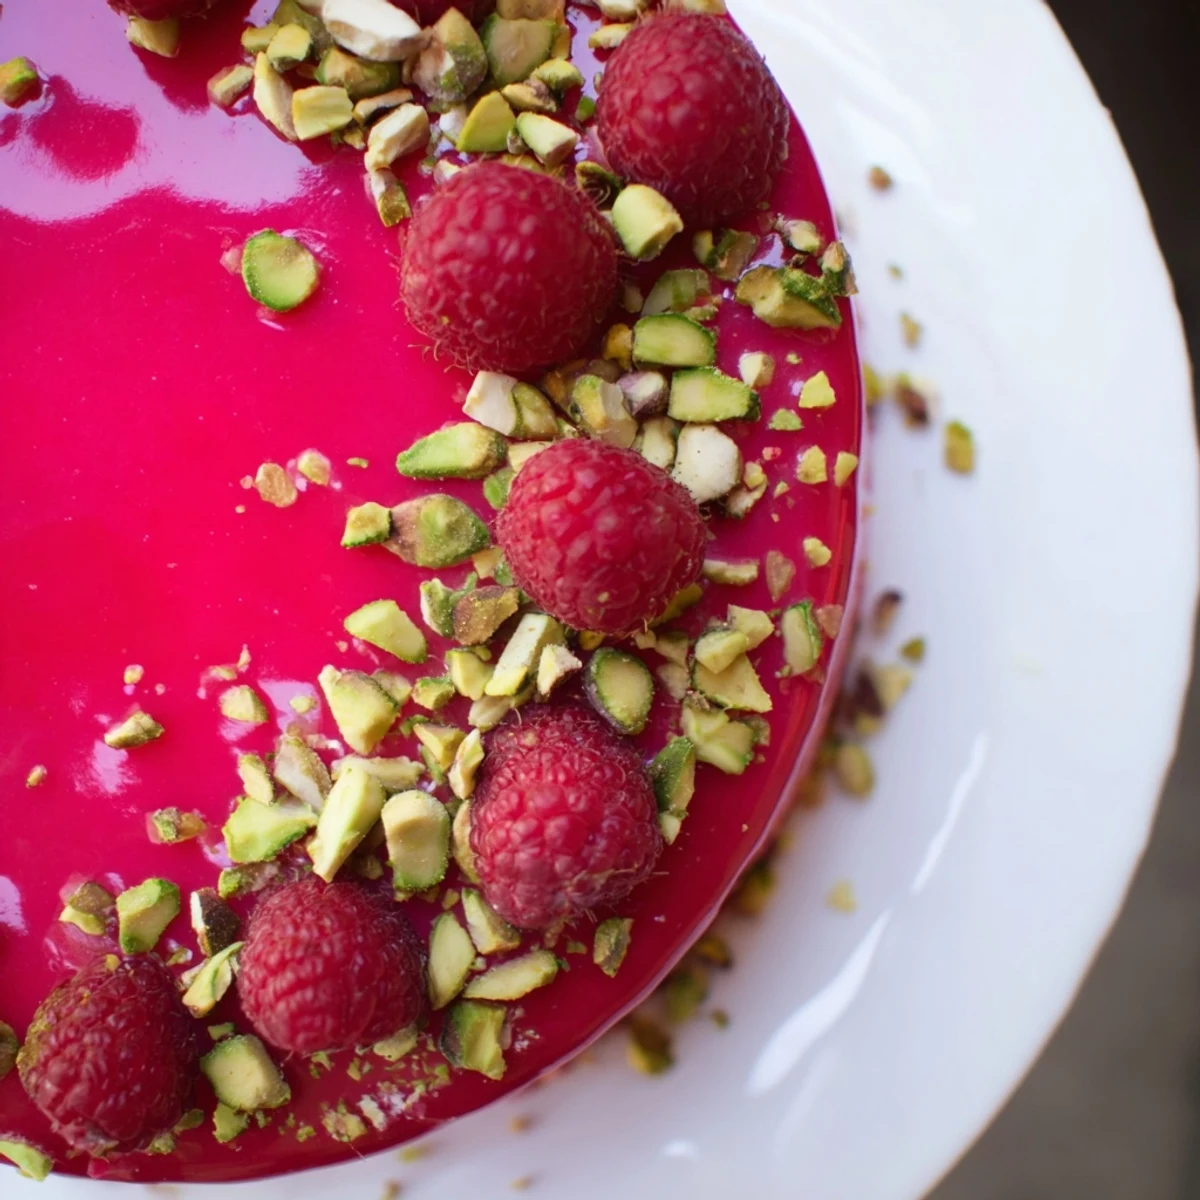
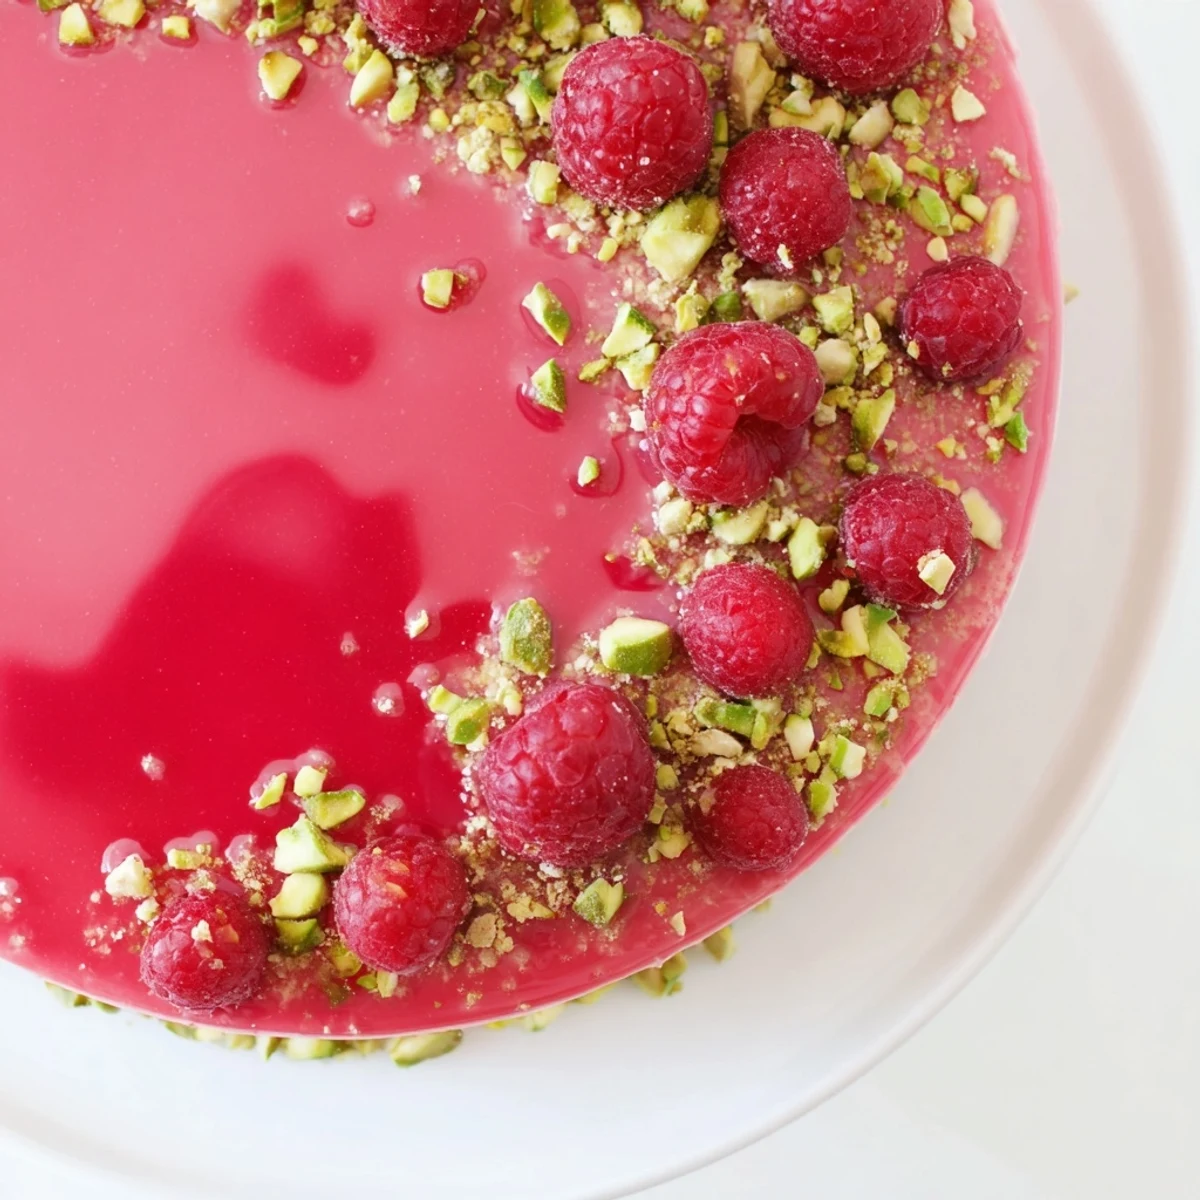
Save These elegant mini cakes showcase the sophisticated pairing of pistachio and raspberry across multiple textures. The foundation starts with a tender pistachio sponge, lightly nutty and moist. This supports alternating layers of silk pistachio mousse—infused with rich pistachio paste—and bright raspberry mousse made from fresh berries. Each component balances the other: the earthy, creamy notes of pistachios complement the tart, fruity raspberry layers perfectly. A glossy raspberry mirror glaze creates a stunning finish that catches the light beautifully, while chopped pistachios add texture to the presentation.
While the assembly requires patience and multiple chilling stages, the result is an impressive dessert worthy of celebrations. The individual portions make serving effortless and each bite delivers a harmonious blend of flavors. These petits gateaux freeze exceptionally well, allowing you to prepare them ahead for dinner parties or special gatherings.
The first time I attempted these mini cakes, it was for my sisters engagement party. I stayed up until 2am perfecting that glossy raspberry glaze, determined to get the mirror finish. When sunlight hit them the next morning, they sparkled like jewels on the dessert table.
I learned that patience is absolutely essential when working with gelatin based mousses. The time I rushed the chilling process resulted in lopsided cakes that refused to unmold cleanly. Now I embrace the waiting periods as an excuse to pour myself tea and clean the kitchen incrementally.
Ingredients
- Ground pistachios: The vibrant green color and distinct nutty flavor define this sponge layer, so avoid roasted varieties that can turn brown
- Pistachio paste: This concentrated paste provides the intense pistachio essence in the mousse, and store bought versions work beautifully
- Fresh raspberries: The tart brightness cuts through the rich mousse layers and creates that stunning contrast against the pale green pistachio
- Gelatin sheets: Sheet gelatin creates a smoother texture than powdered, and soaking them properly is crucial for even setting
- Heavy cream: Cold cream whips to perfect peaks that create the airy mousse texture, so chill your bowl and whisk beforehand
Instructions
- Bake the pistachio sponge:
- Beat eggs and sugar until pale ribbons form, then gently fold in ground pistachios and flour until just combined. Spread thinly and bake until golden, watching closely as the delicate sponge can over dry quickly
- Prepare the pistachio mousse base:
- Heat milk with pistachio paste until just simmering, then temper into whisked yolks and sugar. Cook gently until thickened enough to coat a spoon, then dissolve the gelatin while still warm
- Create the raspberry mousse:
- Purée raspberries with lemon juice and strain out seeds, then dissolve gelatin in a portion of the warm purée before combining with the rest. Cool completely before folding in whipped cream
- Layer and set the cakes:
- Start with sponge at the base, add pistachio mousse, chill briefly, then add raspberry mousse on top. Freezing ensures clean unmolding and the best texture
- Glaze with precision:
- Heat raspberry purée with sugar and gelatin until dissolved, then cool until thickened but still pourable. The temperature matters immensely here too hot and it runs off, too cool and it wont coat evenly
 Save
Save These became my signature dinner party dessert after a guest told me they felt like eating something from a Parisian café window. Theres something deeply satisfying about serving restaurant quality desserts that came from your own tiny apartment kitchen.
Making Ahead
The complete cakes can be frozen for up to a week before glazing, which makes them perfect for advance preparation. Thaw in the refrigerator before applying the final glossy raspberry coating.
Tool Selection
Silicone dome molds release the frozen cakes more reliably than ring molds, though both work with proper technique. A small offset spatula helps smooth the mousse layers perfectly level.
Serving Suggestions
Let these sit at room temperature for about ten minutes before serving to achieve the ideal creamy texture. The contrast between the chilled interior and slightly softened exterior makes each bite more luxurious.
- Plate individually on small dessert plates for maximum presentation impact
- Pair with a crisp dessert wine or espresso to complement the richness
- Consider adding a single gold leaf for extra celebration worthy elegance
 Save
Save Watching someone cut into these tiny cakes and seeing those vibrant layers for the first time never gets old. The effort involved transforms ordinary ingredients into something genuinely magical.
Recipe Q&A
- → Can I make these ahead of time?
-
Absolutely. These mini cakes freeze beautifully for up to 2 weeks before glazing. Complete the assembly and freeze, then glaze and thaw in the refrigerator 2 hours before serving. This makes them perfect for advance preparation.
- → Where can I find pistachio paste?
-
Pistachio paste is available at specialty baking stores, gourmet markets, or online retailers. You can also make it by grinding roasted pistachios with a small amount of oil until smooth and creamy. Look for pure pistachio paste without added almond for the most authentic flavor.
- → Why do I need to freeze the cakes before glazing?
-
Freezing firms the mousses completely, ensuring they hold their shape during unmolding and glazing. The frozen surface also helps the glaze set quickly and evenly, creating that smooth, professional mirror finish. This step is essential for clean, presentable results.
- → Can I use fresh raspberries year-round?
-
Frozen raspberries work excellently for the mousse and glaze when fresh are out of season. Thaw and drain them before puréeing. For garnish, use fresh raspberries when available, or omit during winter months—the glaze provides plenty of raspberry flavor and visual appeal.
- → What size molds work best?
-
Silicone dome molds or ring molds measuring 6 cm (2.5 inches) in diameter create ideal individual portions. If using larger molds, adjust the yield accordingly—this recipe fills eight standard-sized portions. Acetal ring molds provide the sharpest edges for professional results.
- → How do I achieve a perfectly smooth glaze?
-
Temperature control is key: the glaze should be slightly warm but not hot when pouring—around 30-32°C (86-90°F). If too warm, it will slide off; if too cool, it won't coat evenly. Strain the glaze through a fine mesh sieve to remove any lumps before pouring over the frozen cakes.
