 Save
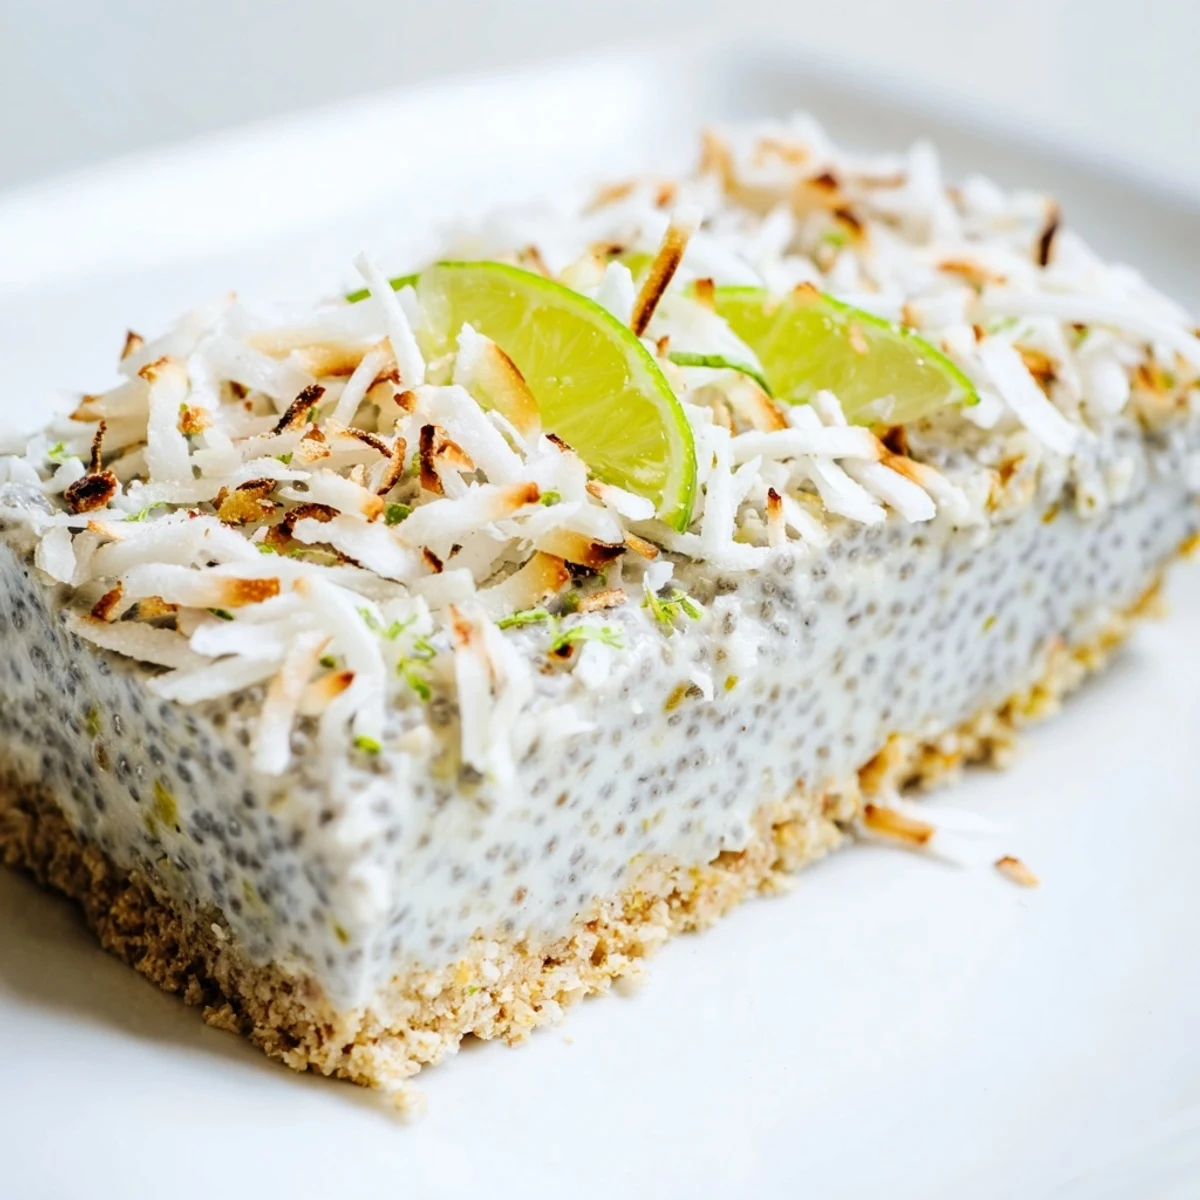
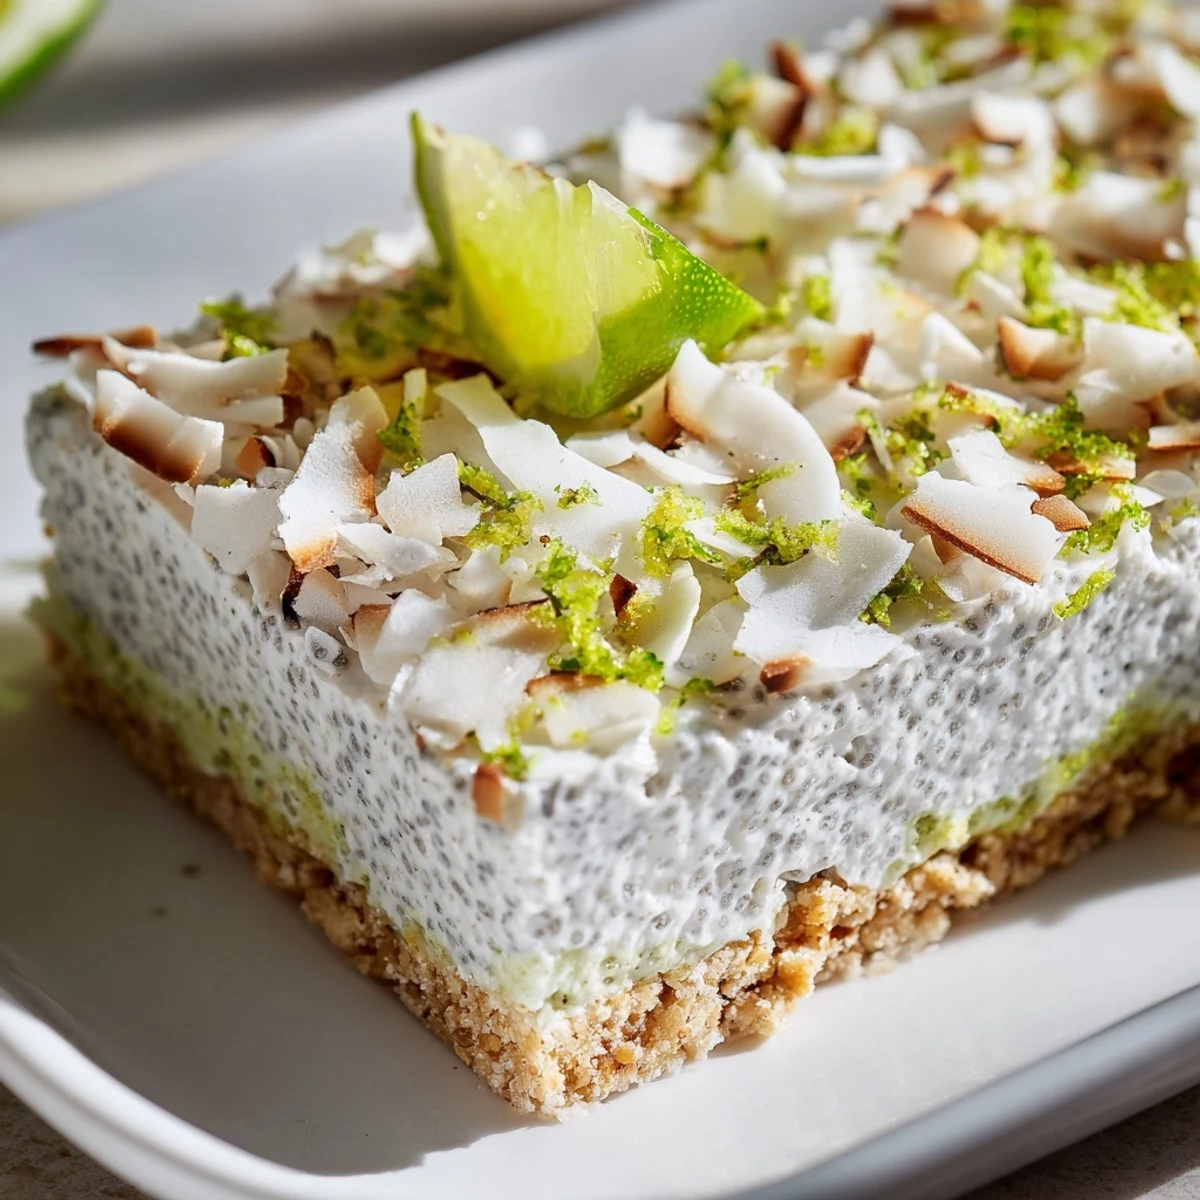
Save These vibrant bars combine three distinct textures: a crunchy coconut-almond crust, a silky chia pudding layer infused with fresh lime zest and juice, and a finishing sprinkle of toasted coconut. The base provides nutty richness while the chia topping delivers creamy tanginess that balances perfectly with natural maple sweetness. Since there's no baking required, simply press, chill, and slice for an effortless dessert that gets better as the flavors meld during refrigeration.
The summer our air conditioner broke, I spent weeks seeking anything that required zero oven heat. These bars emerged from that sweaty desperation, and they ended up tasting like vacation on a plate.
I brought a batch to my sisters backyard barbecue last July. Between the humidity and margaritas, these disappeared before I could even announce what they were. The next day, three people texted for the recipe.
Ingredients
- Unsweetened shredded coconut (1 cup for base, 1/4 cup for topping): Toast the topping portion until golden brown and fragrant. It adds this incredible crunch contrast to the creamy layers.
- Almond flour: Creates a tender crumb that holds together beautifully. Oat flour works if you need nut free.
- Maple syrup: Rounds out the tangy lime with deep caramel notes. Agave or honey work too.
- Coconut oil: Use refined if you do not want coconut flavor competing with lime.
- Sea salt: Just a pinch wakes up all the tropical flavors.
- Full fat canned coconut milk: Shake that can like you mean it before opening. The cream needs to be fully incorporated.
- Chia seeds: They bloom into this tapioca like texture that holds everything together.
- Limes: The zest carries most of the aromatic lime flavor, so do not skip it.
- Vanilla extract: My secret bridge ingredient that connects coconut and lime.
Instructions
- Prep your pan like you mean it:
- Line that 8 inch square pan with parchment paper, leaving generous overhang on two sides. This is your lifeline for lifting the bars out later without a disaster.
- Build the base:
- Mix the shredded coconut, almond flour, maple syrup, melted coconut oil, and salt until everything sticks together when you squeeze it. Press it firmly into your lined pan. Really press it in there. Pop it in the freezer to firm up while you work on the filling.
- Whisk the chia magic:
- Combine the coconut milk, chia seeds, maple syrup, lime zest, lime juice, vanilla, and pinch of salt. Whisk thoroughly. Let it sit for 10 minutes, then whisk again to break up any clumps. Those seeds are getting ready to work.
- Layer and wait:
- Pour the chia mixture over your chilled base. Smooth the top with an offset spatula or the back of a spoon. Cover and refrigerate for at least 4 hours. The patience is the hardest part.
- Finish and serve:
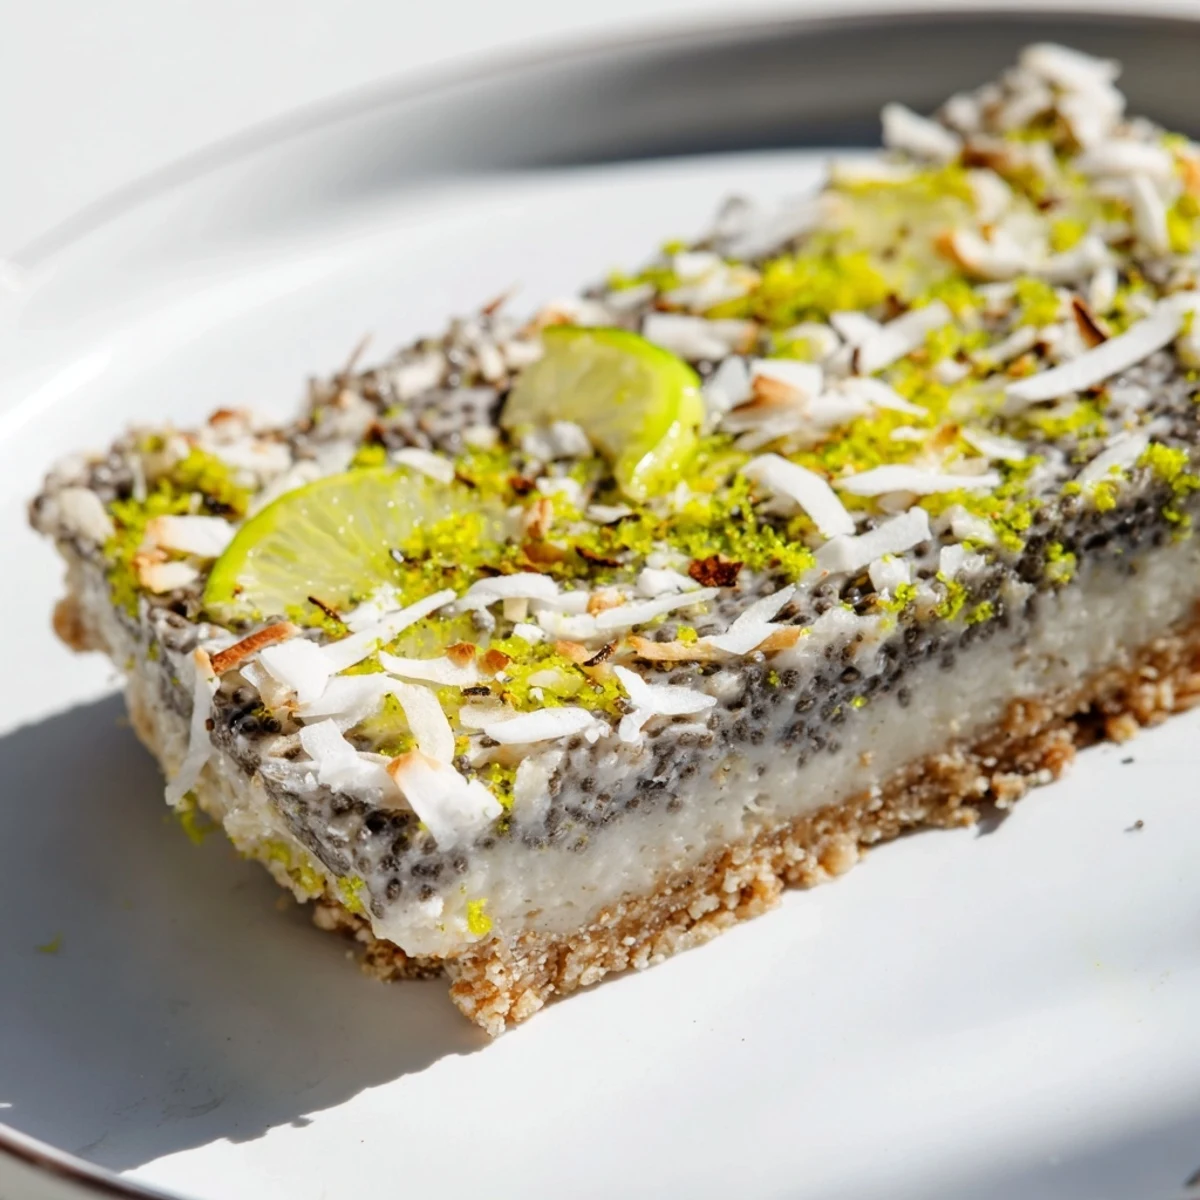
- Sprinkle the toasted coconut and fresh lime zest over the set pudding layer. Use the parchment overhang to lift the whole thing out of the pan. Slice into 12 bars and serve chilled.
 Save
Save My neighbor texted at 11pm after trying these, demanding to know if there was actually cream in them. That moment of watching someone realize healthy can taste indulgent never gets old.
Make Them Your Way
Swap lime for lemon and add poppy seeds for a completely different vibe. Try key limes if you can find them. Their floral punch is worth the squeezing effort. Add a layer of fresh berries between the crust and pudding for a third texture element.
Storage Secrets
These bars actually develop deeper flavor after a day or two in the fridge. The lime mellow slightly while the coconut notes come forward. They freeze beautifully for up to a month. Thaw in the fridge overnight for best texture.
Serving Ideas
Place each bar on a chilled plate for serving. The contrast of cool against cool makes the experience feel special.
- Serve with a fork and knife because these are rich enough to savor slowly
- A sprinkle of flaky sea salt right before serving creates this sweet salty finish
- Pairs beautifully with iced hibiscus tea or champagne
 Save
Save These became my go to contribution to every gathering that summer. Cool, creamy, impossibly fresh. Sometimes the best discoveries come from the most desperate moments.
Recipe Q&A
- → How long do these bars need to chill before serving?
-
The chia layer requires at least 4 hours in the refrigerator to firm up completely. For the best texture, let them set overnight—the flavors deepen and the cutting becomes cleaner.
- → Can I make these bars nut-free?
-
Absolutely. Replace the almond flour with oat flour at a 1:1 ratio. The crust will have a slightly different texture but still hold together beautifully and provide that essential crunchy base.
- → What's the best way to achieve clean slices?
-
Use the parchment paper overhang to lift the entire block onto a cutting board. Run a sharp knife under hot water, dry it, and slice with gentle downward pressure. Wipe the blade between cuts for pristine edges.
- → How should I store these coconut lime bars?
-
Keep them refrigerated in an airtight container for up to 5 days. The texture remains firm and refreshing. For longer storage, wrap individually and freeze for up to a month—thaw in the refrigerator for 2 hours before serving.
- → Can I use fresh coconut milk instead of canned?
-
Canned full-fat coconut milk provides the necessary richness and consistency for the chia layer to set properly. Fresh carton coconut milk is too thin and won't yield the same creamy pudding texture.
- → What makes the chia layer set properly?
-
Chia seeds absorb liquid and create a gel-like consistency when left to rest. The 10-minute sitting period allows them to begin absorbing the coconut milk, while refrigeration completes the setting process for a firm, sliceable layer.
