 Save
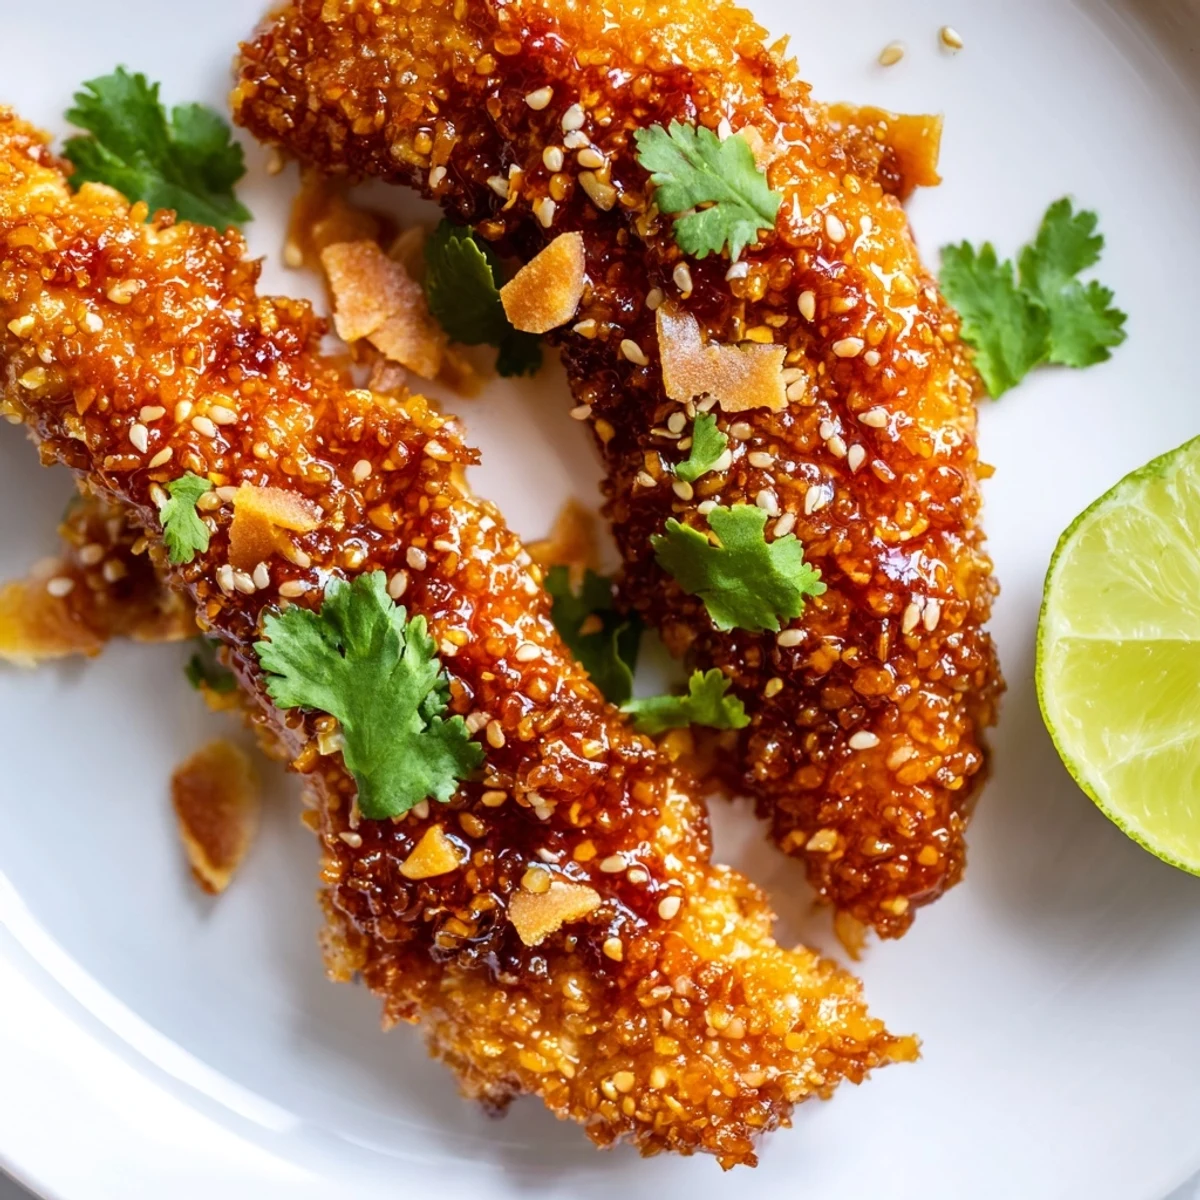
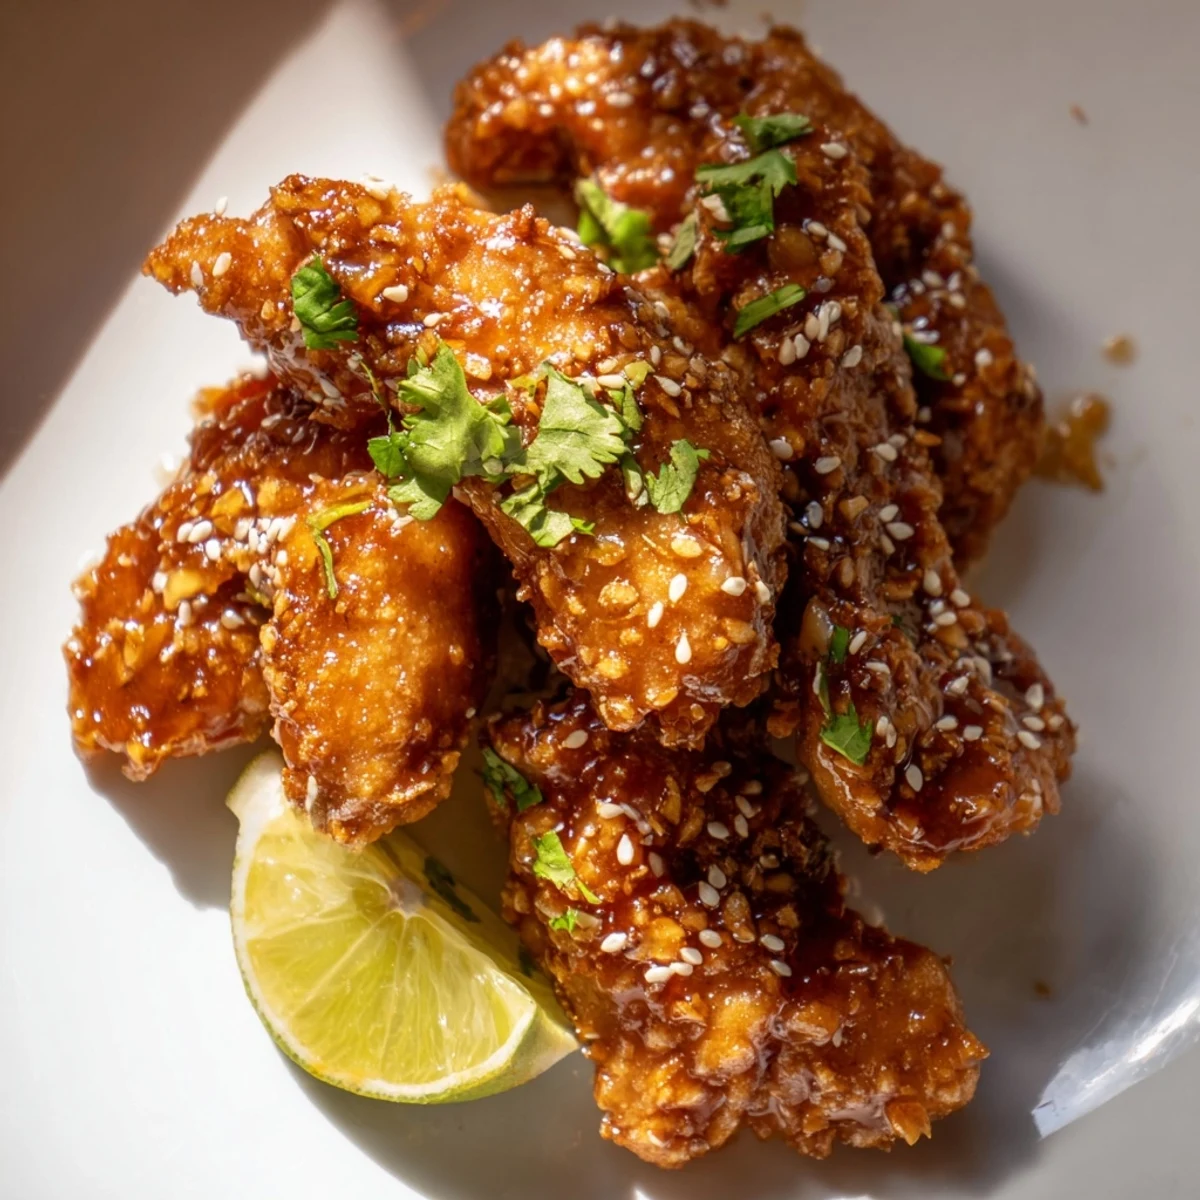
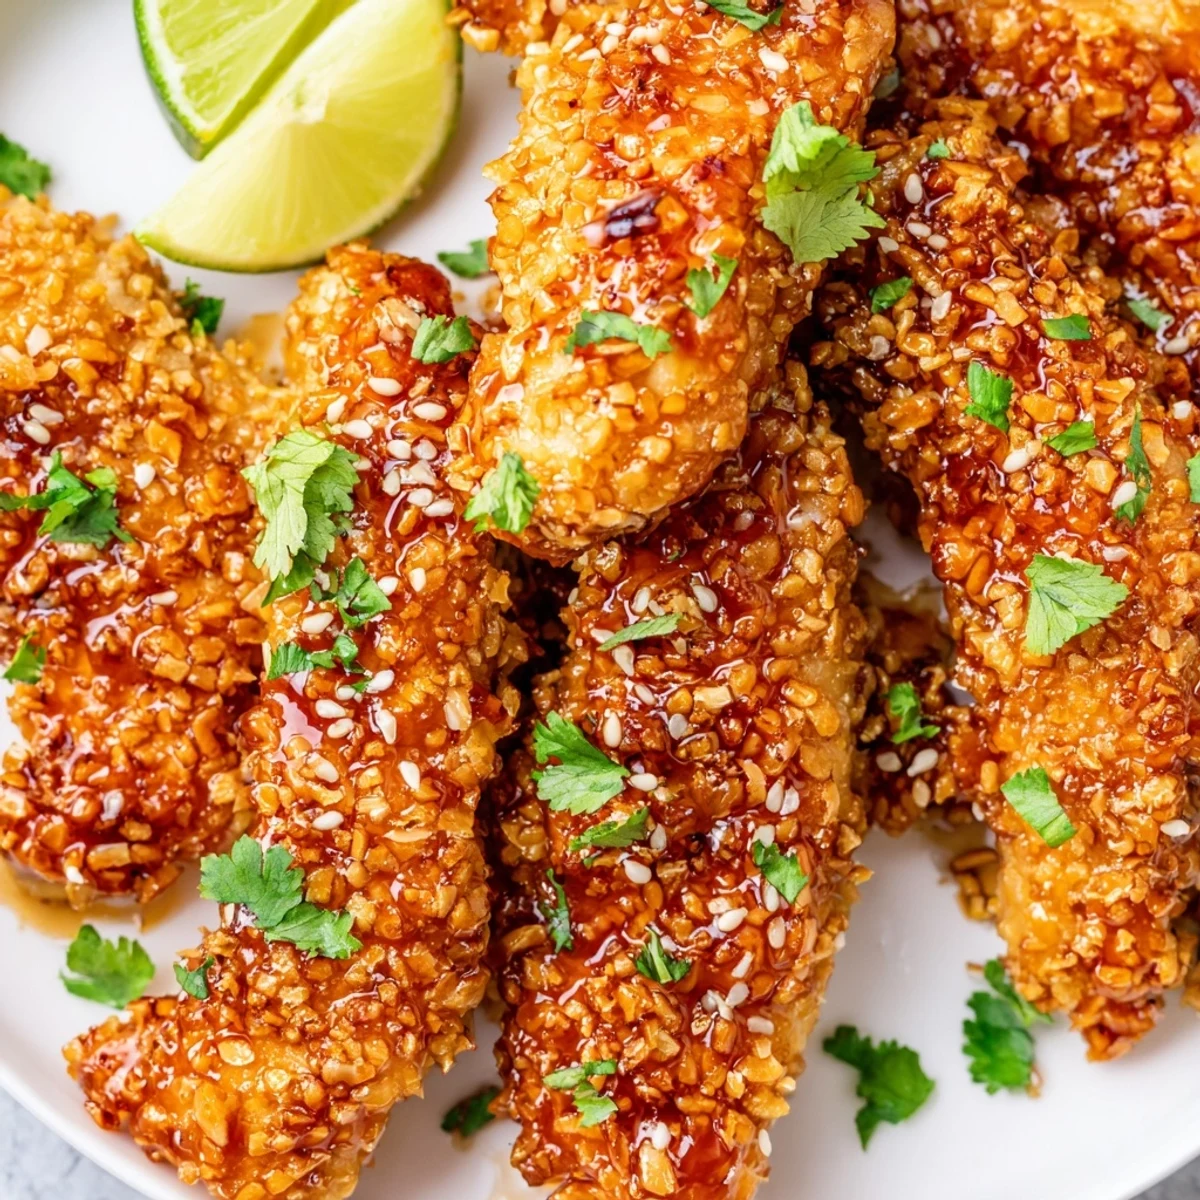
Save Golden, crispy chicken fingers baked until perfectly crunchable, then coated in a glossy homemade Thai sauce. The sticky glaze balances sweet chili heat with savory soy, bright lime, and aromatic ginger-garlic for that irresistible sweet-spicy-tangy finish. Great for sharing or as a fun dinner.
The first time I made these, my kitchen smelled like a street vendor's stall in Bangkok, and I knew I was onto something special. I'd been experimenting with sticky sauces for years, but the combination of sweet chili, tangy lime, and that hint of coconut changed everything.
Last Super Bowl, my friend Sarah stood by the platter for twenty minutes, claiming she was just guarding them from her husband. Truth is, nobody could stop eating them once that glossy sauce hit the crispy coating.
Ingredients
- 600 g chicken tenders: Breast strips work perfectly too, just keep them uniform so they cook evenly
- Salt and black pepper: Don't skip seasoning the meat itself, it builds flavor from the inside out
- All purpose flour: This creates the essential first layer that helps everything else stick
- 2 large eggs: Room temperature eggs coat more evenly than cold ones straight from the fridge
- Panko breadcrumbs: These Japanese flakes create that incredible shatteringly crisp exterior
- Unsweetened shredded coconut: Totally optional but adds the most gorgeous subtle sweetness and crunch
- Sweet chili sauce: The backbone of our glaze, look for one with real chili heat, not just sugar
- Soy sauce: Adds that crucial umami depth and balances all the sweetness
- Honey: Creates that gorgeous sticky lacquer finish you want on restaurant style wings
- Rice vinegar: Cuts through the rich coating and brightens every single bite
- Sriracha: Adjust this to your heat tolerance, I usually add an extra squeeze for myself
- Fresh garlic and ginger: Grate them right into the sauce, nothing beats the aromatics hitting hot glaze
- Fresh lime juice: Squeeze it fresh, bottle juice never has that same bright punch
- Fresh cilantro and toasted sesame seeds: These aren't just garnish, they add freshness and nutty richness
Instructions
- Get your oven ready:
- Crank it to 220°C and line your baking sheet with parchment, then give it a quick spray of oil so nothing sticks
- Season the chicken:
- Pat those strips completely dry with paper towels, then sprinkle salt and pepper all over
- Set up your coating station:
- Grab three shallow bowls, one with flour, one with beaten eggs, and one with panko mixed with coconut if you're using it
- Coat each strip:
- Dredge in flour first, shaking off excess, dip in egg, then press firmly into the crumb mixture
- Bake until golden:
- Arrange them on your prepared sheet, give them a quick spray of oil, and bake for about 22 minutes, flipping halfway
- Make the magic sauce:
- While chicken bakes, simmer all sauce ingredients in a small pan over medium heat for 4 minutes until it coats a spoon
- Toss and coat:
- Drop those hot crispy fingers right into the sauce and toss until every piece is glossed and gorgeous
- Finish with flair:
- Scatter fresh cilantro and sesame seeds over everything, then serve with lime wedges on the side
 Save
Save My youngest nephew, who claims he hates anything with the word Thai in it, ate six of these at dinner last month. Then he asked if we could have them every Friday forever.
Making Them Ahead
You can bread the chicken strips up to 6 hours before baking, just keep them covered on a plate in the fridge. The sauce also keeps beautifully in a jar for about a week, so I sometimes double it and use the extra on roasted vegetables or grilled shrimp.
Getting That Restaurant Style Crunch
The secret is spraying or brushing the coated chicken with oil before baking, and don't crowd the pan. I learned this the hard way when I tried to squeeze an extra batch on and ended up with soggy edges instead of crisp perfection.
Serving Ideas That Work
These are substantial enough to be dinner with jasmine rice and a quick cucumber salad. But for parties, I skewer them with little toothpicks and serve plenty of napkins.
- Cool things down with a side of sweet chili mayo for dipping
- Pair with an icy Thai iced tea or cold beer
- Keep extra lime wedges handy, people love squeezing them over
 Save
Save These sticky chicken fingers have become my go to for feeding a crowd, and honestly, I can't blame anyone for reaching for seconds.
Recipe Q&A
- → Can I make these ahead of time?
-
Bread and bake the chicken fingers up to a day in advance. Store cooled in the refrigerator and reheat at 200°C for 5-8 minutes. Toss with the warm sauce just before serving to maintain crispiness.
- → How do I adjust the spice level?
-
Reduce the sriracha to 1/2 tablespoon for mild heat, or increase to 2 tablespoons for extra kick. You can also add a pinch of red pepper flakes to the sauce while simmering.
- → What's the best way to get extra crispy chicken?
-
Spray the breaded strips generously with oil spray before baking, and flip halfway through. For maximum crunch, air fry at 200°C for 12-15 minutes, shaking the basket halfway through cooking.
- → Can I use store-bought sauce instead?
-
You can use bottled sweet chili sauce as a quick substitute, but the homemade version adds depth with soy, honey, ginger, and lime. If using store-bought, add a splash of soy sauce and lime juice to balance flavors.
- → What sides pair well with these chicken fingers?
-
Serve with jasmine rice, cucumber salad, or Asian slaw to balance the sweet glaze. Steamed edamame, vegetable spring rolls, or simple steamed broccoli also make excellent sides.
- → How long does the sauce keep?
-
The sticky Thai sauce stores in an airtight container in the refrigerator for up to 2 weeks. Reheat gently on the stove or microwave, adding a splash of water if it thickens too much.
