 Save
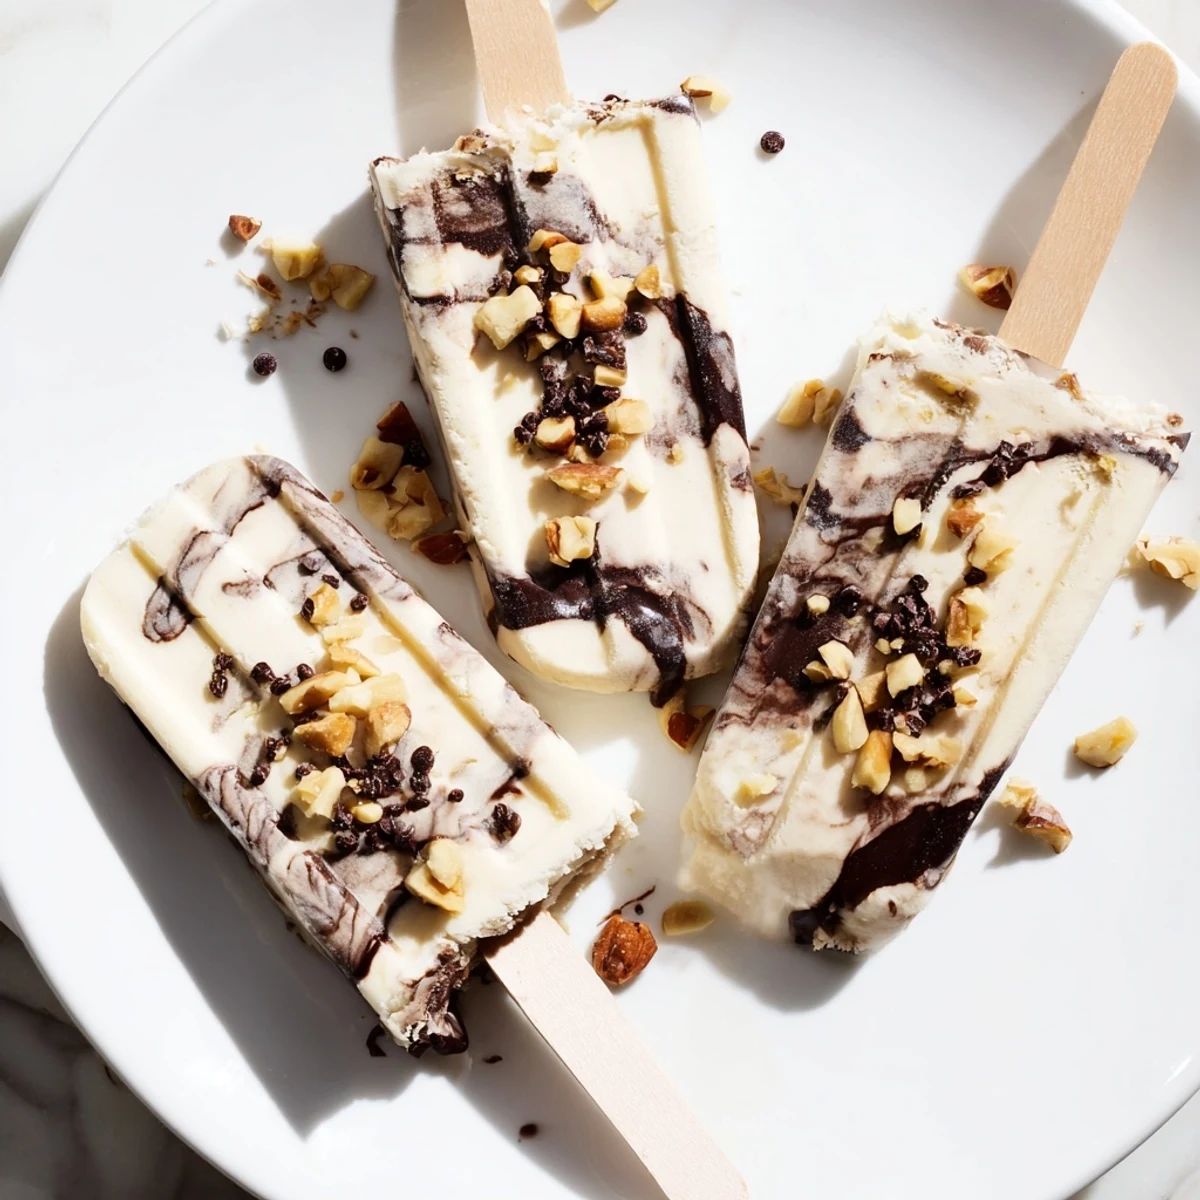
Save These indulgent frozen treats combine ripe blended bananas with creamy Greek yogurt for a smooth, velvety base. The magic happens when rich melted dark chocolate is swirled throughout, creating beautiful marbled patterns and bursts of intense cocoa flavor in every bite. Perfect for cooling down on hot summer days or satisfying sweet cravings anytime.
The preparation comes together quickly—just blend the banana mixture, melt chocolate with coconut oil, and layer them into popsicle molds. A quick swirl with a skewer creates that gorgeous marbled effect. After freezing for four hours, you'll have six perfectly portioned treats ready to enjoy.
The thermometer on my porch read 103 degrees, and my kids had already gone through the entire box of store-bought popsicles by Tuesday. I spotted two browning bananas on the counter and a forgotten bar of dark chocolate in the pantry, and something clicked. Twenty minutes later, the molds were full and my kitchen smelled like a candy shop.
My neighbor Linda stopped by while these were setting in the freezer, spotted them through the ice maker door, and immediately demanded the recipe before she even tasted one. We ended up sitting on the back porch with two popsicles each, letting them drip onto the hot concrete while catching up on months of missed gossip.
Ingredients
- 2 ripe bananas: The browner and more spotted the peel, the sweeter and more intense the banana flavor becomes in the final pop.
- 1 cup full-fat Greek yogurt: Full-fat is non-negotiable here because it creates that luxuriously creamy texture that makes these feel indulgent rather than icy.
- 2 tablespoons honey or maple syrup: Just enough sweetness to balance the tang of the yogurt without overpowering the natural banana sugar.
- 1 teaspoon pure vanilla extract: A small amount that quietly rounds out every flavor and makes the whole mixture taste more complex than it is.
- 3 ounces dark chocolate (minimum 60% cocoa): The higher the cocoa percentage, the richer and more sophisticated the swirl becomes against the sweet banana base.
- 2 teaspoons coconut oil: This is the secret that keeps the chocolate shell from freezing rock solid so it still has a slight snap when you bite in.
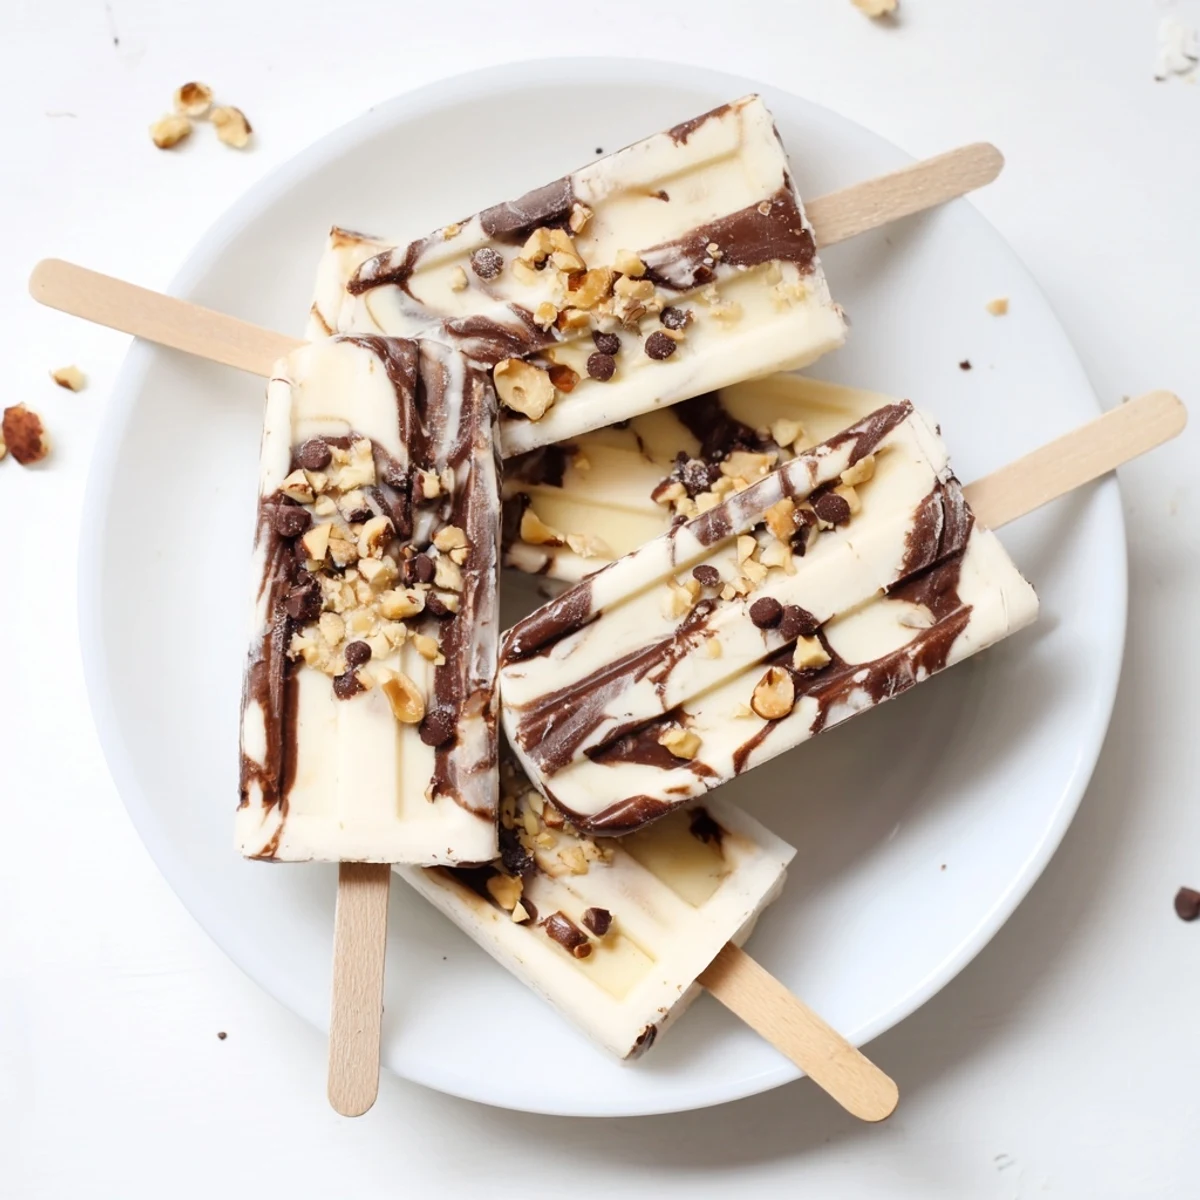
- Chopped roasted nuts and mini chocolate chips (optional): A crunchy topping that adds texture contrast and makes each popsicle look like it came from a boutique shop.
Instructions
- Blend the banana base:
- Toss the peeled and sliced bananas into your blender with the yogurt, honey, and vanilla, then let it run until the mixture is completely smooth and looks like thick soft serve ice cream.
- Melt the chocolate:
- Combine the dark chocolate and coconut oil in a microwave-safe bowl, heating in 20-second bursts and stirring between each round until the mixture is glossy and lump-free.
- Build the first layer:
- Pour the banana mixture into each mold until halfway full, then drizzle chocolate over the surface and drag a skewer through it in lazy figure-eights to create those beautiful ribbons.
- Fill and swirl again:
- Top off each mold with the remaining banana blend, add another drizzle of chocolate, and swirl once more for a double-layered marbled effect that surprises with every bite.
- Add sticks and toppings:
- Gently press the popsicle sticks into the center of each mold and sprinkle chopped nuts or mini chips over the exposed surface before everything begins to firm up.
- Freeze until solid:
- Transfer the molds carefully to the freezer and let them rest undisturbed for at least four hours, though overnight gives you the best texture and the easiest release.
- Release and enjoy:
- Run warm water over the outside of each mold for about ten seconds, then gently wiggle the popsicle free and eat it immediately before the summer heat claims it.
 Save
Save The best part of making these is watching someone pull one from the mold for the first time and see the marbled chocolate pattern reveal itself through the pale banana surface.
Making These Your Own
Peanut butter is a natural companion to both banana and chocolate, so try folding a spoonful into the blended base before pouring. Coconut flakes, crushed graham crackers, or even a sprinkle of sea salt on top can take these in entirely different directions depending on your mood.
Storing for Later
Once fully frozen and removed from the molds, wrap each popsicle individually in parchment paper and tuck them into an airtight container. They keep beautifully for up to two weeks, though in my house they rarely last beyond day three.
A Few Things I Learned the Hard Way
Making frozen treats has taught me more about patience and timing than any baking project ever did. Here are the small lessons that made a big difference in my results.
- Let the banana blend sit for two minutes after blending so any air bubbles rise to the surface before pouring.
- Tap the filled molds gently on the counter to settle the mixture and eliminate gaps around the edges.
- Always lay out your toppings before you start filling molds because the chocolate sets faster than you expect.
 Save
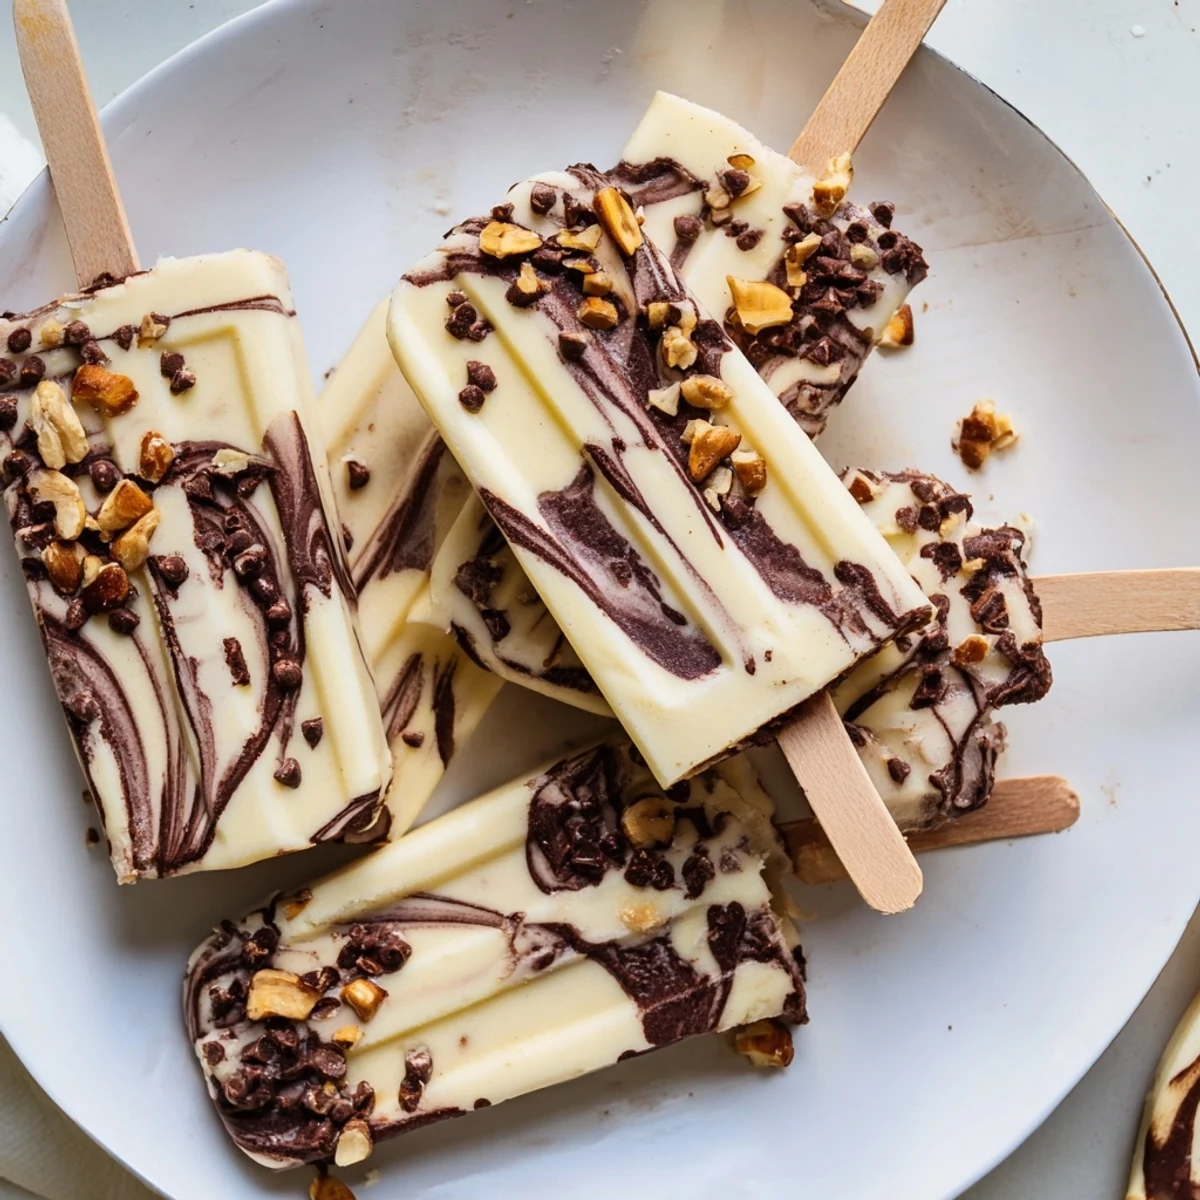
Save Some recipes become traditions without any planning at all, and these popsicles are proof that the best summer memories start with whatever is browning on your kitchen counter. Share them generously and keep a stash hidden in the back of the freezer for yourself.
Recipe Q&A
- → Can I make these popsicles vegan?
-
Absolutely. Substitute the Greek yogurt with plant-based yogurt like coconut or almond yogurt, and use maple syrup instead of honey. The result remains just as creamy and satisfying.
- → How long do these keep in the freezer?
-
Store your frozen popsicles in an airtight container for up to two weeks. For best texture and flavor, enjoy within the first week of freezing.
- → Why add coconut oil to the chocolate?
-
Coconut oil helps the chocolate melt smoothly and prevents it from becoming too hard when frozen. This ensures easy biting and a pleasant mouthfeel throughout your treat.
- → Can I use milk chocolate instead of dark?
-
While dark chocolate provides a rich contrast to the sweet bananas, you can substitute milk chocolate. The final result will be sweeter and less intense, which some may prefer.
- → What if I don't have popsicle molds?
-
Small paper cups, ice cube trays, or even muffin tins work as alternatives. Just insert wooden sticks or toothpicks halfway through freezing time to keep them upright.
- → How do I prevent sticks from falling over?
-
Freeze the filled molds for about 30 minutes until partially set before inserting sticks. This creates a firm base that holds them upright during the remaining freeze time.
