 Save
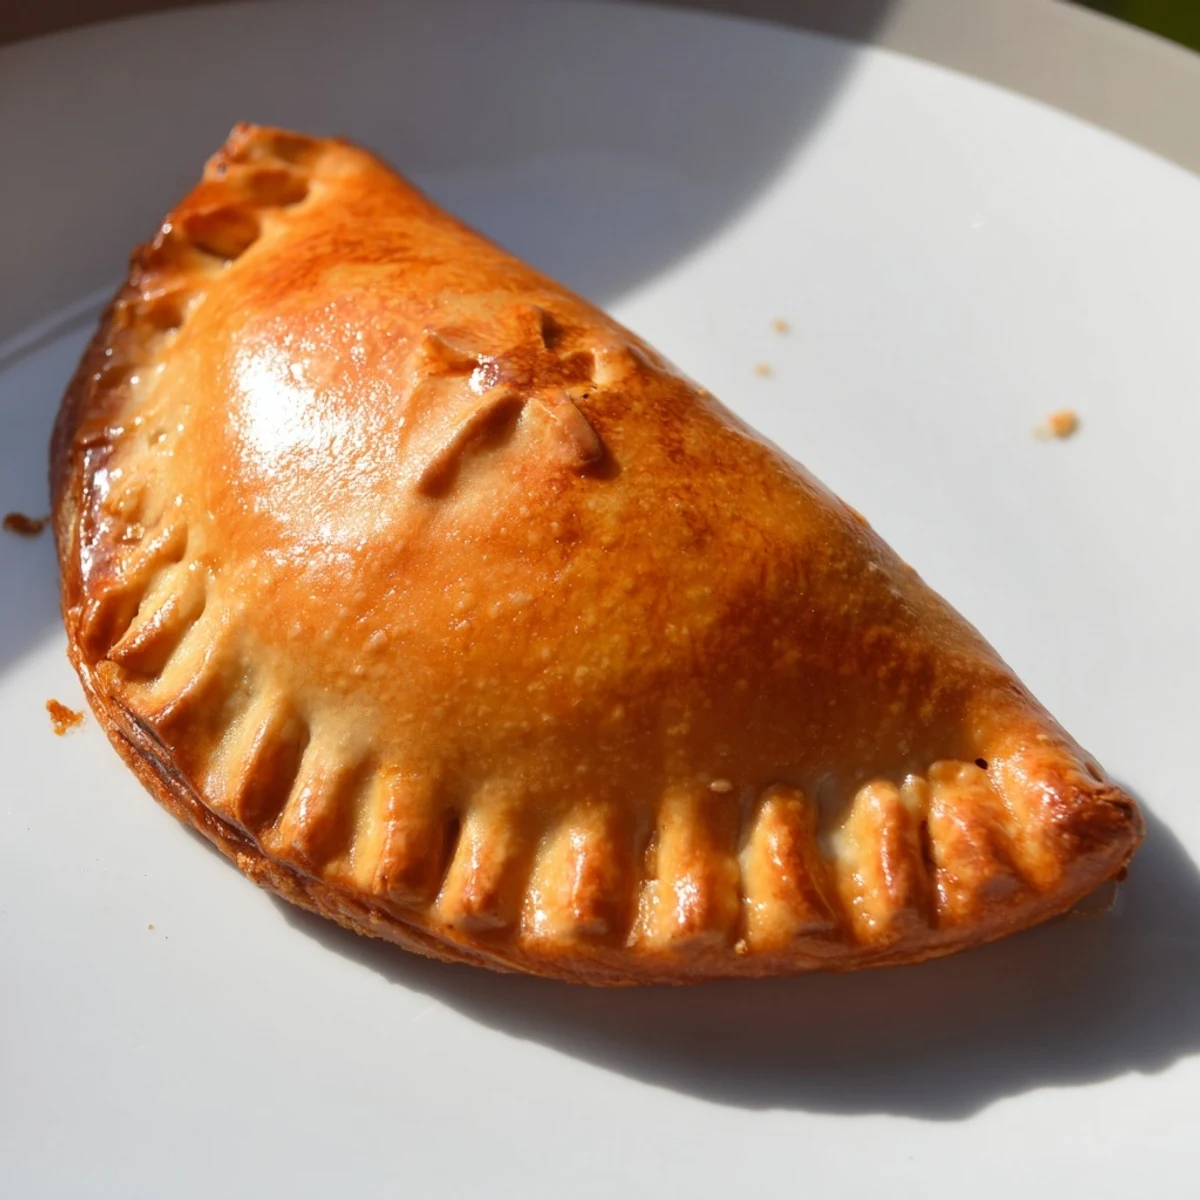
Save These handheld Filipino pastries feature a flaky, golden crust wrapping a savory filling of ground meat, diced vegetables, and aromatic spices. The dough yields beautifully tender yet sturdy pockets that hold up well to baking or frying. Each bite delivers layers of flavor from soy sauce, oyster sauce, and paprika, complemented by sweet raisins and the richness of hard-boiled eggs. Perfect for meal prep, gatherings, or satisfying snacks.
The smell of sizzling garlic and onions always pulls me back to my Lola's cramped kitchen, where I'd perch on a stool watching her transform simple ground pork into something magical. Her empanadas weren't just food, they were little golden pockets of love she'd press into my hands before school, still warm enough to burn my fingertips just right.
Last summer, I made fifty of these for my daughter's birthday party, standing at the counter until my lower back protested. Watching her friends grab them by the handful, with vinegar dipping sauce dripping down their chins, reminded me exactly why I put in the effort.
Ingredients
- 3 cups all-purpose flour: Cold butter is non-negotiable here, I learned the hard way that warm butter creates tough dough that fights back
- 300 g ground pork or beef: The fat content matters, lean meat makes a dry filling that disappoints
- 1/2 cup raisins: My neighbor thought I was crazy until she tried one and now she adds extra to hers
- 2 hard-boiled eggs: Chop them into small chunks so every bite gets that creamy texture
- 2 tablespoons soy sauce: This provides the essential umami base that defines Filipino comfort food
Instructions
- Prepare Your Dough:
- Work that cold butter into the flour until it looks like coarse sand, then add the egg and ice water. Let it rest in the refrigerator, otherwise the dough will shrink while you roll it out.
- Cook The Filling:
- Sauté your aromatics first, then brown the meat thoroughly before adding your vegetables. The filling must cool completely before assembling or your dough will turn into a soggy mess.
- Shape And Seal:
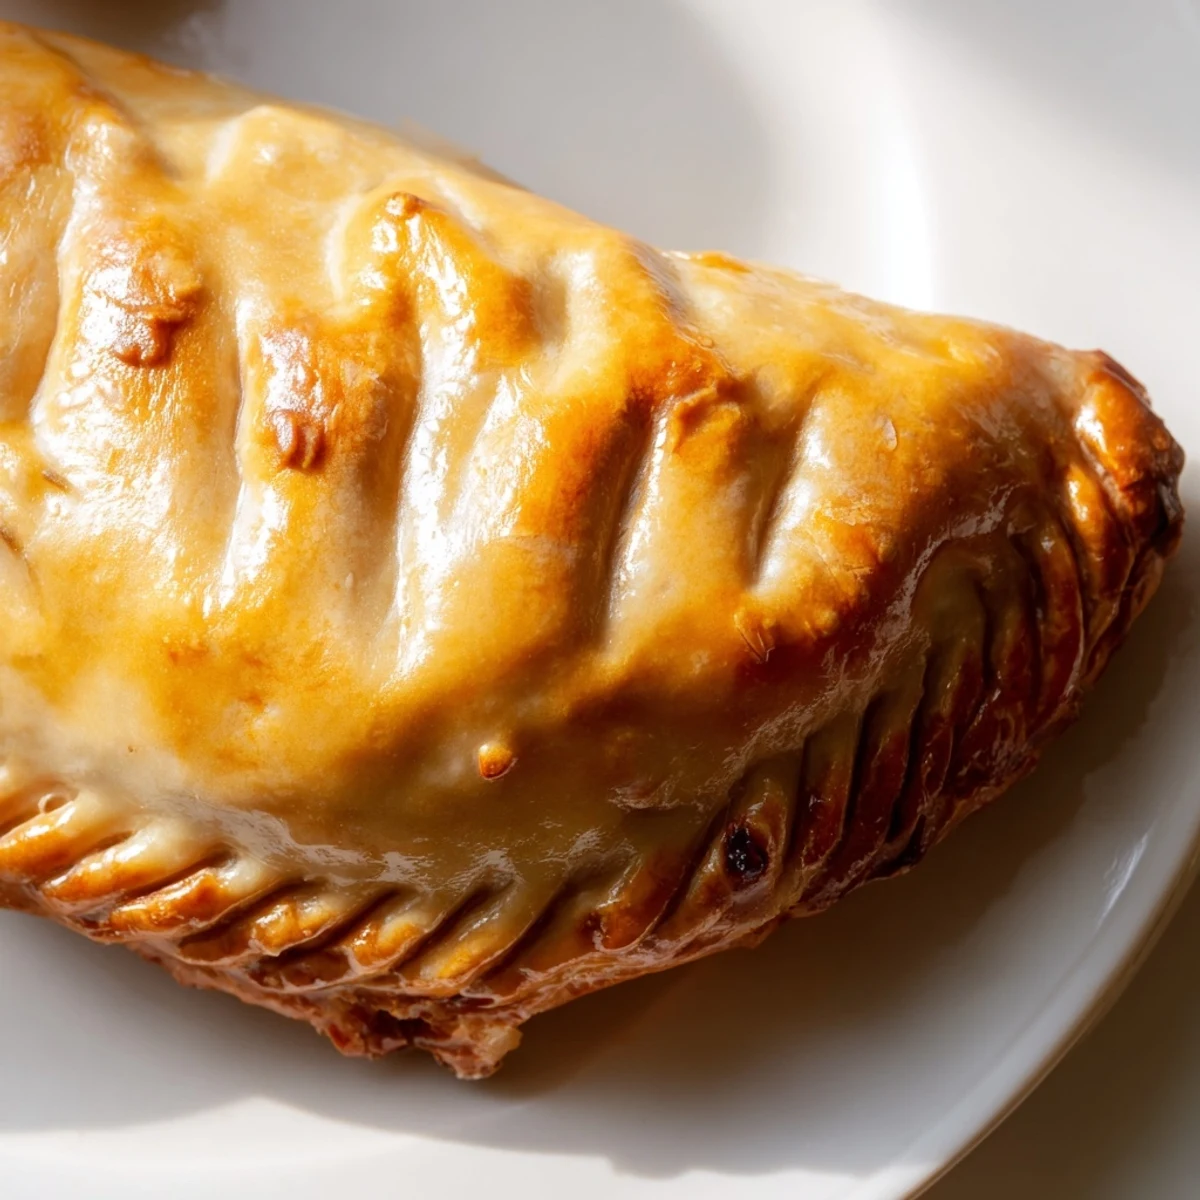
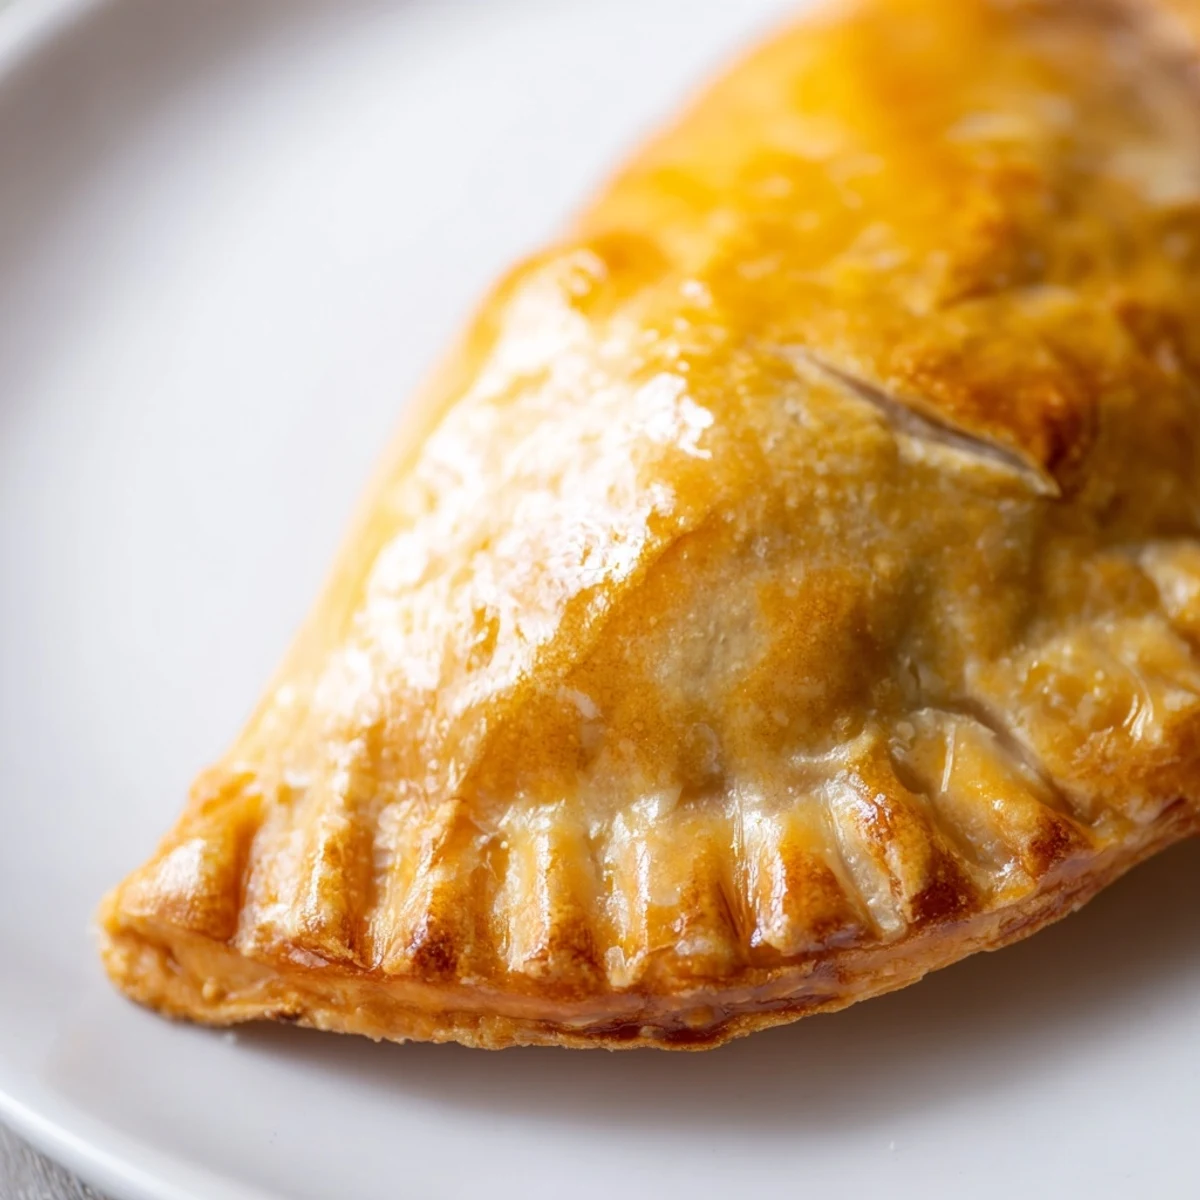
- Roll the dough thin, about an eighth of an inch, and place two tablespoons of filling on one half. Use a fork to crimp the edges shut—my grandmother could seal them with her fingers, but I never mastered that skill.
- Choose Your Cooking Method:
- Bake them at 375°F for twenty to twenty-five minutes or fry in hot oil until they turn golden brown. Both methods work, but frying gives you that shatteringly crisp exterior that makes people stop mid-conversation.
 Save
Save My brother once ate seven of these straight out of the fryer while pretending to help me cook. He claimed he was quality control testing, but I knew better when he started hiding the evidence in napkins.
Frying Versus Baking
Frying gives you that restaurant-quality crunch that everyone craves, but baking is undeniably easier and less messy. I bake them on weekdays when I'm feeling practical, and break out the fry oil on weekends when I want to impress people.
The Raisin Debate
Some people swear against them, but raisins are what make these distinctly Filipino. They burst with sweetness that cuts through the rich meat and creates layers of flavor that keep people coming back for more.
Making Them Ahead
I always double this recipe and freeze half assembled but uncooked. They go straight from freezer to oven on busy weeknights, saving my life more times than I can count. Just add five extra minutes to the cooking time and nobody will know the difference.
- Freeze them on a baking sheet first, then transfer to a bag so they don't stick together
- Brush frozen empanadas with egg wash before baking for that golden finish
- Reheat leftover cooked empanadas in a toaster oven, never the microwave
 Save
Save These empanadas have become my go-to for bringing to gatherings, wrapped in a clean kitchen towel that keeps them warm. There's something deeply satisfying about arriving with a basket full of homemade food that people instinctively gather around.
Recipe Q&A
- → Can I bake or fry these pastries?
-
Both methods work beautifully. Baking at 375°F yields lighter, less greasy results with a tender crust. Frying creates a crispier exterior with richer flavor. Choose based on your preference and dietary needs.
- → How long can I store the filling?
-
The cooked filling keeps refrigerated for 3-4 days in an airtight container. You can also freeze it for up to 3 months. Thaw overnight in the refrigerator before assembling and cooking.
- → What's the best way to prevent soggy bottoms?
-
Ensure your filling cools completely before wrapping. Hot filling creates steam that makes the dough soggy. Also, seal edges tightly with a fork to prevent juices from leaking during cooking.
- → Can I make the dough ahead of time?
-
Yes, the dough benefits from chilling. Wrap it tightly and refrigerate for up to 24 hours before rolling. You can also freeze unshaped dough for 2-3 months. Thaw in the refrigerator overnight.
- → What are good dipping sauce options?
-
Traditional pairings include spicy vinegar with garlic, banana ketchup (a Filipino staple), or sweet chili sauce. A simple mixture of soy sauce with calamansi or lime juice also works wonderfully.
- → How do I know when they're done cooking?
-
For baked versions, look for deep golden-brown color on all sides. Fried pastries should feel light when lifted and have an even golden exterior. The internal temperature should reach 165°F for food safety.
