 Save
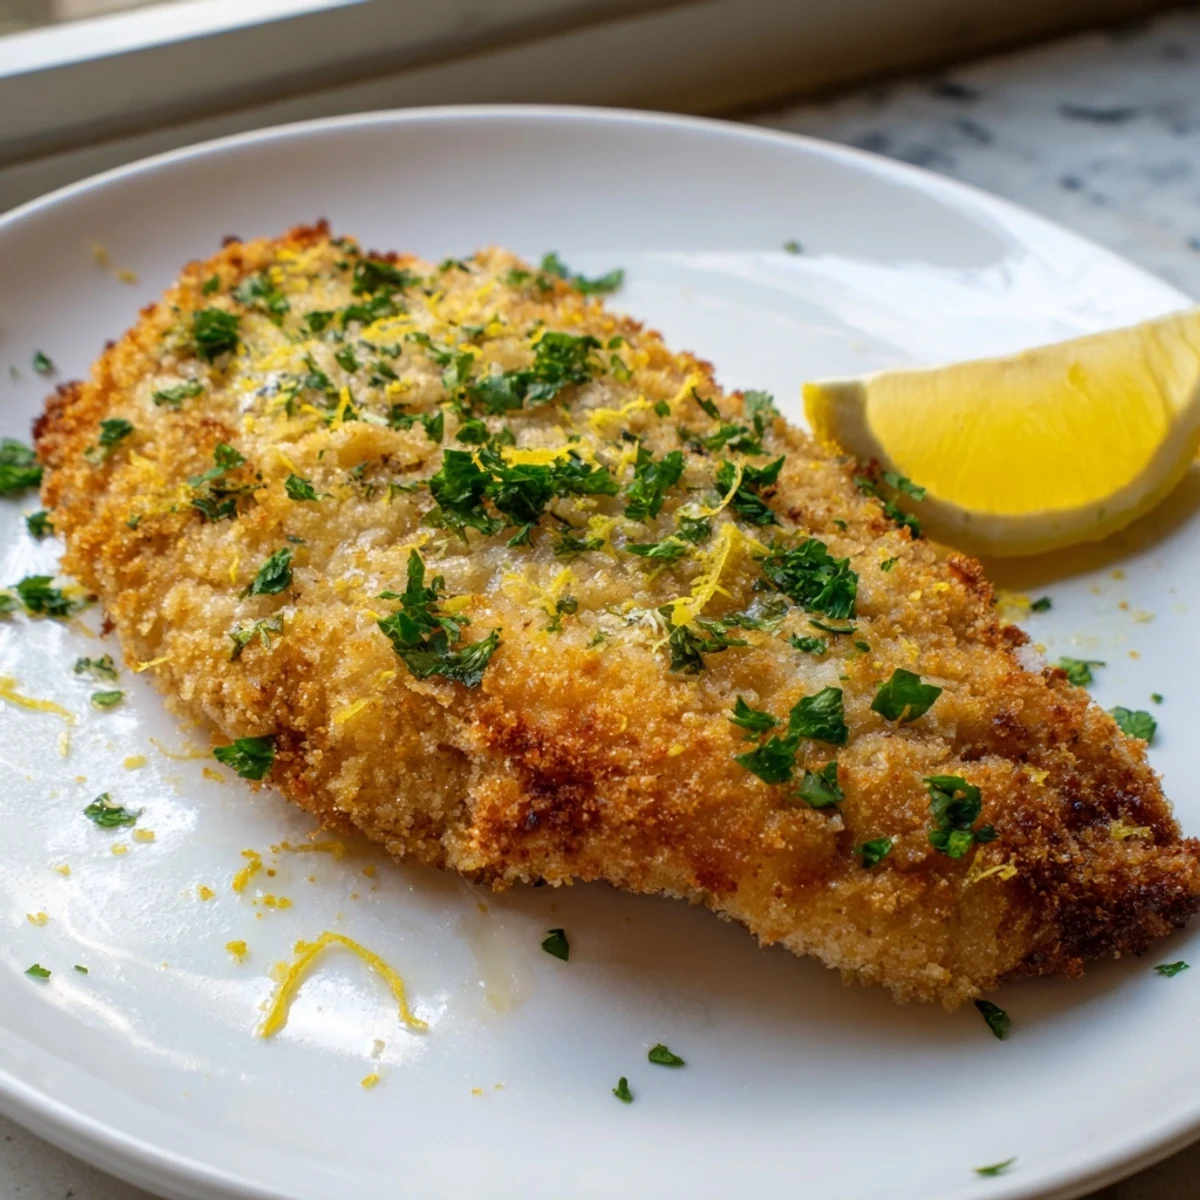
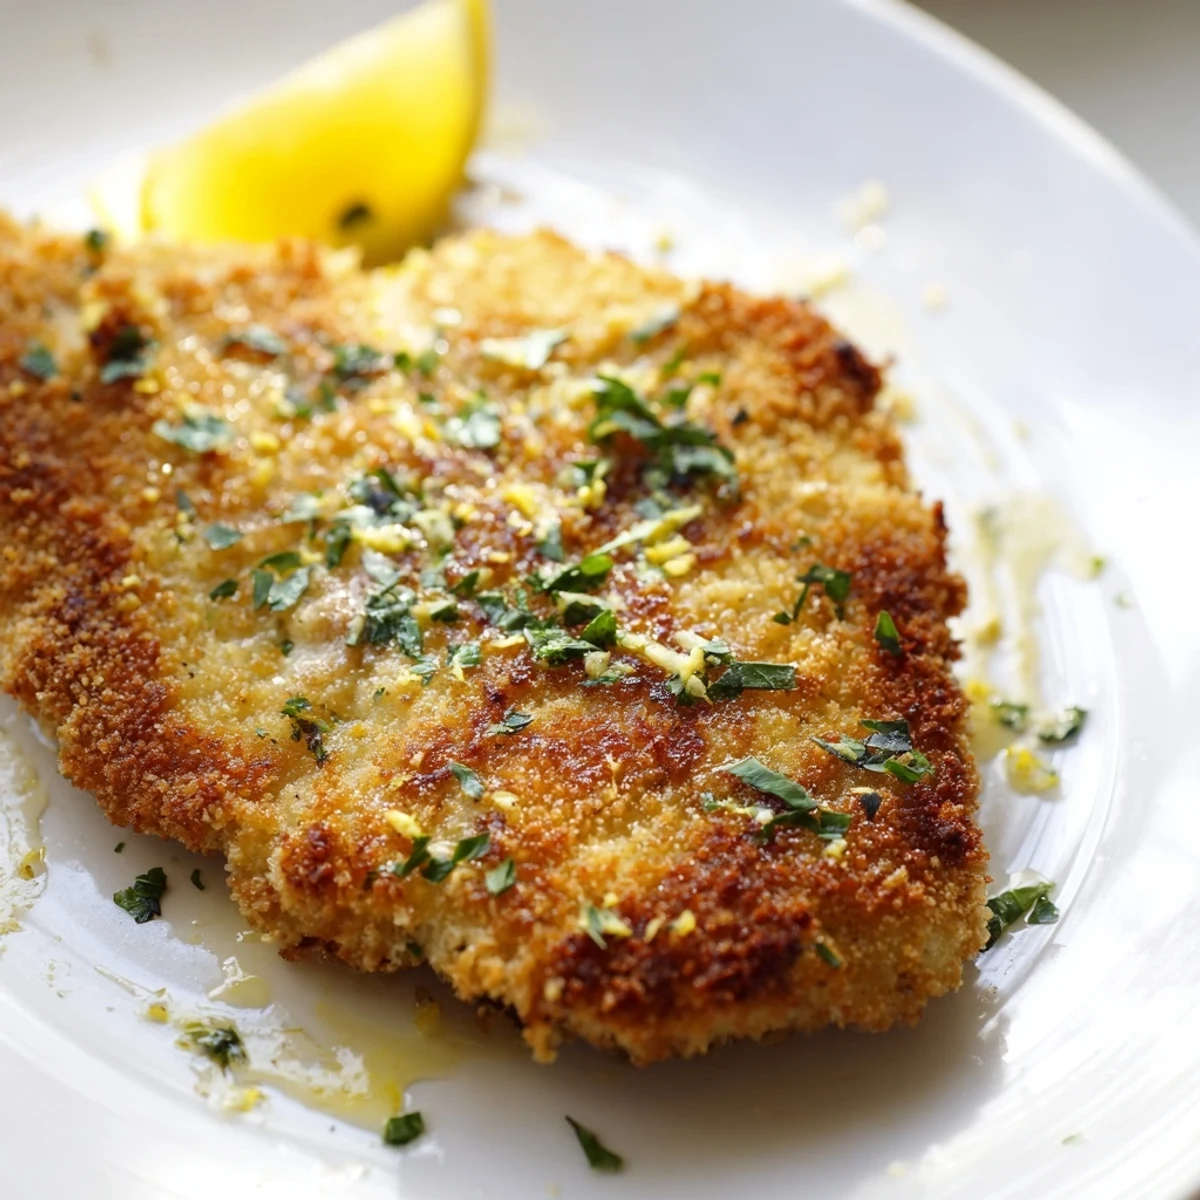
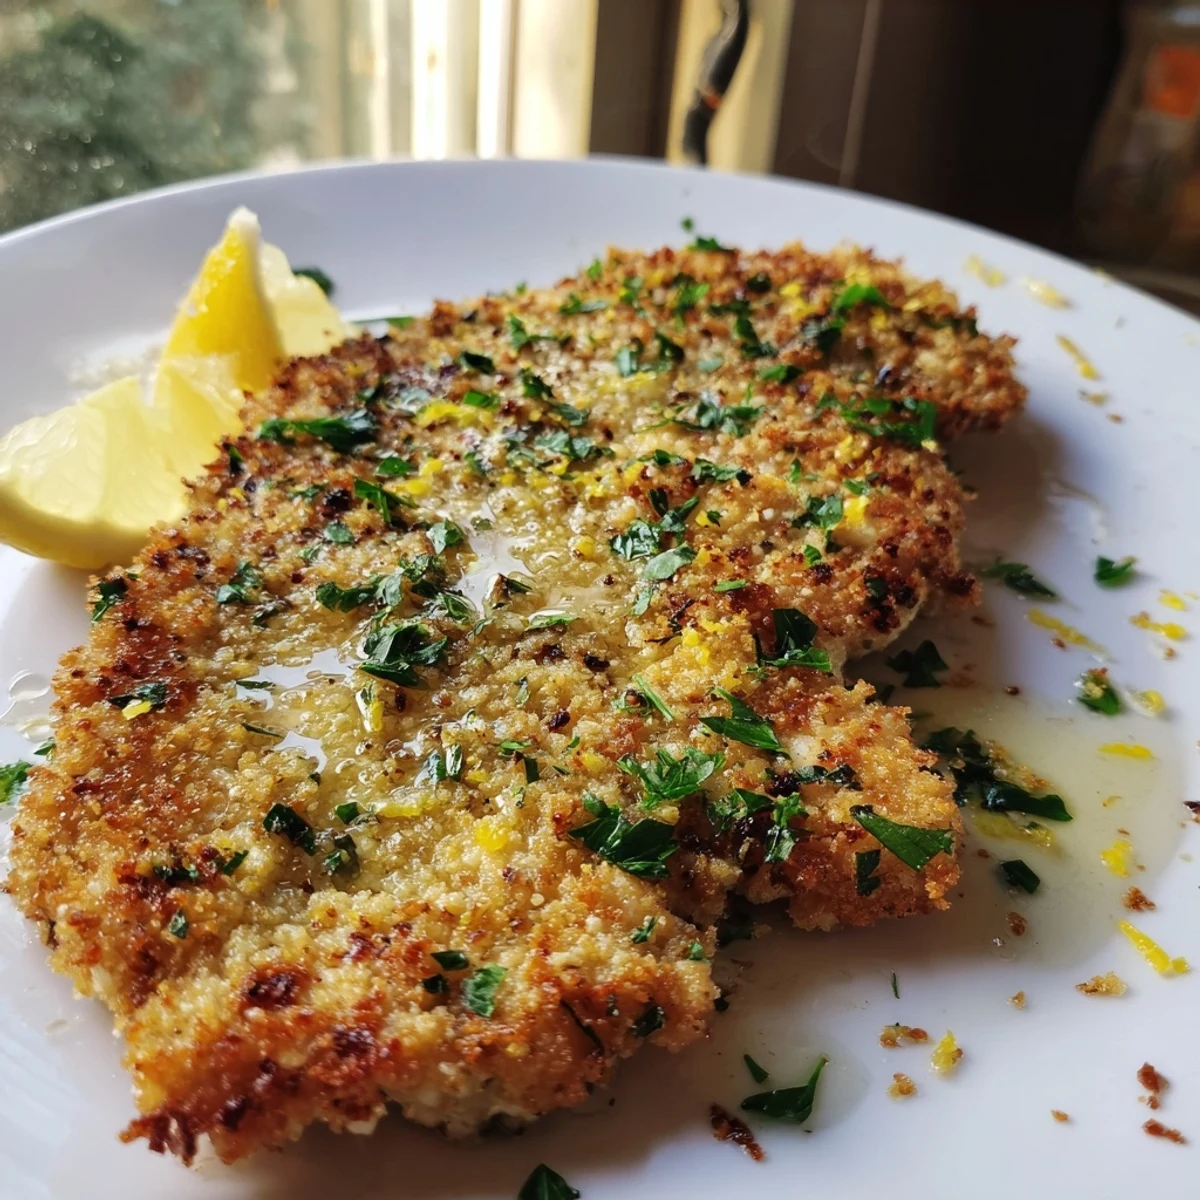
Save This lemon chicken delivers exceptional crunch with every bite. The secret lies in a two-step marinade process—first infusing the meat with fresh lemon juice, garlic, and olive oil, then coating it in a seasoned flour mixture before pressing it into buttery panko breadcrumbs mixed with extra lemon zest.
The result is impossibly crispy skin and juicy, flavorful meat. You can pan-fry for maximum crunch or bake for a lighter version. Either way, let the pieces rest for five minutes after cooking to maintain that satisfying crackle when you cut in.
Double coating creates an even thicker crust, while chicken thighs stay juicier than breasts. Serve with roasted potatoes and a crisp salad to complete the meal.
The smell of lemon and garlic sizzling in a hot skillet is the kind of thing that pulls people into the kitchen before you even call them for dinner. I stumbled onto this crispy lemon chicken one rainy Tuesday when the only protein thawed was a pack of chicken breasts and my windowsill herb garden was bursting with parsley. What started as a desperate weeknight improvisation turned into the most requested dinner in my household, and honestly, I have not been allowed to make anything else for game night since.
My neighbor Dave walked over unannounced one evening while I was frying a batch and stood in the doorway frozen mid sentence because the aroma had apparently hijacked his train of thought completely. He ended up staying for dinner, bringing over a bottle of Sauvignon Blanc that turned out to be the perfect pairing, and now he texts me every Friday asking if the lemon chicken is happening.
Ingredients
- Chicken breasts: Four boneless skinless breasts give you the best surface area ratio for maximum crunch per bite, though thighs work beautifully if you prefer juicier meat.
- Lemon juice and zest: Freshly squeezed is non negotiable here because the bottled stuff tastes flat and metallic against the crispy coating.
- Olive oil in the marinade: This helps carry the lemon and garlic flavors deep into the meat while keeping everything tender.
- Garlic cloves: Three cloves minced fine enough that they coat the chicken evenly without burning during cooking.
- Salt and black pepper: Seasoning the marinade generously means the chicken tastes good before it even meets the breading.
- All purpose flour and cornstarch: The cornstarch mixed into flour is the secret to a lighter, crispier crust that does not feel heavy or doughy.
- Paprika, cayenne, and garlic powder: A gentle warmth rather than heat, though the cayenne is optional if spice sensitive guests are coming.
- Eggs and milk: The egg wash acts as the glue that holds everything together, and a splash of milk keeps it from being too thick.
- Panko breadcrumbs: These Japanese breadcrumbs are wider and flakier than regular ones, which is what gives you that audible crunch when you bite in.
- Melted butter for the coating: Mixing butter into the panko helps it toast and brown into a deeply golden, almost nutty crust.
- Vegetable oil for frying: You want a neutral oil with a high smoke point so the flavors of the lemon and garlic stay clean and bright.
- Lemon wedges and fresh parsley: A final squeeze of lemon over the finished chicken wakes up every single flavor on the plate.
Instructions
- Marinate the chicken:
- Whisk the lemon juice, zest, olive oil, minced garlic, salt, and pepper together in a bowl until fragrant, then pour it over the chicken in a zip top bag and let it soak up all that sunshine for at least thirty minutes in the fridge or up to two hours if you have the patience.
- Set up your cooking station:
- Preheat your oven to 400 degrees Fahrenheit for baking, or heat half an inch of oil in a large skillet over medium high until it shimmers and a tiny piece of breading sizzles the moment it hits the surface.
- Build the dredging line:
- Arrange three shallow dishes in a row with the flour mixture first, the egg wash second, and the buttery panko mixture third so you can work in one smooth motion without messy fingers slowing you down.
- Pat and coat:
- Remove the chicken from the marinade and pat it dry with paper towels because excess moisture is the enemy of crispiness, then dredge each piece through flour, dip it fully into egg, and press it firmly into the panko until every inch is covered.
- Cook to golden perfection:
- Fry each piece for three to five minutes per side until deeply golden and cooked through, or bake on a wire rack over a lined sheet at 400 degrees for twenty to twenty five minutes, flipping halfway, until the crust is audibly crunchy when tapped.
- Rest and finish:
- Let the chicken rest for five minutes so the juices settle back into the meat instead of running out onto your plate, then garnish with fresh parsley and lemon wedges before serving while the crust is still at peak crunch.
 Save
Save The night my teenage son voluntarily set down his phone at the dinner table to go back for a third piece was the moment I knew this recipe had earned a permanent spot in our family rotation. Food does not need to be fancy to become a memory, it just needs to make people pause.
Getting The Crust Right Every Time
The difference between a good crust and a great one comes down to temperature control and patience with your oil. If the oil is not hot enough, the breading absorbs grease and turns soggy before it crisps, but if it is too hot, the outside burns while the inside stays pink. I keep a instant read thermometer clipped to my skillet and aim for 350 degrees Fahrenheit, adjusting the heat in small increments rather than big swings. It took me several batches of pale, greasy chicken before I learned that the oil temperature drops every time you add a new piece, so frying in batches of two keeps things consistent.
Baking Versus Frying, My Honest Take
I baked this recipe for months trying to convince myself it was just as good as the fried version, and while the oven method is genuinely excellent on a wire rack, it does produce a slightly lighter crunch. The tradeoff is worth it on busy nights because you can cook all four pieces at once without standing over a splattering skillet, and cleanup is dramatically easier. The key to baked success is a generous spray of oil over the panko coating before it goes in the oven, which helps the breadcrumbs toast rather than dry out.
Serving And Storing Like A Pro
This chicken is at its absolute best within ten minutes of coming out of the pan or oven, when the crust is still singing with heat and the juices are trapped inside waiting to burst. If you need to hold it for a bit, a warm oven at 200 degrees Fahrenheit on a wire rack keeps the bottom from steaming soft. Leftovers make an extraordinary cold sandwich the next day with a smear of mayo and some peppery arugula, though the crust softens overnight in the fridge no matter what you do. Reheating in a dry skillet over medium heat works better than the microwave, which turns crispy things sad.
- Double coating by going through the flour, egg, and panko twice creates an extra thick crust that restaurant fry cooks swear by.
- A meat thermometer reading of 165 degrees Fahrenheit at the thickest part guarantees perfectly safe and juicy chicken every single time.
- Let the cooked chicken rest on a wire rack, never a flat plate, so air circulates underneath and keeps the bottom as crunchy as the top.
 Save
Save Some recipes you follow once and forget, but this golden lemon chicken has a way of becoming part of your story, the dish people request, the smell that means home. I hope it finds its way into your kitchen and creates a few loud, happy, crunchy moments of its own.
Recipe Q&A
- → How do I get the crispiest coating?
-
Press the panko firmly onto the chicken to ensure it adheres well. For extra crunch, double-coat by repeating the flour, egg, and panko steps. Frying produces the crispiest result, but baking at 400°F with a light oil spray also works beautifully.
- → Can I prepare this ahead of time?
-
Marinate the chicken up to 2 hours before cooking. You can also bread the pieces and refrigerate them for up to 4 hours before frying or baking—just let them sit at room temperature for 15 minutes before cooking for even results.
- → What's the best way to tell when it's done?
-
The crust should be deep golden brown. Insert an instant-read thermometer into the thickest part—it should read 165°F. If cutting into a piece, the juices should run clear and the meat should be opaque throughout.
- → Can I use chicken thighs instead?
-
Absolutely. Thighs stay juicier and are more forgiving if slightly overcooked. Adjust cooking time—thighs typically need 5-7 minutes per side when frying or 25-30 minutes when baking.
- → How do I make this gluten-free?
-
Replace the all-purpose flour with a 1:1 gluten-free flour blend and use gluten-free panko breadcrumbs. The coating will still be crunchy and delicious.
- → What should I serve with this?
-
Roasted potatoes, mashed potatoes, or rice work well to soak up the flavors. A crisp green salad with vinaigrette cuts through the richness. Steamed vegetables like broccoli or asparagus add freshness.
