 Save
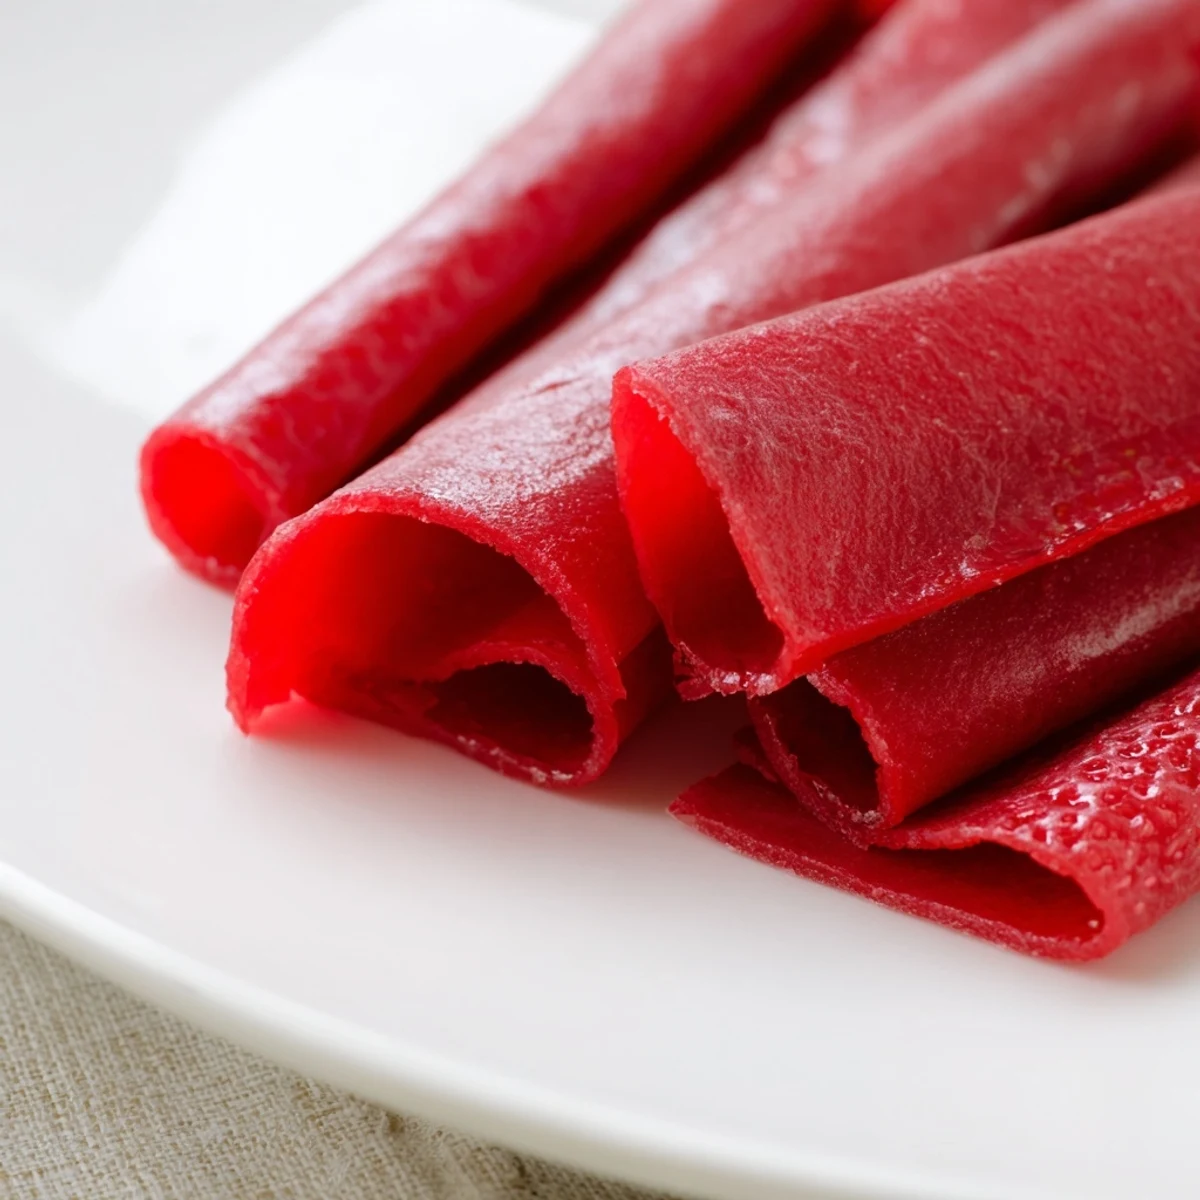
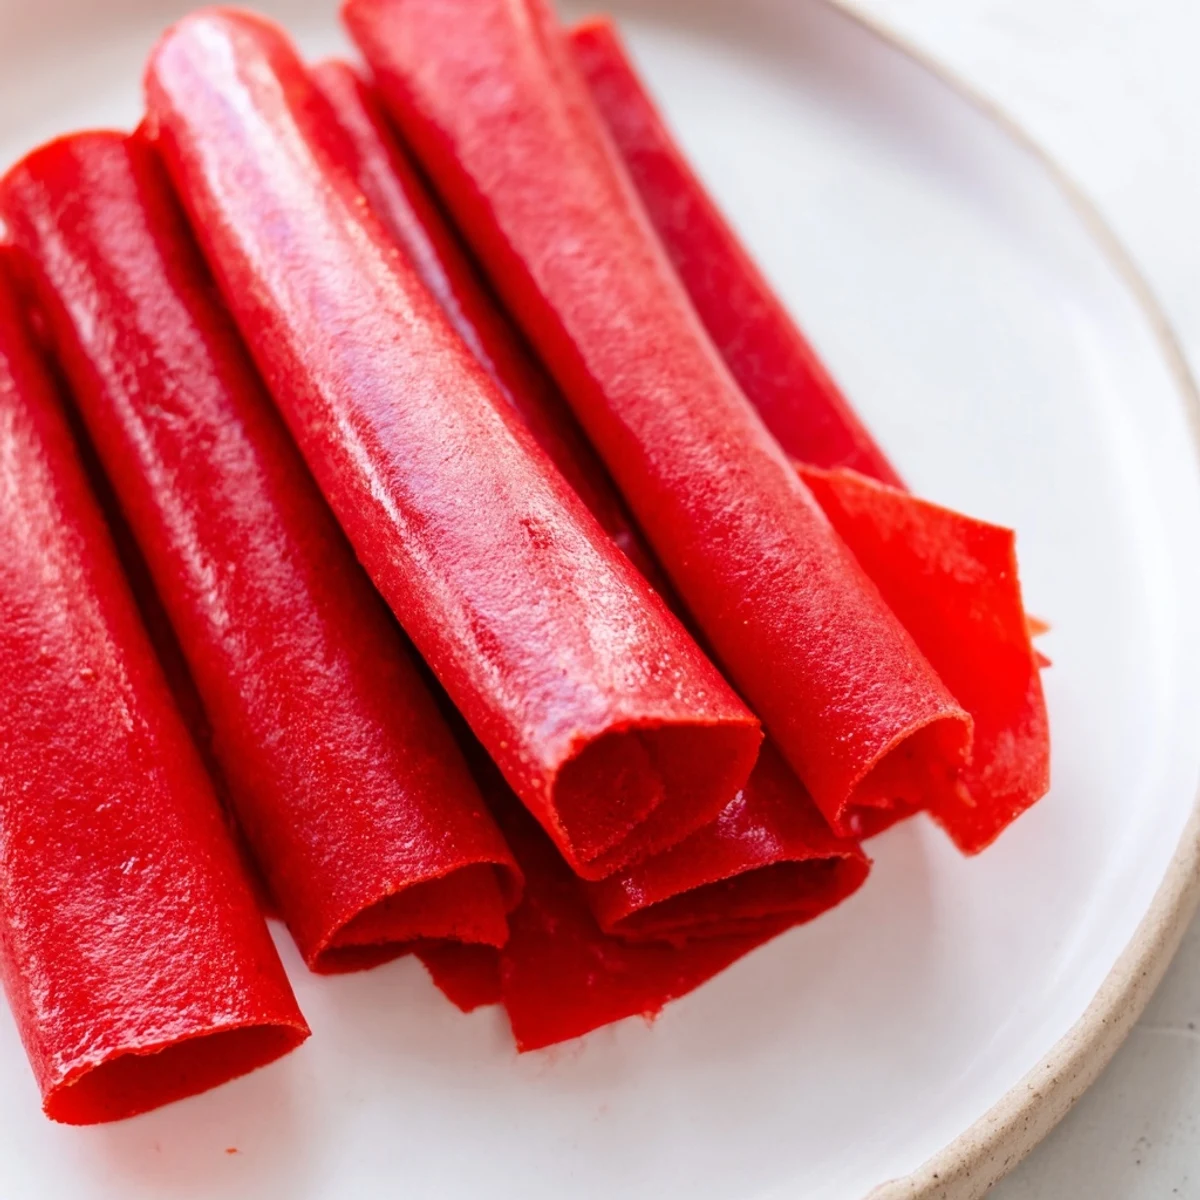
Save Create wholesome fruit leather at home with just three simple ingredients. Fresh or frozen fruit blends into a smooth puree, sweetened naturally with honey or maple syrup if desired. Spread thin and dehydrate until perfectly chewy. The result is a vibrant, portable snack that captures summer's sweetness without any artificial additives or preservatives.
My daughter came home from school one day clutching a neon pink package of fruit roll ups, her eyes wide with excitement. I took one bite of that store bought version and knew there had to be a better way. That weekend we raided the farmers market for strawberries and mangoes, determined to make our own. The smell of fruit slowly drying in the oven filled the whole house with something warm and comforting.
Last summer I made a huge batch with peaches from my grandmother's tree. We sat on the back porch peeling them together, her hands teaching mine the right way to slice around the pit. Those peach roll ups became the most requested snack at our family reunion. Now whenever I smell peaches, I am back in that kitchen watching the sun dry the fruit leather on the windowsill.
Ingredients
- Fresh or frozen fruit: I have found that mixed berries create the most vibrant flavor, but mango and peach are incredible when they are in season and perfectly ripe
- Sweetener: Some fruits need a little help and honey or maple syrup adds just enough without making it cloying
- Lemon juice: This brightens everything and helps preserve the color, especially with fruits that tend to brown
Instructions
- Prepare your space:
- Line a rimmed baking sheet with parchment paper, making sure there are no wrinkles or creases where the puree might pool unevenly
- Blend the fruit:
- Puree everything until it is completely smooth, stopping to scrape down the sides a few times to ensure there are no chunks
- Spread it thin:
- Pour the mixture onto the prepared sheet and use an offset spatula to spread it into a perfectly even layer, aiming for about 1/8 inch thickness
- Low and slow:
- Dry at the lowest temperature your oven can go, usually around 170°F, checking after 4 hours to see if it is tacky or dry to the touch
- Cool completely:
- Let it cool completely before trying to peel it off, otherwise it might tear and you will end up with uneven pieces
- Roll and store:
- Cut into strips with a sharp knife or kitchen scissors, then roll each piece in parchment paper and store in an airtight container
 Save
Save My youngest son now packs them in his lunch every day, proud to tell his friends that his mom made them. They have become such a staple in our house that I keep a batch going almost constantly during fruit season. There is something deeply satisfying about turning a basket of berries into something that will last for weeks.
Fruit Combinations That Work
I have experimented with dozens of flavor combinations over the years. Strawberry mango is consistently the most requested in our house, especially when the mangoes are perfectly ripe. Raspberry peach creates this beautiful rose color that looks stunning in lunchboxes.
Storage Secrets
These keep remarkably well at room temperature if they are completely dry before storing. I learned the hard way that even a tiny bit of moisture can lead to mold. Roll them tightly in parchment paper, then store in a glass container or heavy zip top bag.
Making It With Kids
This is one of those rare recipes where children can genuinely help at almost every stage. My daughter loves operating the blender and spreading the puree, though I usually handle the hot baking sheet. It has become our rainy day activity when we are stuck inside.
- Let kids choose the fruit combinations
- Use cookie cutters to make fun shapes after drying
- Write names on the parchment paper rolls for party favors
 Save
Save There is something nostalgic about peeling off that first strip of fruit leather, revealing the glossy underside. These homemade versions have become the taste of childhood for my own kids now.
Recipe Q&A
- → What fruits work best for fruit leather?
-
Strawberries, mangoes, raspberries, blueberries, and peaches all work wonderfully. You can use a single fruit or create custom flavor combinations by mixing several varieties together.
- → How long do homemade fruit roll ups last?
-
Properly stored in an airtight container at room temperature, they stay fresh for up to one week. For longer storage, keep them in the refrigerator for 2-3 weeks or freeze for up to 3 months.
- → Can I make these without sweetener?
-
Absolutely! If your fruit is naturally sweet, you can skip the honey, maple syrup, or agave entirely. The lemon juice helps balance flavors and enhances the fruit's natural sweetness.
- → What's the difference between using an oven versus a dehydrator?
-
A dehydrator set to 135°F typically yields more consistent results, but an oven at the lowest temperature (170°F) works perfectly well. Oven times may vary slightly, so check for doneness after 4 hours.
- → How do I know when the fruit leather is done?
-
The puree should no longer feel sticky to the touch and should peel away easily from the parchment paper or silicone mat. It should be pliable and smooth, not brittle or dry.
- → Can I use frozen fruit instead of fresh?
-
Yes, frozen fruit works excellently. Thaw it first and drain any excess liquid before blending. Frozen fruit actually breaks down more easily, creating a smoother puree.
