 Save
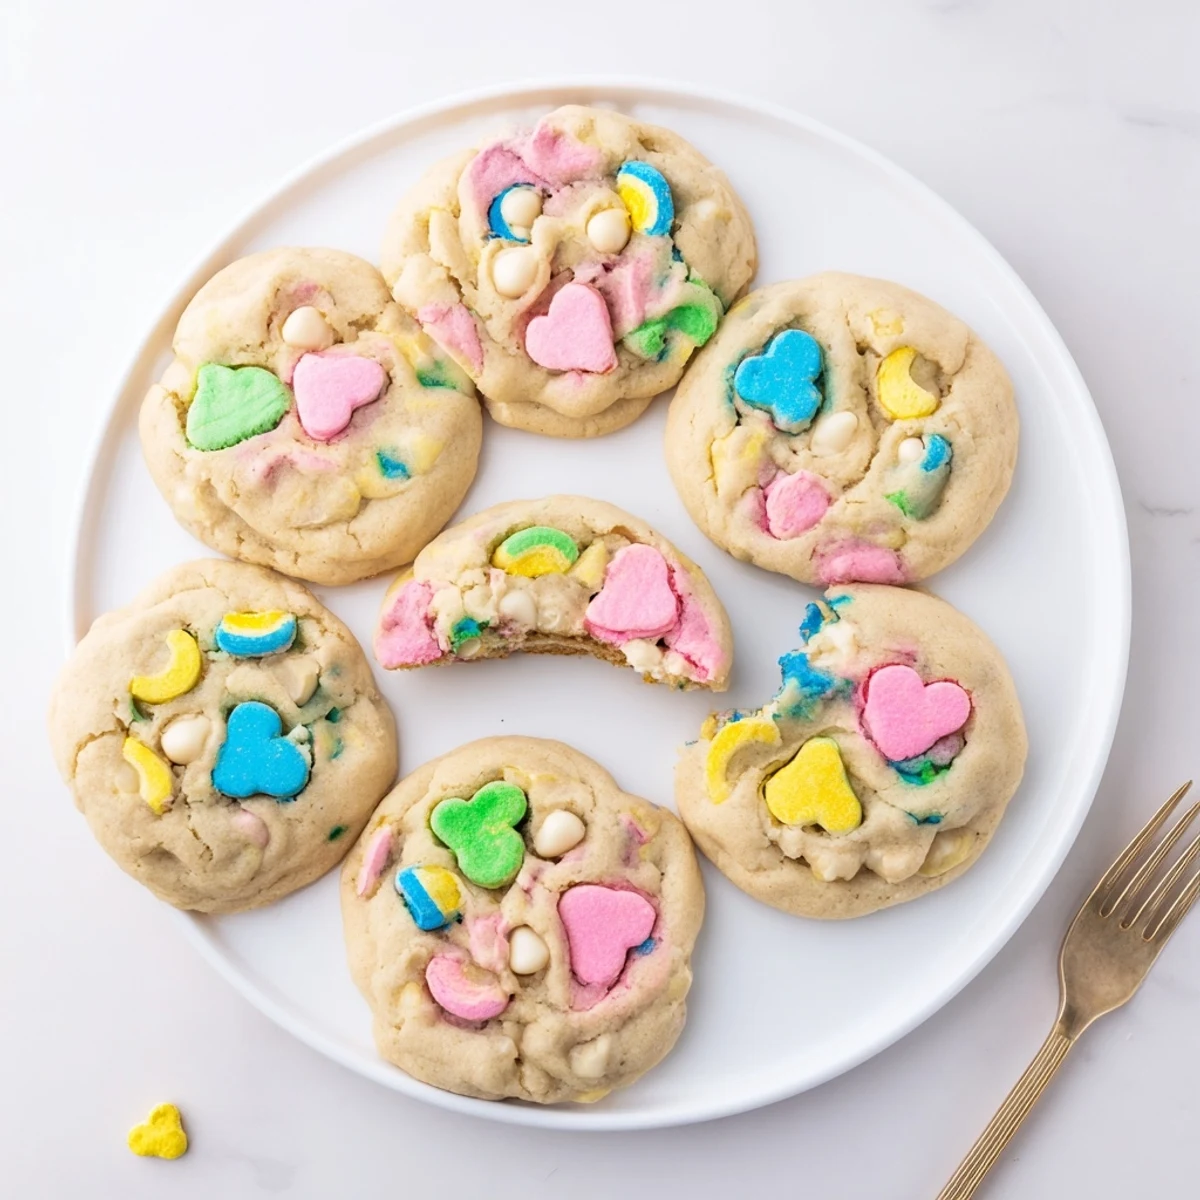
Save These soft, chewy cookies feature colorful Lucky Charms marshmallows baked into a buttery vanilla dough for a nostalgic twist on classic homemade treats. The combination of sweet marshmallow bits and optional white chocolate creates magical flavors that transport you back to childhood breakfast memories.
Perfect for school bake sales, birthday parties, or whenever you need a quick dessert that brings smiles. The dough comes together in just 15 minutes using basic baking staples, and each bite delivers the perfect balance of crispy edges, chewy centers, and gooey marshmallow pockets.
The smell of butter melting in the microwave still takes me back to rainy Sunday afternoons when my roommate Emma would announce 'we're making something' with that mischievous glint in her eye. We'd spent the morning hunting through cereal aisles like treasure seekers, bypassing the sensible options for boxes guaranteed to turn milk into sugary rainbow milk. These cookies weren't on any meal plan we'd ever written, but some of the best kitchen decisions happen when you're craving comfort and color in equal measure.
I first brought these to a friend's baby shower, feeling slightly ridiculous presenting cereal cookies alongside elaborate finger foods. But when I saw the grandmother-to-be reaching for her third one, explaining that she'd always secretly picked out the marshmallows from her kids' cereal bowls, I knew I'd stumbled onto something universal. Sometimes the simplest joys are the ones that bridge generations.
Ingredients
- All-purpose flour: The sturdy foundation that keeps these cookies from spreading too thin while still maintaining that tender, chewy center we all crave
- Baking soda: Just enough lift to give the cookies a subtle rise without making them cakey or fluffy
- Salt: Don't skip this, it's the secret that makes all those sweet marshmallow notes really sing
- Unsalted butter: Melting it first creates these gorgeous chewy edges while keeping centers soft and tender
- Light brown sugar: The molasses here adds depth and that irresistible caramel note you can't quite put your finger on
- Granulated sugar: Balances the brown sugar and helps create those crispy, golden edges that make the first bite so satisfying
- Large egg plus yolk: The extra yolk is my insurance policy for cookies that stay soft for days instead of turning into hockey pucks
- Pure vanilla extract: Splurge for the good stuff here, it's the backbone that ties everything together
- Lucky Charms marshmallows: The star of the show, carefully separated from the cereal with patience and determination
- White chocolate chips: Optional, but they add these creamy pockets that pair beautifully with the marshmallows
Instructions
- Get your oven ready:
- Preheat to 350°F and line your baking sheets with parchment paper, giving yourself a head start so you're not scrambling later
- Whisk your dry team:
- Combine flour, baking soda, and salt in a medium bowl, making sure everything is evenly distributed before it meets the wet ingredients
- Melt your butter:
- Pour it over both sugars in your largest bowl and stir until smooth, letting the mixture cool slightly so it doesn't cook your eggs when you add them
- Add the eggs and vanilla:
- Beat in the whole egg first, then the yolk, followed by vanilla, mixing until everything is glossy and well combined
- Bring it all together:
- Gently fold in the dry ingredients just until you no longer see flour, then stir in most of your marshmallows and white chocolate if you're using them
- Scoop and top:
- Drop rounded tablespoons onto your prepared sheets, then press a few extra marshmallows onto the tops for that colorful, festive finish
- Bake to perfection:
- Pop them in for 9 to 11 minutes, pulling them out when edges are set but centers still look slightly underdone
- The patience part:
- Let them cool on the sheets for 5 minutes, during which time they'll finish cooking into chewy perfection, then move them to a wire rack
 Save
Save My daughter now helps me pick out the marshmallows, though we both know half of them disappear before they ever make it into the dough. That's just part of the process now, a kitchen tax we've both agreed is fair.
Making Them Your Own
I've experimented with drizzling melted white chocolate over the cooled cookies for extra flair, though honestly they disappear just as fast without it. Sometimes the simplest version is the one people remember most fondly.
Storage Secrets
These stay surprisingly soft for days if stored properly, though I've rarely had them last longer than 24 hours in my house. An airtight container is your friend here, keeping that chewy texture intact.
Baking Wisdom
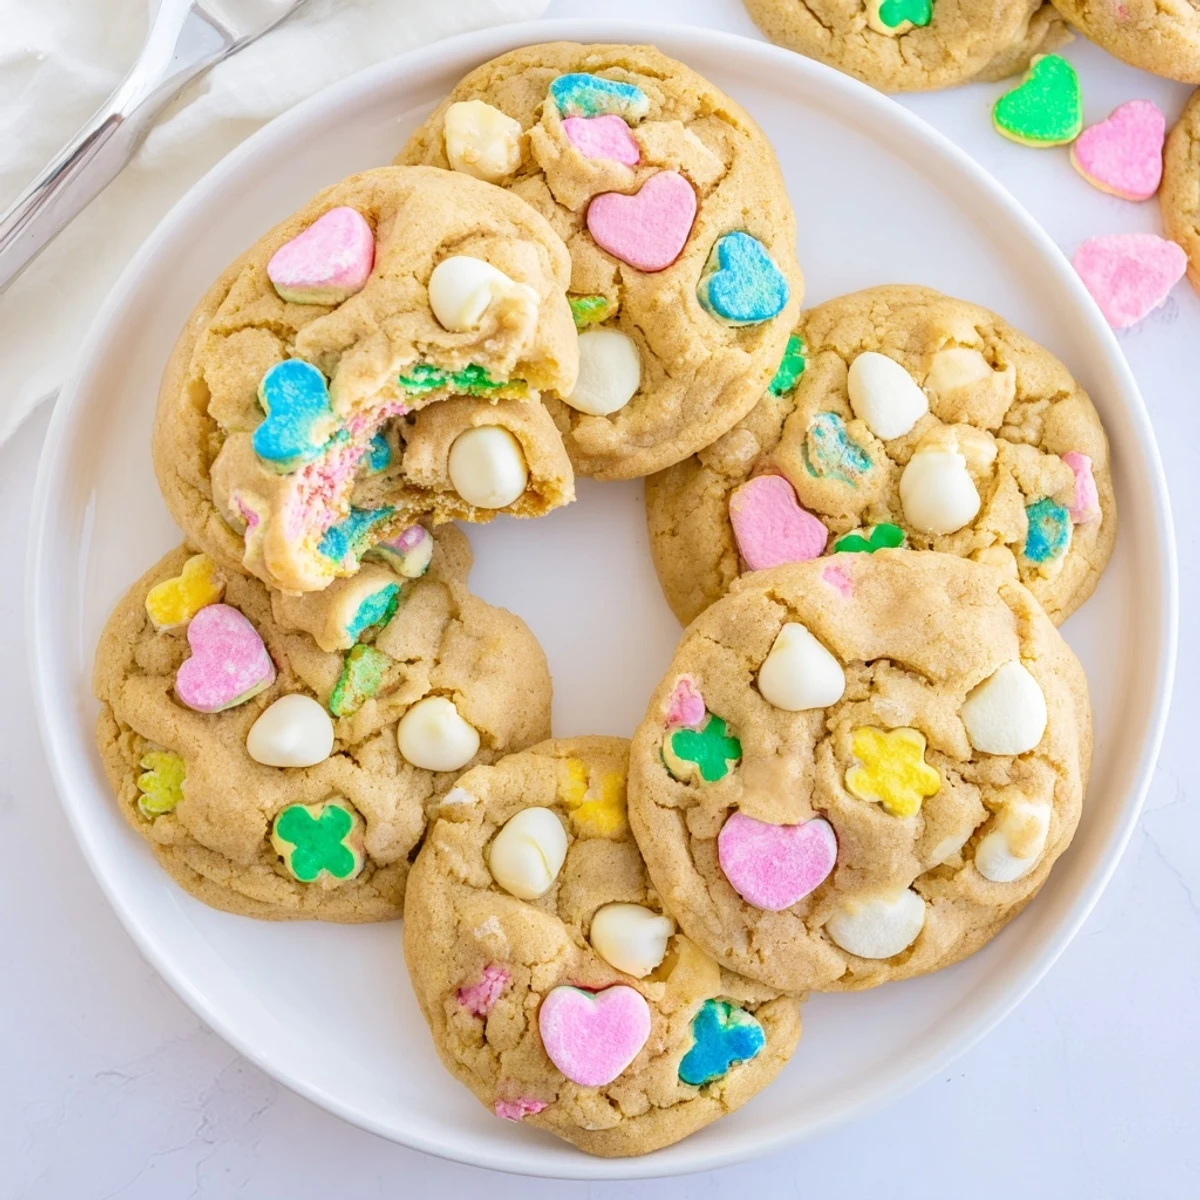
The moment when marshmallows start to melt and create those little sticky pockets throughout the cookie is pure magic. You want to pull them from the oven when centers still look slightly soft, as they'll continue cooking on the hot baking sheet into perfect chewy bites.
- Room temperature butter melts more evenly and creates better texture than cold butter
- Weighing your flour instead of measuring by volume keeps cookies consistent every time
- Chilling the dough for 30 minutes prevents excessive spreading if your kitchen runs warm
 Save
Save There's something wonderful about taking a breakfast cereal and turning it into an afternoon treat that feels both nostalgic and new. Hope these bring as much color to your kitchen as they've brought to mine.
Recipe Q&A
- → Can I use regular Lucky Charms cereal instead of just marshmallows?
-
While you can add some cereal pieces, the marshmallows provide the best texture. The cereal pieces may become too soft during baking. Stick to mostly marshmallows for the ideal chewy consistency and concentrated sweetness.
- → How do I prevent the marshmallows from melting completely?
-
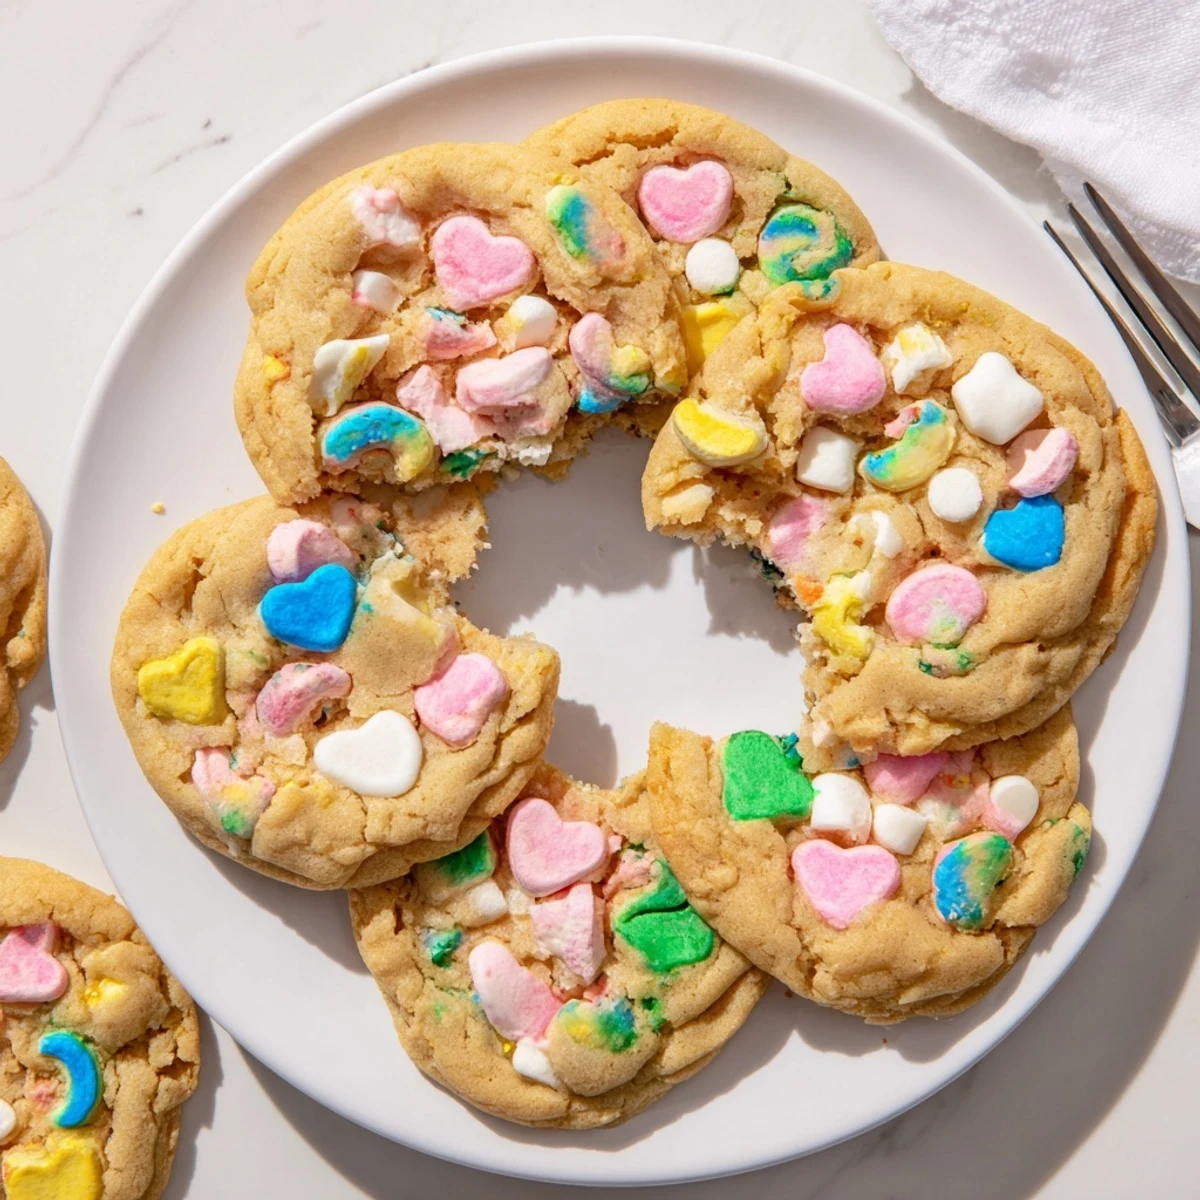
Press the reserved marshmallows onto the tops of dough balls after scooping, rather than mixing them all into the dough. This technique helps them maintain their shape and creates a beautiful colorful presentation on each finished treat.
- → Can I make the dough ahead of time?
-
Yes, you can refrigerate the dough for up to 48 hours before baking. Let it sit at room temperature for 15-20 minutes before scooping and baking as the chilled dough will be too firm to work with immediately.
- → Why are my cookies spreading too much?
-
This usually happens if the butter was too warm or if you didn't measure the flour correctly. Make sure your melted butter has cooled to room temperature before mixing, and fluff your flour before spooning it into measuring cups rather than scooping directly.
- → Can I freeze these cookies?
-
Baked cookies freeze beautifully for up to 3 months in airtight containers. You can also freeze scooped dough balls on a baking sheet, then transfer to a freezer bag and bake straight from frozen, adding 1-2 minutes to the baking time.
