 Save
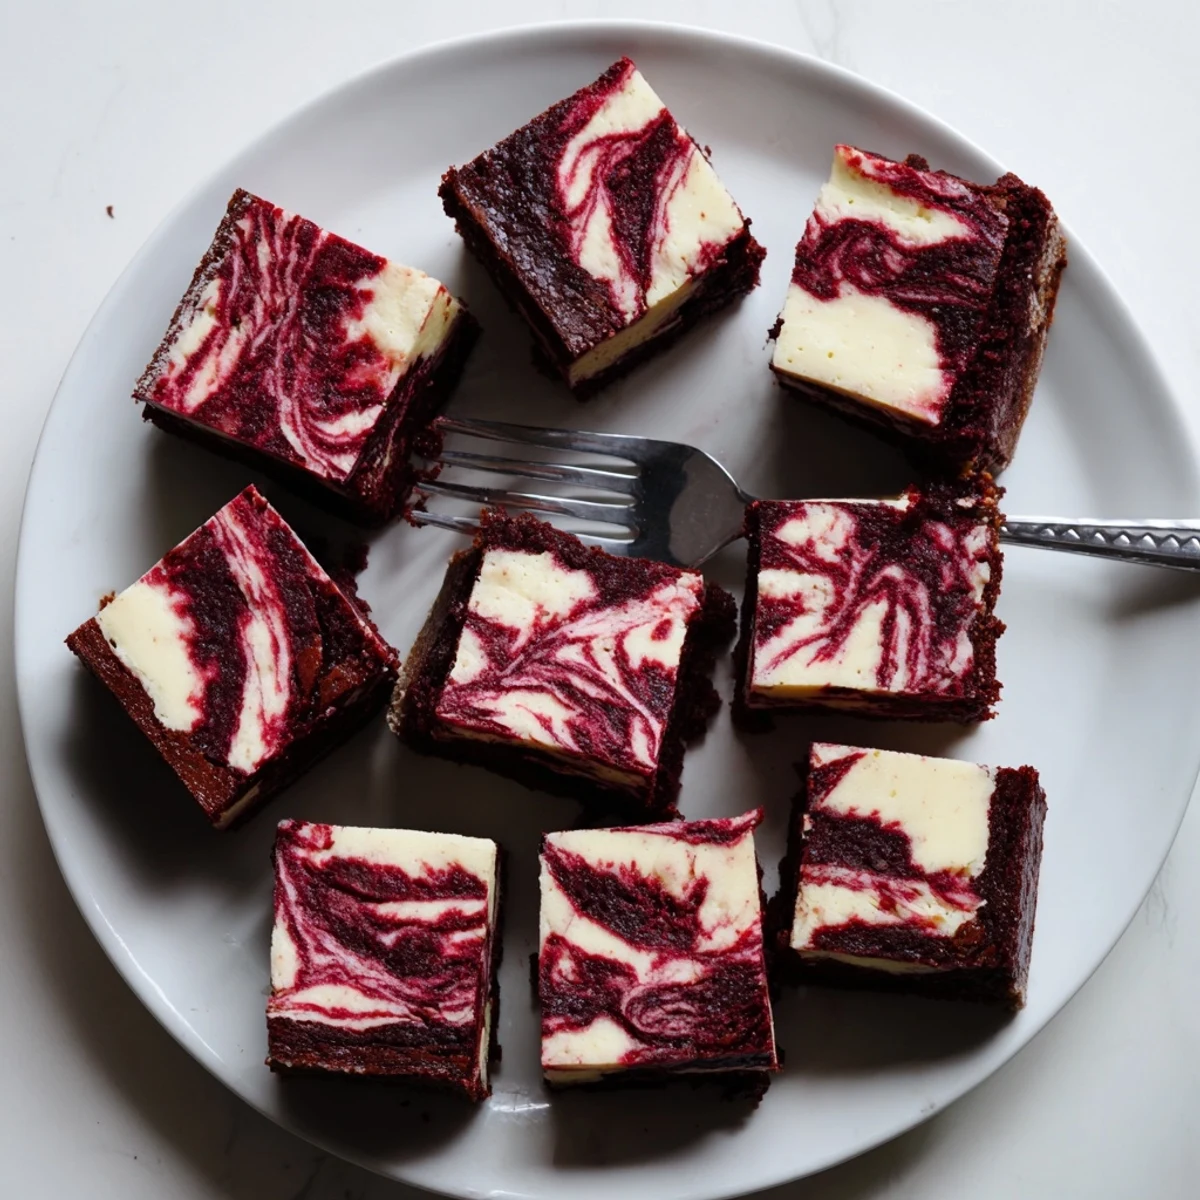
Save These stunning marbled brownies combine the best of both worlds: rich, fudgy red velvet cake meets creamy cheesecake swirls. The deep crimson batter creates a beautiful contrast against the ivory cheesecake layer, while cocoa powder adds subtle chocolate depth. Perfect for special occasions or when you want to impress guests with something visually striking and incredibly indulgent.
The texture is what sets these apart—the brownie base remains dense and moist while the cheesecake swirl stays creamy and tangy. Swirling the batters together creates that signature marble pattern that makes each slice unique. Serve them chilled for a firmer bite or at room temperature for maximum fudginess.
The day my sister got engaged, I showed up with store-bought cookies and a desperate apology. She laughed, hugged me anyway, and I swore Id never arrive empty-handed again. These brownies became my go-to celebration dessert after that, mostly because they look like you spent hours when you really didnt.
Last summer, my neighbor accidentally knocked on my door while these were cooling on the counter. She left twenty minutes later with two brownies wrapped in a paper towel, and now she texts me every Tuesday asking if Im baking anything. Thats the power of that red swirl pattern.
Ingredients
- Unsalted butter, melted: Melt it slowly so you dont accidentally cook the eggs when you mix them in later
- Granulated sugar: The brownie base needs a full cup to balance the cocoa and create that crackly top
- Large eggs: Room temperature eggs blend better into the batter without leaving streaks
- Vanilla extract: Dont skip this in either layer, its what ties everything together
- Red food coloring: Gel coloring gives a deeper red without thinning the batter
- All-purpose flour: Measure by spooning into the cup and leveling off, dont scoop directly
- Unsweetened cocoa powder: Dutch-processed cocoa makes the color more vibrant and taste less bitter
- Salt: A quarter teaspoon wakes up all the chocolate flavors
- Cream cheese, softened: Leave it out for at least two hours so your swirl layer stays smooth
- Additional sugar for cheesecake: Just enough to sweeten without overpowering the tang
- Extra egg for cheesecake layer: This single egg makes the swirl set perfectly while staying creamy
Instructions
- Get your oven ready:
- Preheat to 350°F and line an 8x8 inch pan with parchment paper, letting the edges hang over like a little sling for lifting later
- Mix the red velvet base:
- Whisk melted butter and sugar until smooth, then add eggs, vanilla, and food coloring until everything turns a uniform deep red
- Add the dry ingredients:
- Sift in flour, cocoa powder, and salt, then fold gently with a spatula just until no dry streaks remain
- Prep the swirl:
- Scoop out 1/4 cup of the red batter and set it aside, then spread the rest evenly in your prepared pan
- Make the cheesecake layer:
- Beat cream cheese with sugar until completely smooth, then mix in egg and vanilla until creamy
- Layer and swirl:
- Pour the cheesecake mixture over the brownie base and smooth it, then drop spoonfuls of reserved red batter on top and run a knife through both layers
- Bake to perfection:
- Bake 33 to 36 minutes until the center is just set and a toothpick comes out with a few moist crumbs, not wet batter
- Patience pays off:
- Cool completely in the pan before lifting out and cutting, otherwise the swirl pattern smears and the texture suffers
 Save
Save My niece asked if she could help swirl the top, and her pattern turned out more artistic than anything Id ever created. Now I always let whoever is closest do the swirling part, and somehow it always looks better than my careful attempts.
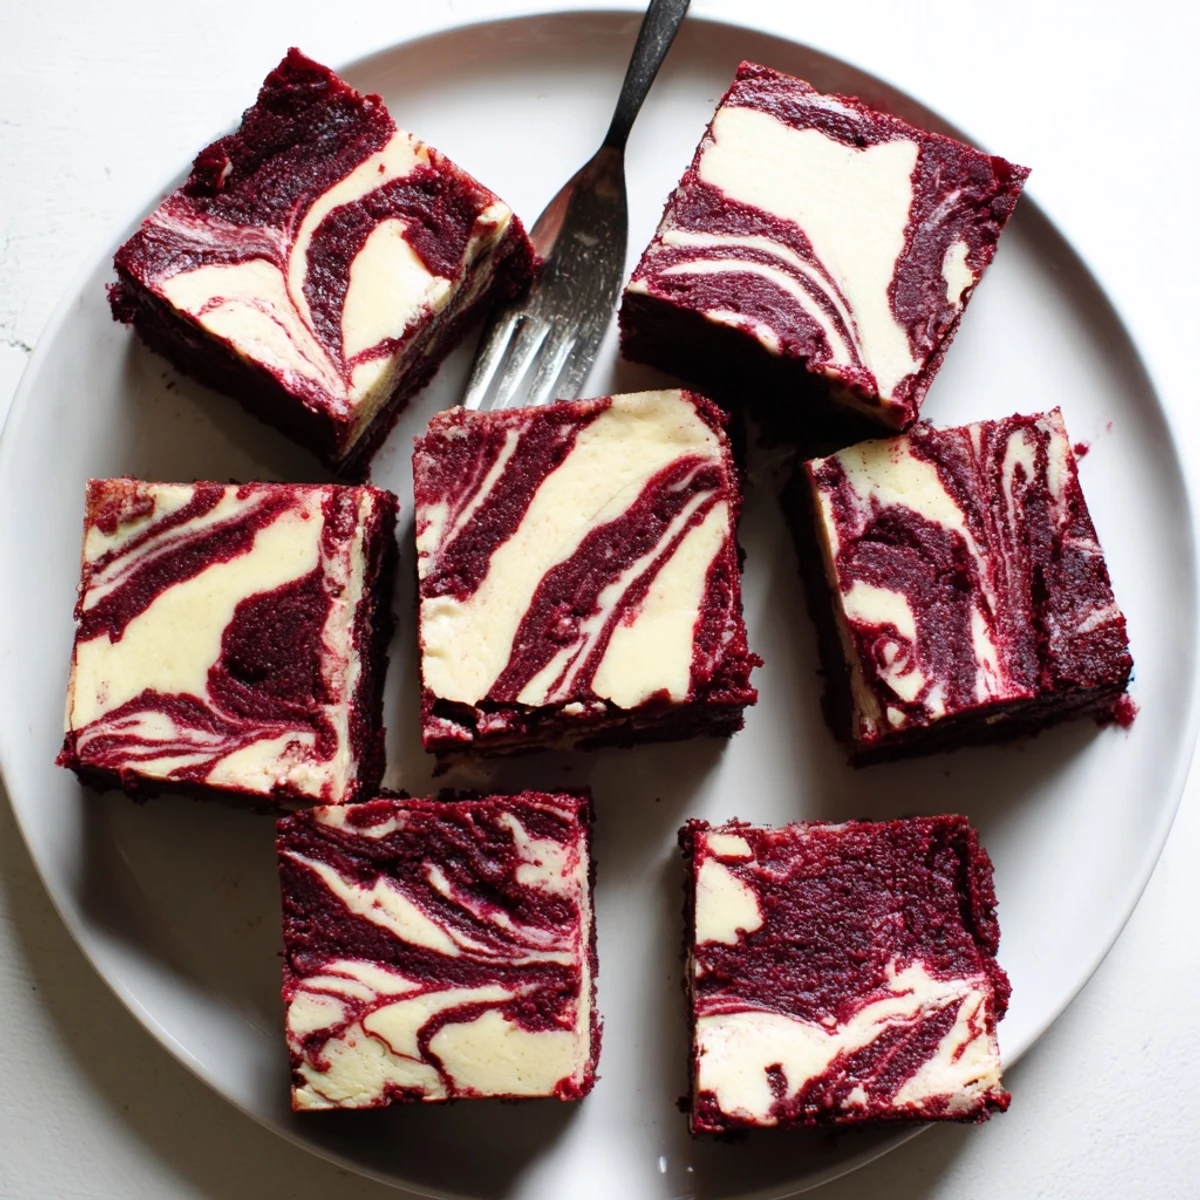
Getting That Perfect Swirl
Run your knife through the batter in a figure-eight pattern rather than circles. The first time I made these, I went back and forth too many times and ended up with muddy pink swirls instead of distinct marbling.
Storage Secrets
These actually taste better after a night in the refrigerator. The flavors meld together and the cheesecake layer becomes firmer, making them easier to cut cleanly.
Serving Suggestions
Serve them slightly chilled if you want neat squares, or let them come to room temperature for a softer, fudgier texture.
- A dusting of powdered sugar hides any imperfections in your swirl
- Whipped cream on the side balances the richness
- Coffee or milk are the only beverages that can stand up to this much chocolate
 Save
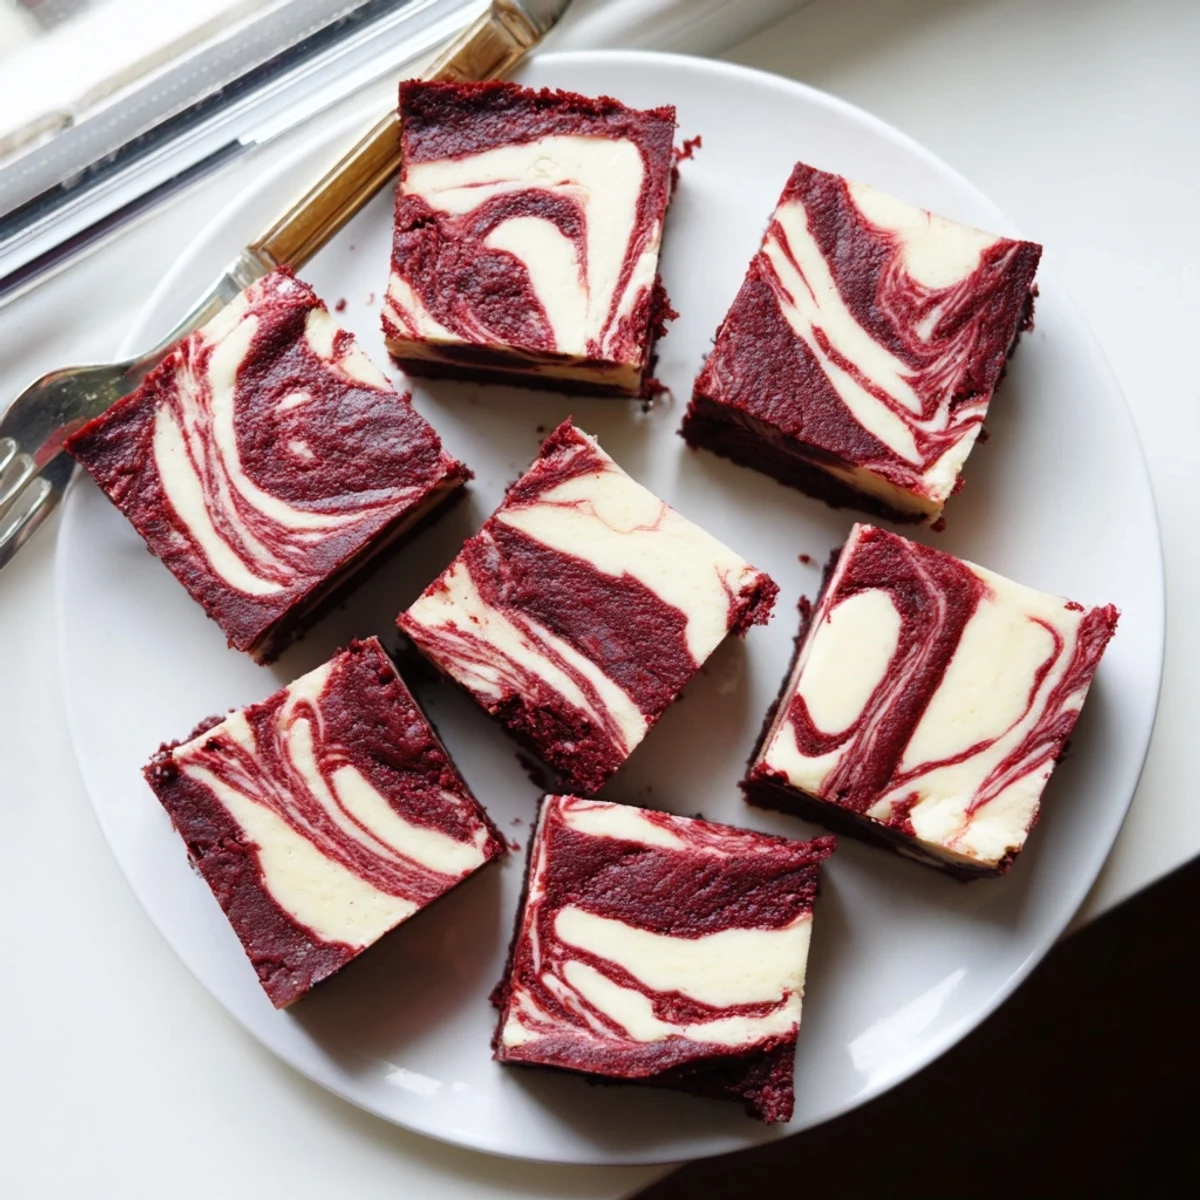
Save Bring these to any gathering and watch how quickly people ask for the recipe, especially when they see that stunning swirl pattern.
Recipe Q&A
- → Why is my red velvet batter not vibrant red?
-
The intensity of the red color depends on the quality and type of food coloring used. Gel-based food coloring typically produces more vibrant results than liquid versions. You can add more coloring drop by drop until you reach your desired shade, but be careful not to add too much liquid which could affect the batter consistency.
- → How do I know when the brownies are done?
-
Insert a toothpick into the center—it should come out with a few moist crumbs but not wet batter. The edges should be slightly set while the center still has a slight jiggle. Remember that these will continue cooking slightly as they cool, and the cheesecake layer will firm up during chilling.
- → Can I make these ahead of time?
-
Absolutely. These actually taste better after chilling in the refrigerator for several hours or overnight. This allows the flavors to meld and the textures to set completely. Store them in an airtight container in the refrigerator for up to 5 days. They can also be frozen for up to 3 months—wrap individual squares tightly in plastic wrap and foil.
- → What's the best way to achieve clean marble swirls?
-
Drop spoonfuls of reserved red velvet batter randomly over the cheesecake layer, then use a butter knife or skewer to gently drag through the batters in a circular or S-shaped motion. Don't over-swirl or you'll lose the distinct marbled pattern. Make just 2-3 passes through the batter for the best visual effect.
- → Can I substitute the cream cheese?
-
Full-fat brick cream cheese works best for the proper texture and stability. Neufchâtel cheese can be used as a lighter alternative with similar results. Avoid whipped cream cheese or cream cheese spreads as they contain too much water and may cause the swirl layer to collapse or become watery.
- → Why did my cheesecake layer sink into the brownie?
-
This usually happens if the brownie batter is too thin or the cheesecake mixture is too heavy. Make sure your cream cheese is fully softened before mixing to avoid lumps, and don't overmix the cheesecake batter which can incorporate too much air. Pouring and spreading the layers gently without pressing down also helps maintain distinct layers.
