 Save
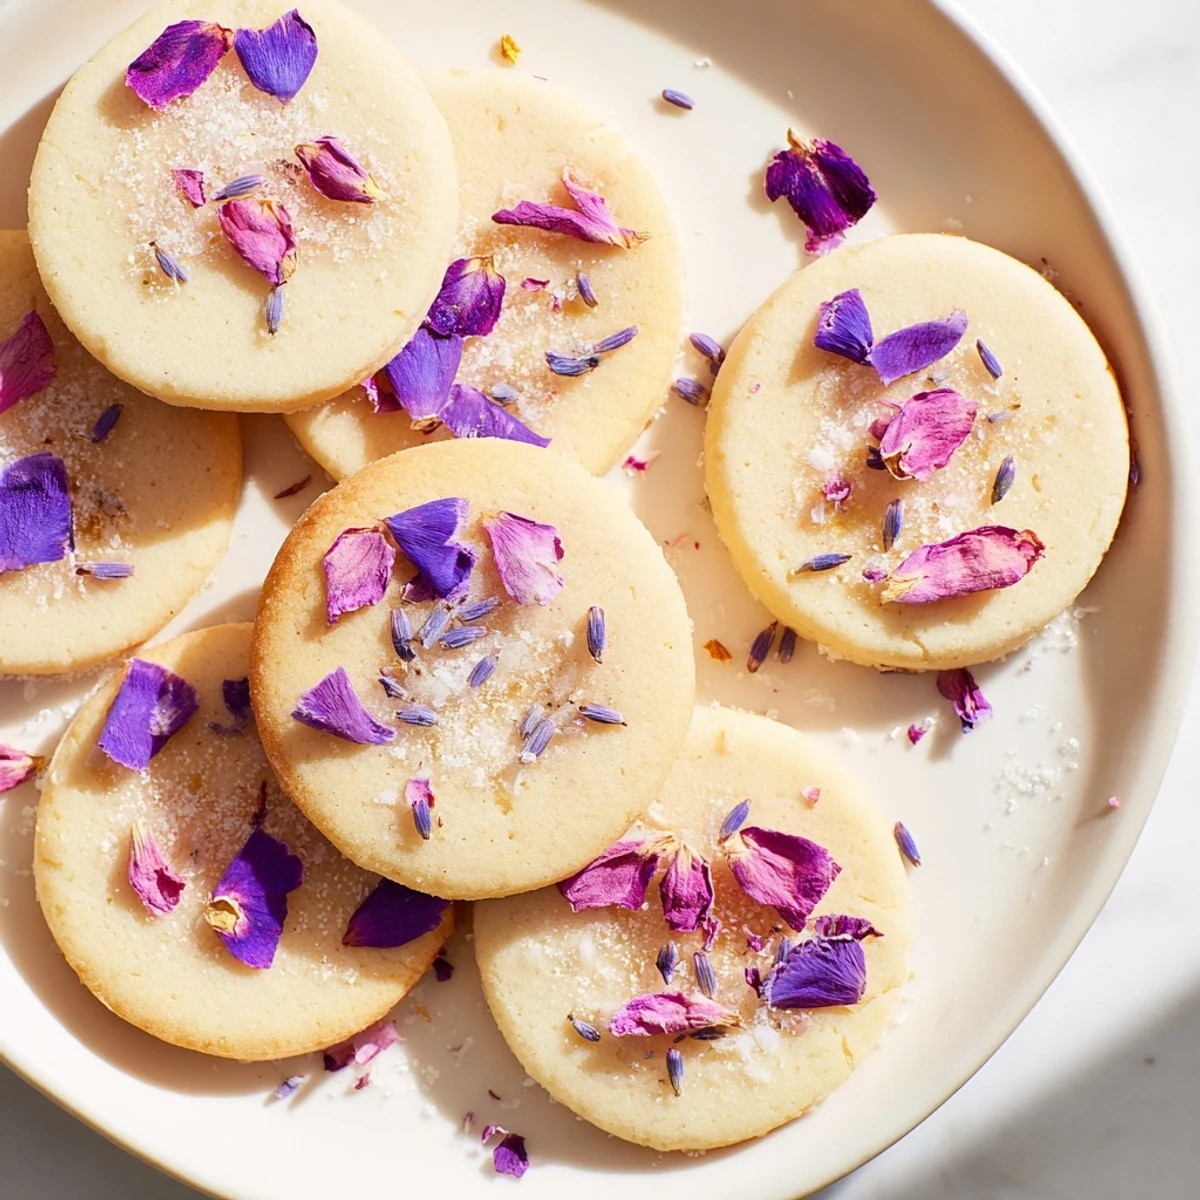
Save These tender spring blossom cookies feature a classic buttery base infused with vanilla and topped with delicate edible flowers like rose, lavender, and violets. The dough comes together quickly with softened butter creamed into sugar, followed by egg and vanilla. After incorporating flour and salt, portion the dough into balls, flatten gently, and sprinkle with floral petals and a touch of sugar for sparkle. Bake until edges turn golden for cookies that are crisp outside and soft inside. Perfect for afternoon tea or spring gatherings, these floral delights store well for five days and pair beautifully with herbal teas.
The first day of spring hit with such sudden warmth that I found myself throwing open windows and craving something that tasted like a garden. I had picked up a tiny jar of dried rose petals from the farmers market on impulse, and suddenly my usual chocolate chip cookies felt entirely wrong for the season.
I made these on a whim for my mothers birthday tea party last April watching through the window as daffodils swayed in the breeze. The way the buttery dough smells when it mingles with delicate lavender and rose petals is honestly magical.
Ingredients
- 1 cup (225 g) unsalted butter softened: Room temperature butter creates that perfectly tender crumb that practically melts on your tongue
- 3/4 cup (150 g) granulated sugar: This amount hits the sweet spot without overwhelming the subtle floral notes
- 1 large egg: Bring it to room temperature too so it incorporates seamlessly into the dough
- 2 tsp vanilla extract: Pure vanilla extract pairs beautifully with florals creating a layered aromatic experience
- 2 cups (250 g) all-purpose flour: Regular flour works perfectly here no need for anything fancy
- 1/4 tsp salt: A tiny pinch balances the sweetness and lets the flowers shine through
- 1 tbsp dried edible blossoms: Rose lavender and violets are my favorites but any food-safe edible flowers work beautifully
- 2 tsp granulated sugar for sprinkling: This adds a lovely sparkle and crunch on top of each cookie
Instructions
- Getting Ready:
- Preheat your oven to 350°F (175°C) and line two baking sheets with parchment paper so nothing sticks and cleanup is effortless.
- Creaming Butter and Sugar:
- In a large bowl beat the softened butter and sugar together until the mixture turns pale and fluffy about 2 to 3 minutes.
- Adding Wet Ingredients:
- Beat in the egg and vanilla extract until everything is fully combined and the mixture looks glossy and smooth.
- Combining Dry Ingredients:
- In a separate bowl whisk together the flour and salt then gradually add this to your wet mixture mixing only until just combined.
- Shaping the Cookies:
- Roll tablespoon-sized portions of dough into balls place them 2 inches apart on your prepared baking sheets and flatten each gently with your fingers.
- Adding the Floral Touch:
- Sprinkle each cookie with a pinch of your edible blossoms and a light dusting of sugar pressing them in gently so they stick.
- Baking to Perfection:
- Bake for 10 to 12 minutes or until the edges are just beginning to turn golden while the centers still look slightly soft.
- Cooling Time:
- Let the cookies rest on the baking sheet for 5 minutes then transfer them to a wire rack to cool completely.
 Save
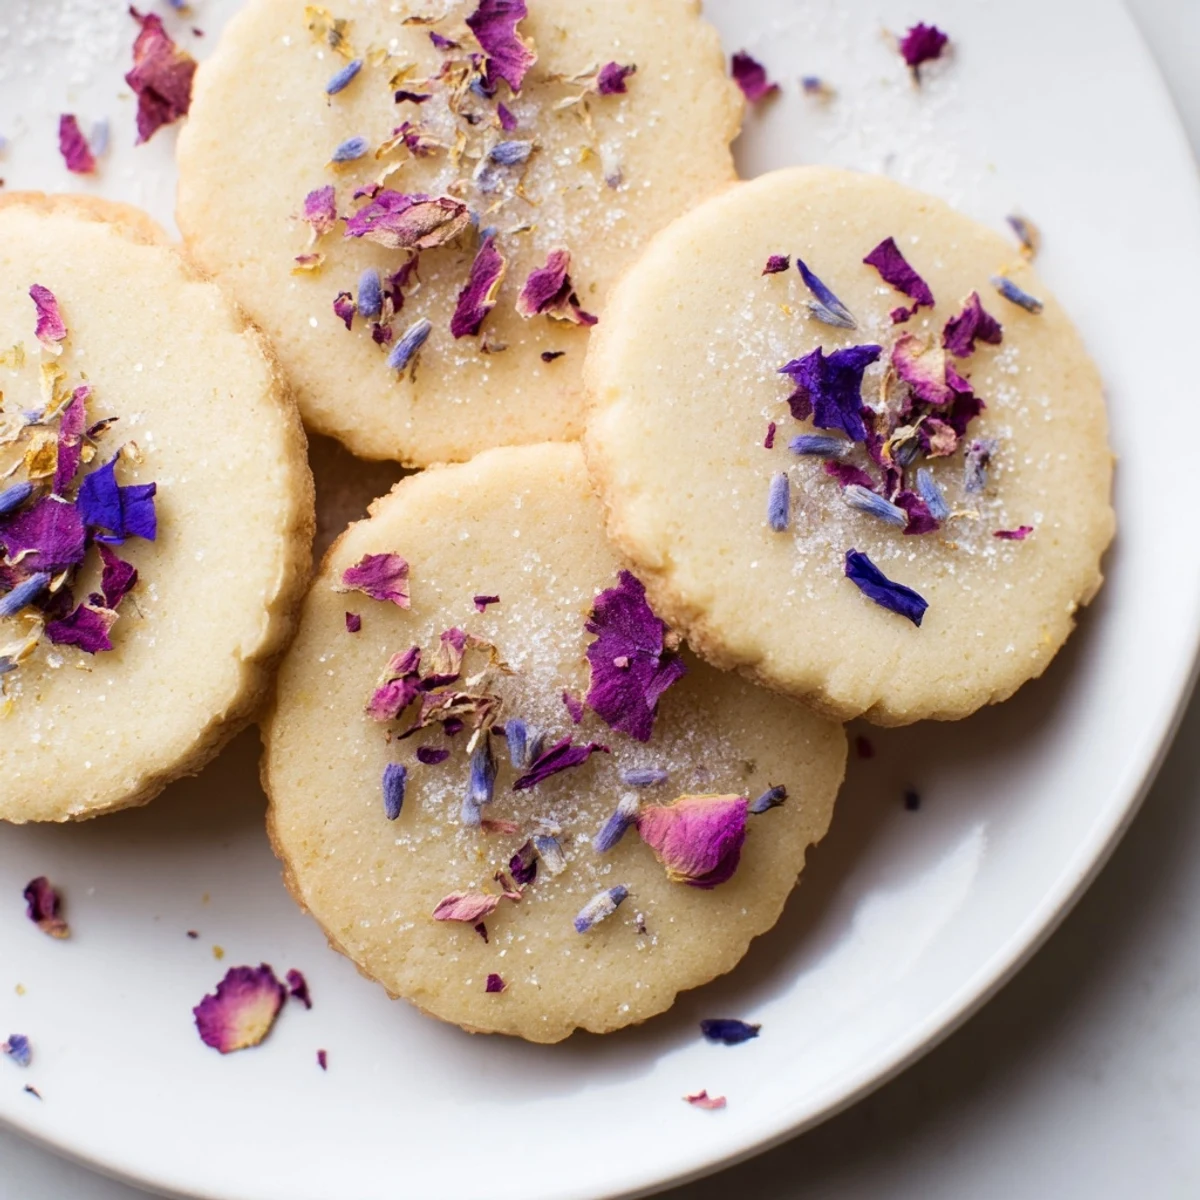
Save My niece took one bite and declared these cookies tasted like a fairy tale which honestly might be the best review Ive ever received. Theyve since become our official spring baking tradition.
Choosing Your Flowers
Not all flowers are created equal when it comes to baking. I learned this the hard way after trying flowers from my local florist only to realize they were absolutely not meant for eating. Stick to culinary-grade dried blossoms from reputable sources or grow your own pesticide-free edible flowers.
Storage Secrets
These cookies stay remarkably fresh stored in an airtight container at room temperature for up to 5 days though honestly they rarely last that long in my house. The floral flavors actually develop a bit more depth after a day or two so do not feel pressured to eat them all immediately.
Serving Suggestions
I love pairing these with a delicate Earl Grey or a light herbal tea that complements rather than competes with the subtle floral notes. They also make an elegant addition to any spring gathering or bridal shower.
- Arrange them on a vintage cake stand for maximum charm
- Package a few in clear bags tied with twine for thoughtful gifts
- Crumble one over vanilla ice cream for an instant spring dessert
 Save
Save There is something deeply satisfying about baking cookies that taste as lovely as they look. May your spring be filled with buttery floral moments and warm kitchens.
Recipe Q&A
- → What edible flowers work best for these cookies?
-
Rose petals, lavender buds, and violets create lovely flavor profiles. Other options include chamomile, calendula, or pansies. Always use food-grade, organically grown flowers from reliable sources to ensure safety and optimal taste.
- → Can I use fresh flowers instead of dried?
-
Fresh flowers contain moisture that can make cookies soggy during baking. Stick with dried edible blossoms for best texture and flavor distribution. If using fresh, press them gently onto baked cookies while still warm instead.
- → How do I store these floral cookies?
-
Keep in an airtight container at room temperature for up to five days. Place parchment paper between layers to prevent sticking. The floral flavors develop beautifully after a day, making them even more delicious for later enjoyment.
- → Can I add citrus flavors to the dough?
-
Absolutely. Lemon or orange zest brightens the floral notes beautifully. Add one to two teaspoons of finely grated citrus zest along with the vanilla extract. This creates a lovely springtime flavor combination that pairs wonderfully with the edible blossoms.
- → What's the best way to press the cookies?
-
Gently flatten each dough ball with your fingers or the bottom of a glass dipped in sugar. Press lightly to create an even thickness without making them too thin. This helps them bake uniformly while maintaining a tender, soft center.
- → Can I freeze the dough for later?
-
Yes, scoop the dough into balls and freeze on a baking sheet until firm. Transfer to a freezer bag for up to three months. Bake directly from frozen, adding one to two minutes to the baking time. Add floral toppings before freezing for best results.
