 Save
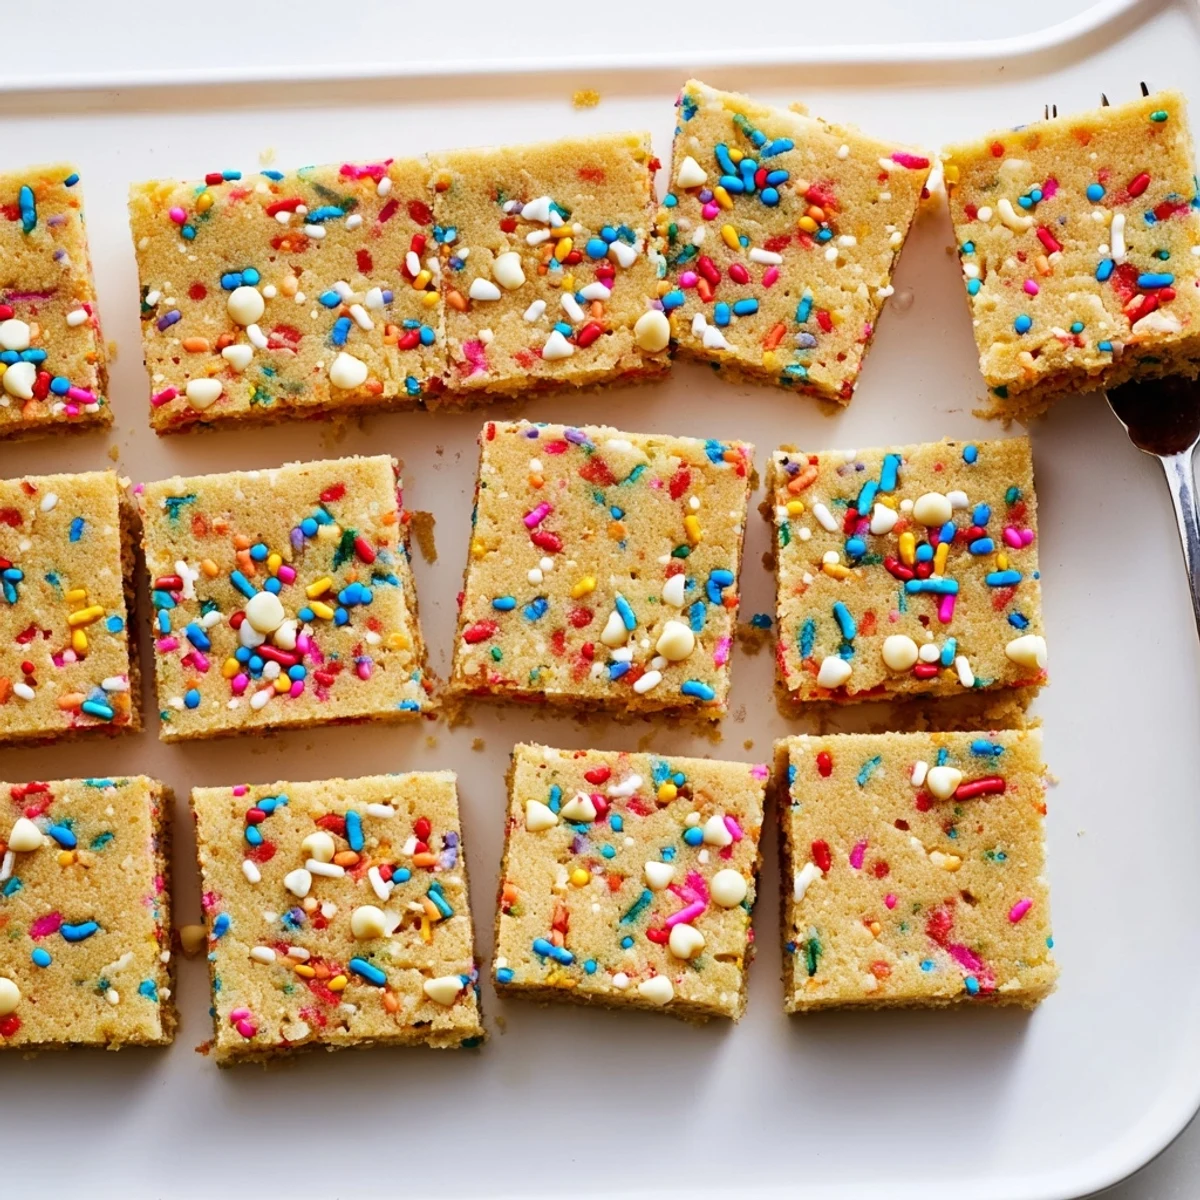
Save These cheerful blondies combine a rich, buttery base with rainbow sprinkles throughout for a festive treat that's perfect for spring celebrations. The dough comes together quickly with melted butter and brown sugar, creating a tender texture that's perfectly chewy at the edges.
White chocolate chips add creamy sweetness while the sprinkles provide both visual appeal and a subtle crunch. Bake until just set for fudgy squares, or a few minutes longer for cakier results. Let cool completely before cutting to ensure clean edges.
My youngest announced spring had arrived by dumping an entire container of sprinkles onto the kitchen counter and declaring we needed something cheerful. These blondies were born from that colorful mess and have since become the most requested treat for birthday parties and casual Friday afternoons alike.
I first made these for a rainy Sunday playdate when four energetic kids needed distraction. The sight of them pressing sprinkles into the batter with sticky fingers became the highlight of the afternoon and now every time I see rainbow speckles in dough I remember those small giggly helpers.
Ingredients
- All-purpose flour: Provides the structure for these chewy bars without making them cakey or dense
- Baking powder: Just enough lift to give them a tender crumb that still feels substantial
- Salt: Essential for balancing the sweetness and making all flavors pop
- Unsalted butter: The foundation of that rich buttery flavor blondies are famous for
- Light brown sugar: Creates moisture and adds that subtle caramel depth white sugar cannot replicate
- Egg and yolk: The extra yolk contributes to the fudgy chewy texture everyone loves
- Vanilla extract: Pure vanilla makes all the difference here no imitations
- White chocolate chips: Optional but they add creamy pockets that complement the sprinkles beautifully
- Rainbow sprinkles: Use jimmies not nonpareils as the latter bleed into the batter creating strange colors
Instructions
- Preheat your oven:
- Set to 350°F and line an 8x8 pan with parchment letting the edges hang over for easy lifting later
- Whisk the dry ingredients:
- Combine flour baking powder and salt in a medium bowl and set aside
- Mix the butter and sugar:
- Whisk melted butter and brown sugar until the mixture looks glossy and smooth
- Add the eggs and vanilla:
- Beat in the whole egg plus yolk and vanilla until everything is fully incorporated
- Combine the mixtures:
- Fold the dry ingredients into the wet with a spatula stopping as soon as you no longer see flour streaks
- Add the fun stuff:
- Gently fold in white chocolate chips and most sprinkles saving a tablespoon for the top
- Spread and top:
- Even the batter in your pan and scatter those reserved sprinkles across the surface
- Bake to perfection:
- Bake 23 to 26 minutes until edges are set and a toothpick comes out with moist crumbs not wet batter
- Cool completely:
- Let them cool fully in the pan then lift using the parchment and cut into 16 squares
 Save
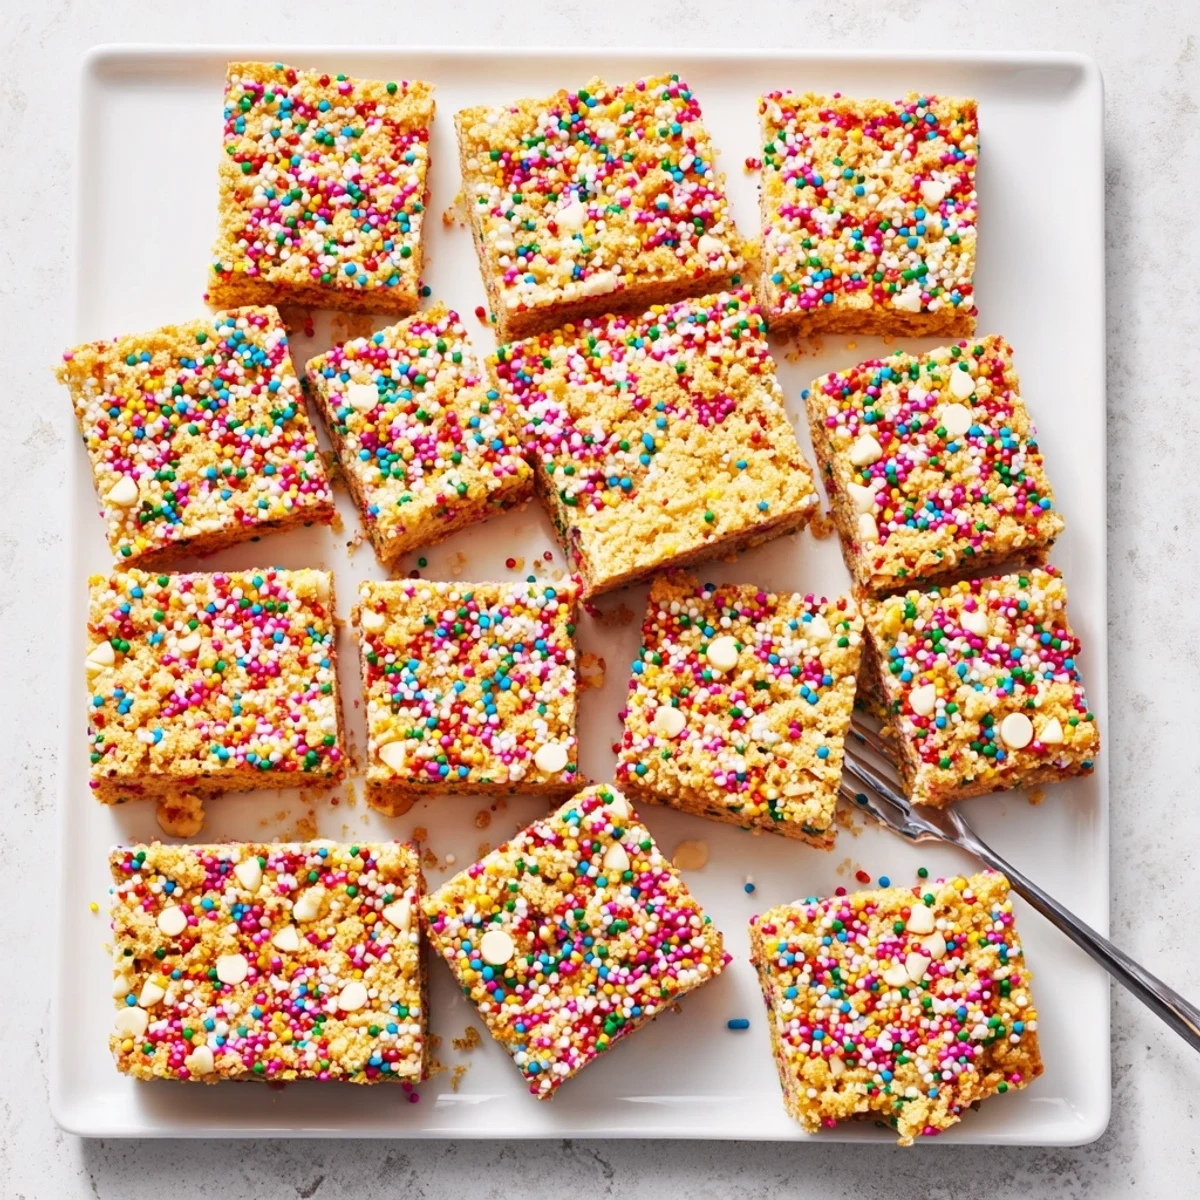
Save These became the official treat of our first proper spring picnic last year. We spread a blanket under the blooming cherry trees and watched kids run wild while eating square after square of buttery rainbow goodness.
Making Them Extra Special
Browning the butter adds an incredibly rich nutty dimension that takes these from good to absolutely unforgettable. Just cook the melted butter a few minutes longer until it smells like toasted nuts and turns golden brown before proceeding with the recipe.
Seasonal Variations
Pastel sprinkles create such a lovely spring vibe while red and white ones make them perfect for Valentine's Day. You can also swap the white chocolate for dark chocolate during fall months or add crushed peppermint candies for winter holidays.
Storage and Serving
These actually improve after a day as the flavors meld together beautifully. Store them at room temperature in an airtight container for up to five days though they rarely last that long in my house.
- Room temperature storage keeps them perfectly soft and chewy
- Freeze undecorated bars for up to three months then thaw and frost if needed
- Serve slightly warmed for the ultimate gooey experience
 Save
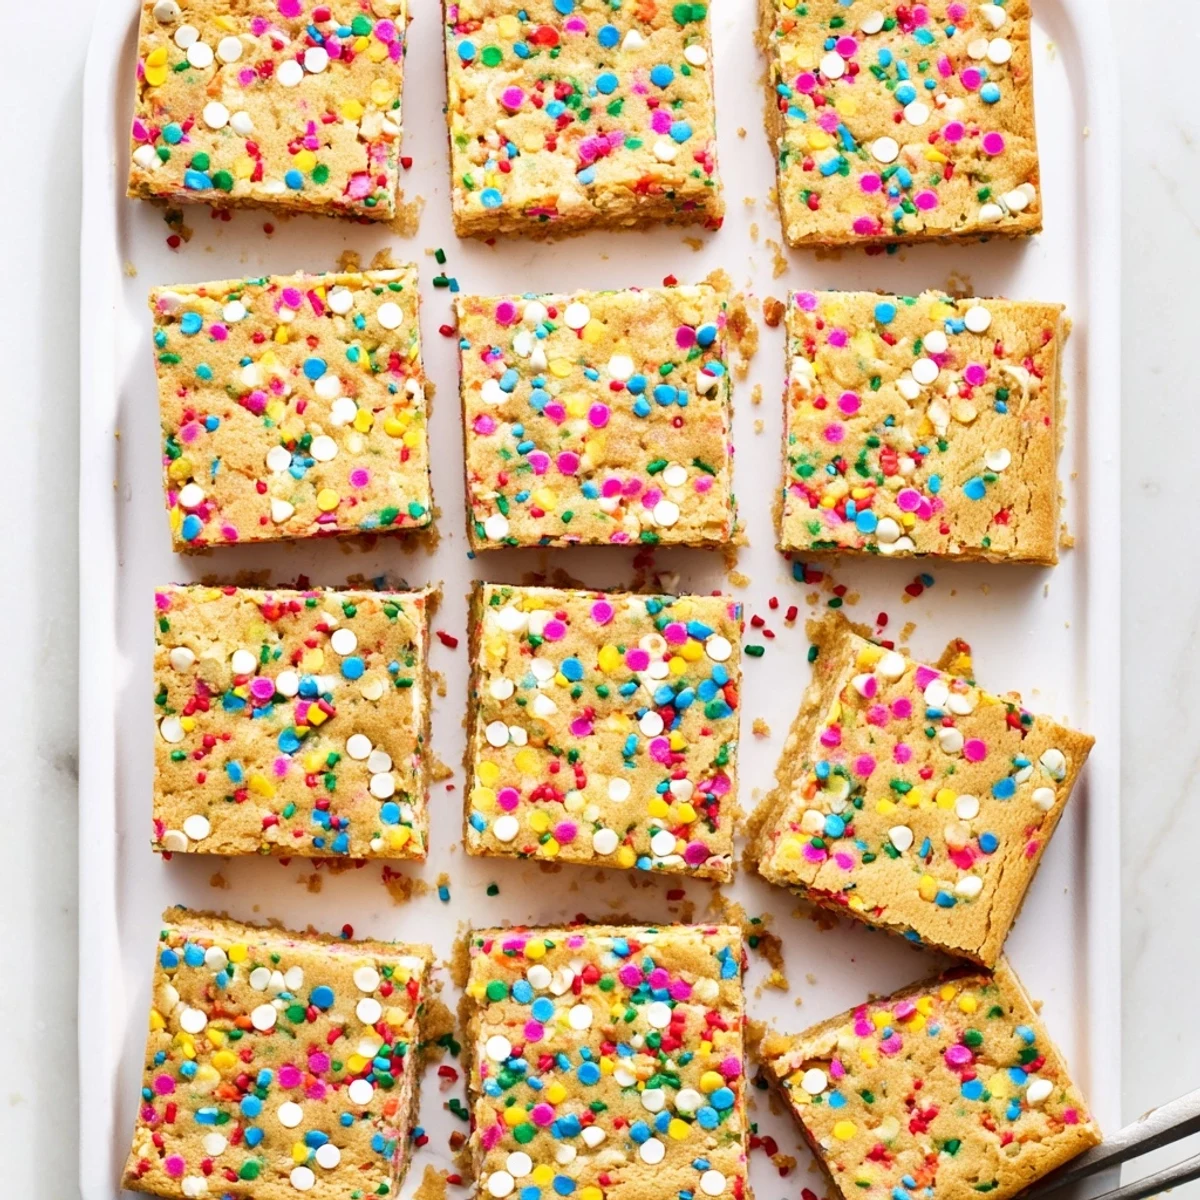
Save There is something about cutting into these speckled golden bars that instantly makes any afternoon feel like a celebration worth savoring.
Recipe Q&A
- → Can I use regular sprinkles instead of jimmies?
-
Jimmies work best because they hold their shape during baking. Nonpareils (the tiny round sprinkles) will bleed color into your batter, creating a muddy appearance. Stick with rod-shaped sprinkles or confetti-style quins for the best results.
- → How do I know when blondies are done baking?
-
Insert a toothpick into the center—it should come out with a few moist crumbs, not wet batter. The edges should look set and slightly golden. If you wait until the toothpick comes out completely clean, they'll be overdone and dry.
- → Can I make these ahead of time?
-
Yes! Store cooled blondies in an airtight container at room temperature for up to 4 days. They actually taste better on day two as the flavors meld. You can also freeze wrapped portions for up to 3 months.
- → What's the difference between blondies and brownies?
-
Blondies use brown sugar and vanilla as the primary flavor base instead of cocoa powder. They have a rich, butterscotch-like flavor and fudgy texture without any chocolate. Think of them as vanilla brownies with caramel notes.
- → Can I substitute the white chocolate chips?
-
Absolutely! Try dark or milk chocolate chips, chopped nuts like pecans or walnuts, or even peanut butter chips. You could also add coconut flakes or dried fruit for variation. Keep the total add-in quantity around 1 cup total.
